Quartz™ Bath Installation Guide 09
10
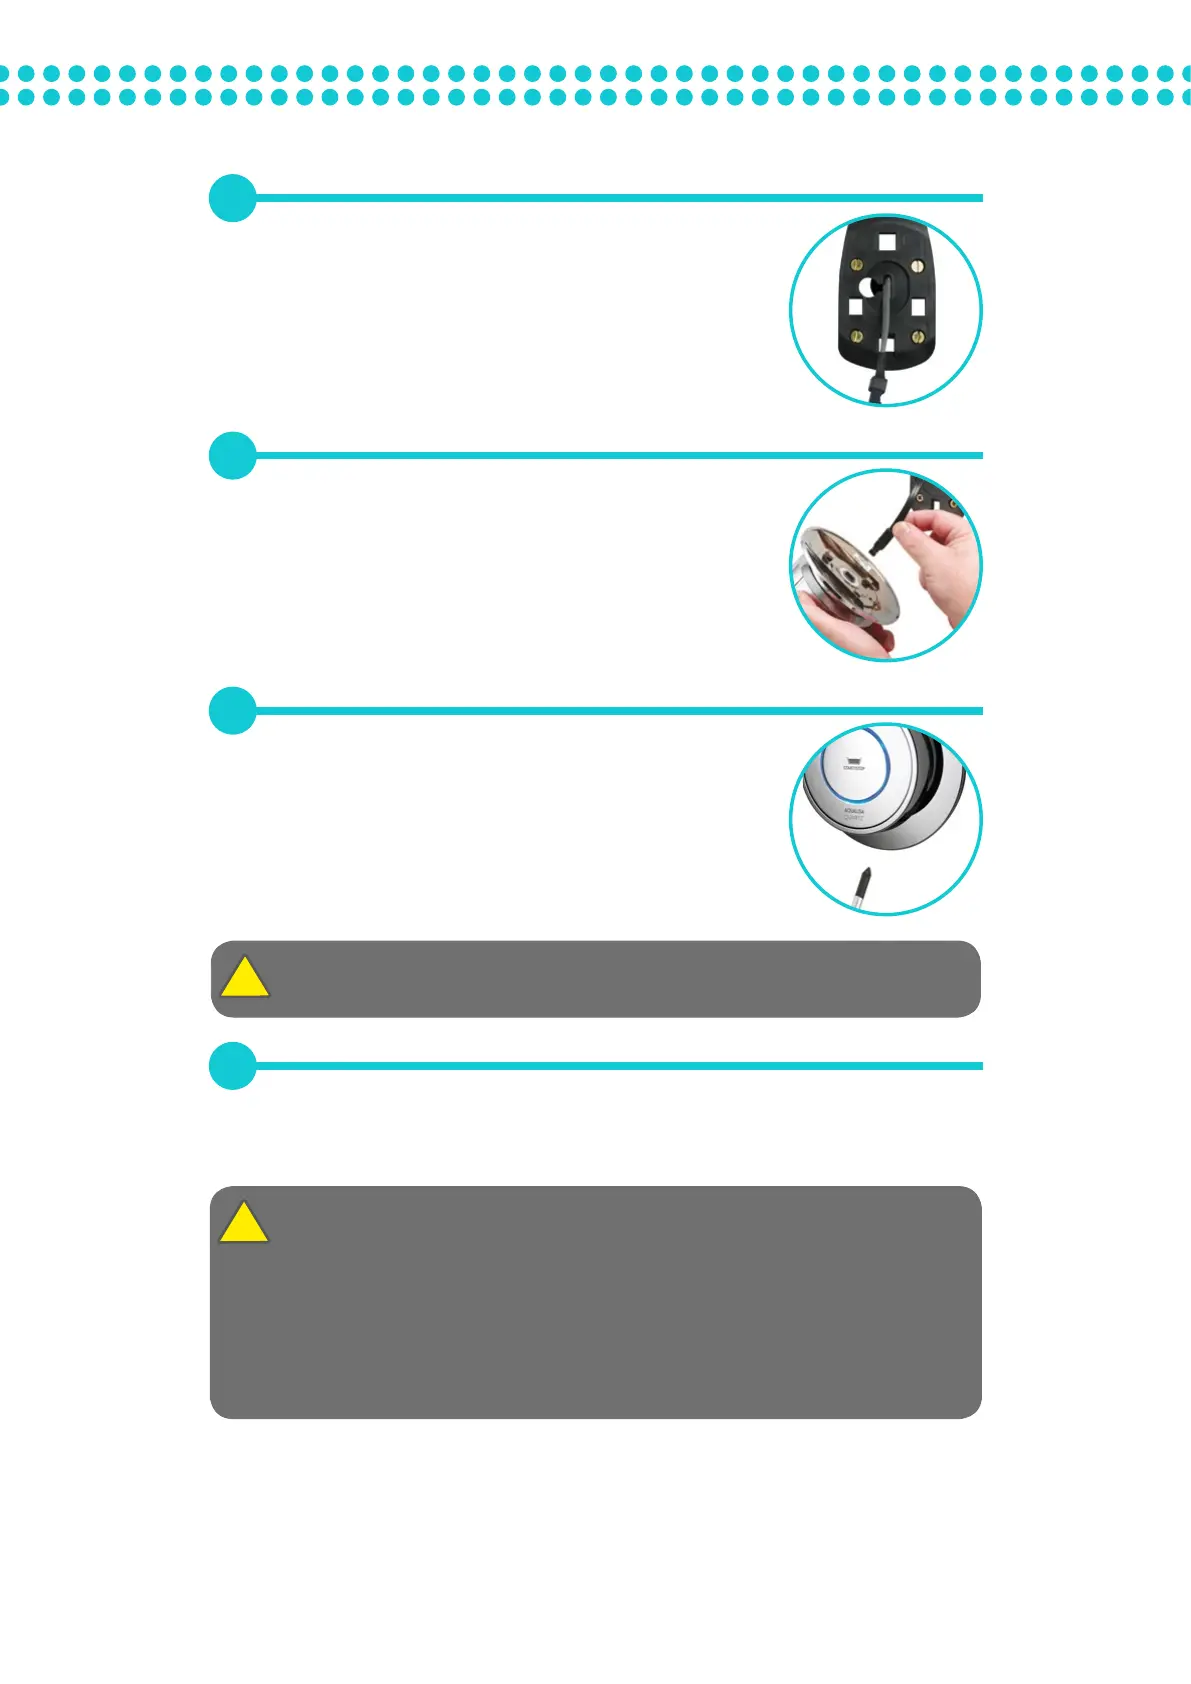
Feed the bath controller connection end of the data cable
through the centre hole in the mounting plate. Run a bead
of silicone sealant in the mastic groove on the back of the
mounting plate and press into position on the finished wall
surface. Ensure the data cable is held securely by the narrow
middle slot of the mounting plate and fix to the wall using the
brass screws provided.
11
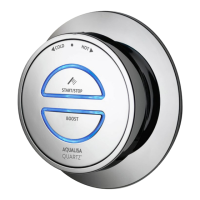
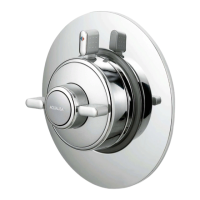
Plug the data cable into the rear of the bath controller and push
fully home.
Slide the bath controller onto the mounting plate.
12
Secure the bath controller onto the mounting plate with the
fixing screw located at the base of the bath controller using a
small Pozidriv screwdriver.
To ensure a watertight seal, we recommend running a thin bead of silicone around the
concealed bath controller once it has been secured to the mounting plate.
13
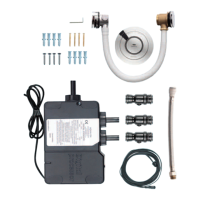
Connect the outlet pipe to the mixed water outlet on the Quartz Smart Valve
™
. Using pipe
clips as appropriate, ensure that all pipe work is perpendicular to the Quartz Smart Valve
™
,
i.e. not putting any strain on the fittings.
To ensure optimum performance use the minimum amount of elbows.
To maximise flow rates we recommend using copper pipe with the minimum amount
of elbows.
Before any electrical adjustment is attempted, the electricity supply must be turned
o at the mains switch.
Electrical installation may only be carried out by a qualified person.
All copper pipe work must be cross-bonded and connected to a reliable earthing point.