AquaMaster
®
Owner’s Manual 1/21/2021 11
Installation Steps and Start-Up Procedures, Cont.
Step 7
Check for Leaks
A. Close all faucets.
B. Check all lines and connections for leaks. If leaks are
found:
1. Turn off the main water supply.
2. Open a cold water faucet to depressurize the lines.
3. Close the faucet to eliminate any siphoning action.
4. Repair all leaks.
5. Turn on the water supply.
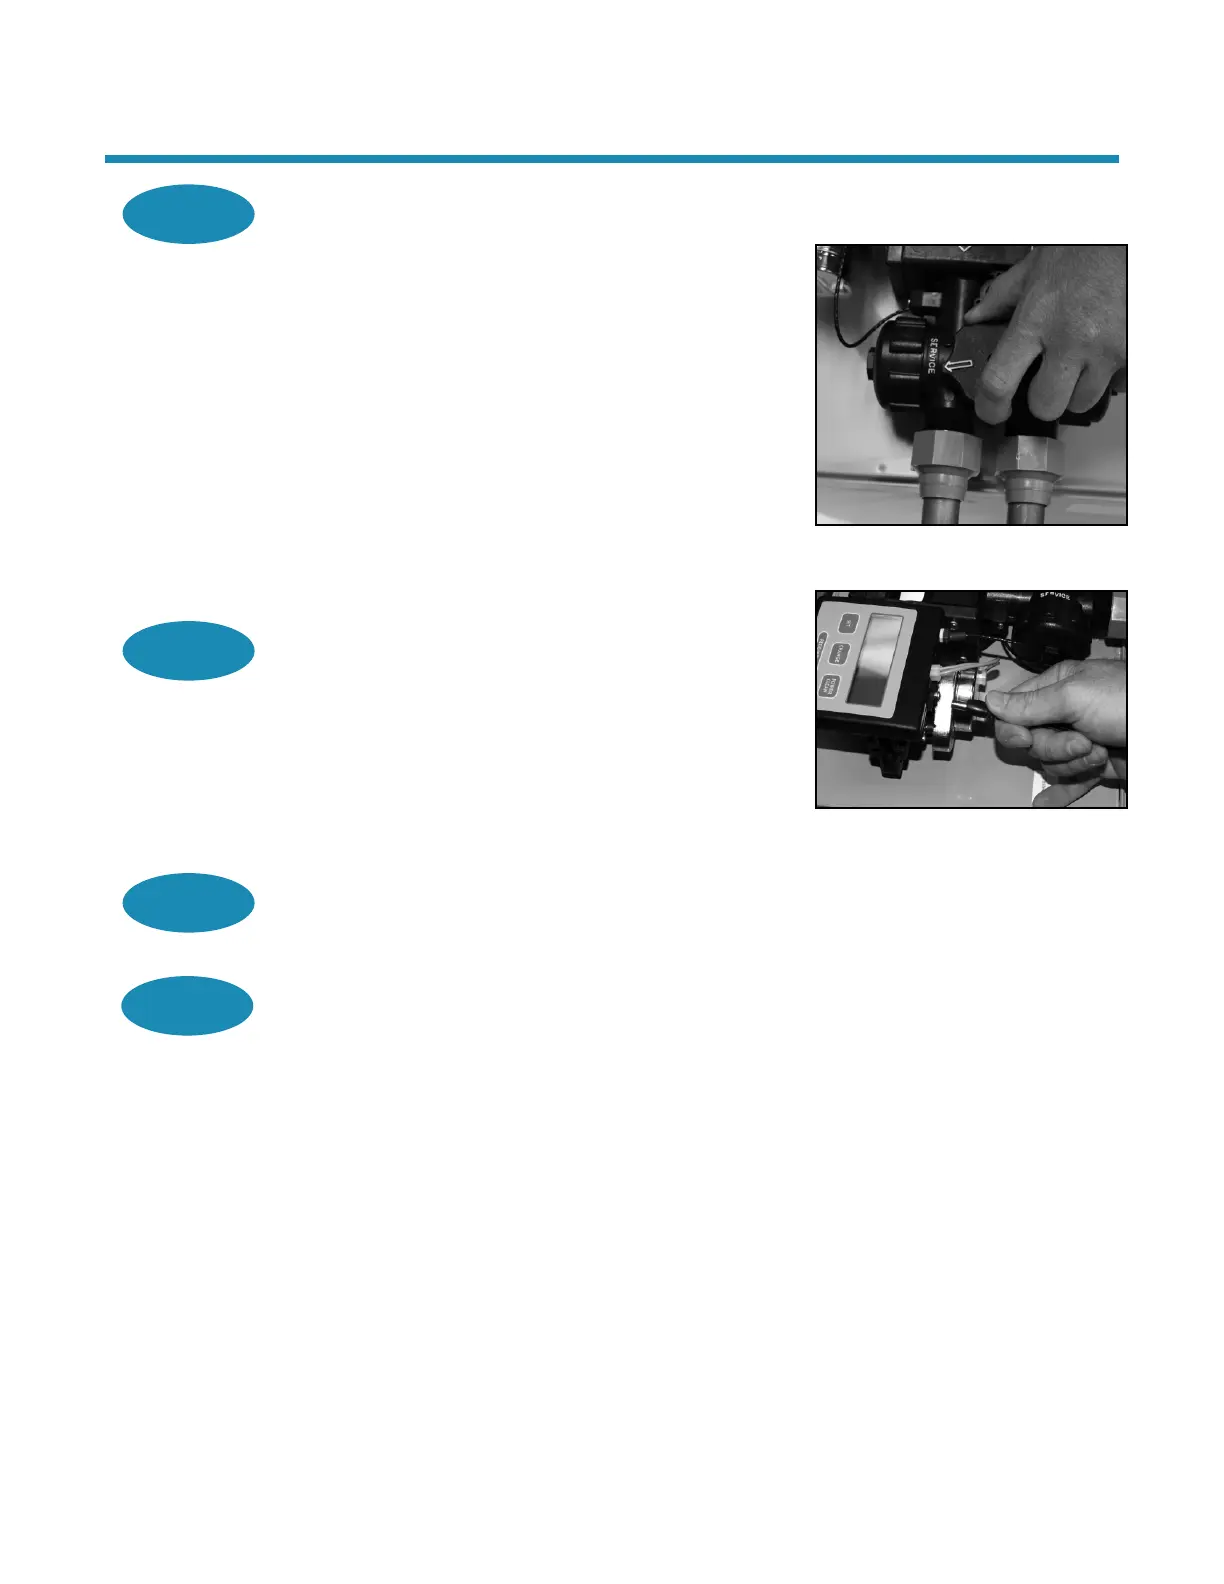
6. Place the bypass in the Service position to slowly
fill the media tank.
7. Open a cold water faucet to purge air out of the
media tank.
8. Close the faucet and recheck for leaks.
Step 8
Plug in the Transformer
A. Connect the transformer power cord to the back of the
controller.
B. Make sure the transformer cord is fed through the
same area as the drain and water lines.
C. Plug the transformer into an appropriate outlet.
D. Ensure that the outlet selected is not operated by an
On/Off switch.
Step 9
Set Up the Controller
A. Program the appliance controller. See Setting and
Using the Controller.
Figure 4: Service Position
Figure 5: Connect Transformer
Power Cord
Step 10
Add Water to the Brine Cabinet
A. Remove any packaging or installation materials.
B. Add 2 gallons (7.6 L) of water to the brine cabinet. After the first regeneration, the appliance
will automatically refill the correct amount of water into the brine cabinet.
C. Ensure that the bypass is in Service position.
D. Ensure that the salt dosage is set as recommended for the application.
E. Initiate a manual regeneration (see Setting and Using the Controller) and inspect for proper
operation. Allow the appliance to draw all the water out of the brine cabinet until the air
check/draw tube sets (8–10 minutes).
F. Press the Regenerate button to advance to the Brine Refill (04) position. Let the tank fill with
the proper amount of water. The controller will then step the valve to the Home position.
Note: This initial startup is the only time you will add water to the brine cabinet. Do not add
water at any other time.
 Loading...