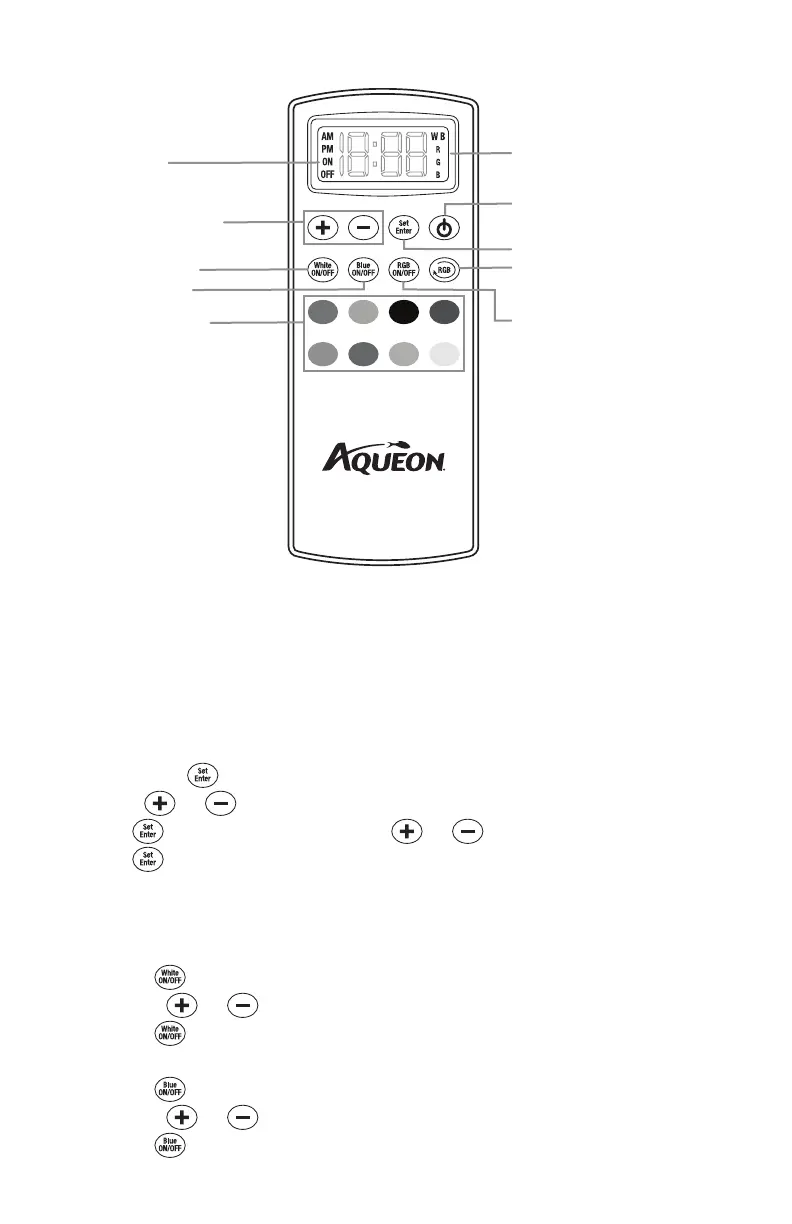
REMOTE LAYOUT
REMOTE INSTRUCTIONS
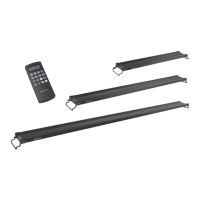
Installing the Batteries
1. Remove the cover from the back of the remote.
2. Install 2 (AAA) batteries (included).
3. Close the cover – the remote is now ready for use.
Setting the Time
1. Press and hold for 3 seconds until you see the hour blinking
2. Use the
and buttons to set the hour – ‘AM/PM’ will be displayed on the screen.
3. Press . The minutes will be blinking. Use the
and buttons to set the minute.
4. Press . The time will be set.
Programming Desired Color Options
Set the fixture to the desired color combination by following the steps below:
1. Setting the White LEDs
a. Press to turn the White LEDs on – ‘W’ will be displayed on the screen.
b. Use the
and buttons to adjust the color intensity of the White LEDs only.
c. Press to turn the White LEDs off.
2. Setting the Blue LEDs
a. Press to turn the Blue LEDs on – ‘B’ will be displayed on the screen.
b. Use the
and buttons to adjust the color intensity of the Blue LEDs only.
c. Press to turn the Blue LEDs off.
On/Off
Use when setting the timer
function for White, Blue and
RGBs to be on or off
LCD screen will indicate the time of day
(AM/PM) as well as which lights are on:
W/B/RGB
Adjust Brightness
Color intensity can be increased or
decreased in 10% increments
8 Preset Colors
White On/Off
Blue On/Off
Power
RGB On/Off
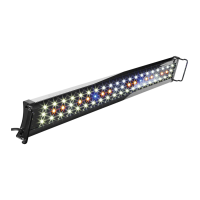
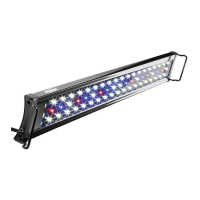
What is RGB?
Red, green and blue LEDs are mixed
together to create a broad array of
colors. 8 preset options were created
for quick customization.
Set/Enter
Use when setting the time and storing the
timer function for White, Blue and RGBs
RGB Scroll
Scroll through RGB colors in 3 different
speeds.