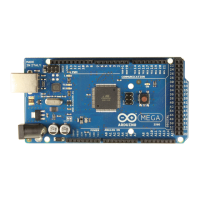
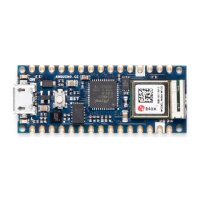
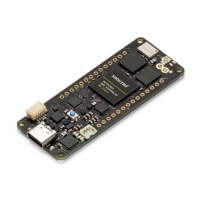
The Board
1 Application Examples
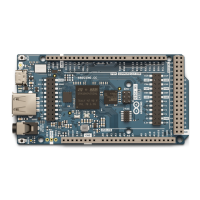
The GIGA R1 WiFi combines the best of the Portenta H7 and the Mega 2560. A generous amount of I/O easily
accessible via pins allows for easy and fast testing of new ideas and solutions. The STM32H7 has ample power to
handle machine-learning tasks. Your IoT projects can even benefit from the Arduino IoT Cloud with the help of the
onboard secure element and its wireless connectivity.
3D Printing: The Mega form factor has been very popular for creating 3D printers. Connect sensors to the
high-resolution ADC interfaces for high-performance sensing of the 3D printing process. Together with the
dual-core computing power, control the printing process like never before. Monitor filament usage and print
status locally over Bluetooth® or from anywhere in the world with the Arduino IoT Cloud, or any other third-
party service, and its Wi-Fi® features.
Audio Processing: The GIGA R1 WiFi provides a 3.5 mm audio input/output to easily interact with audio signals
in the environment. Analyse and create audio signals directly on the board. Connect a microphone and control
a wide range of digital and analog devices. Create your own musical instrument and change the note through
the various inputs. Create an online concert with the Arduino IoT Cloud or any other third-party service and
connect with people all over the world.
Data acquisition device: Thanks to the numerous analog inputs, including the jack connector (J15) and the
two DAC outputs with a resolution up to 12 bits, you can create your own data acquisition device. Make your
own multimeter or even an oscilloscope and create an online dashboard with the Arduino IoT Cloud or any
other third-party service. Design your own electrochemical experiments, apply custom current/voltage
waveforms and check the status of your experiment from the comfort of your home.
2 Accessories
Micro UFL antenna (Included)
USB-C® cable (Not included)
USB 2.0 Type-A cable (Not included)
 Loading...
