EasyManuals Logo

Arduino Portenta H7 Series User Manual

Arduino Portenta H7 Series
20 pages
To Next Page IconTo Next Page
To Previous Page IconTo Previous Page
Page #12 background imageLoading...
Page #12 background image
Arduino® Portenta H7 Lite Connected
12 / 20 Arduino® Portenta H7 Lite Connected Modified: 11/05/2022
4 Application Examples
Due to the dual core processing, the Portenta supports a wide array of applications.
4.1 Accessories
Portenta Vision shield
USB 2.0 Cable Type A/B
Portenta Breakout Board
5 Functional Overview
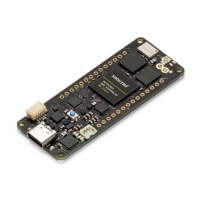
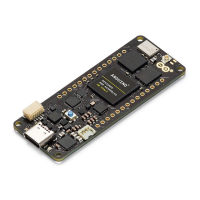
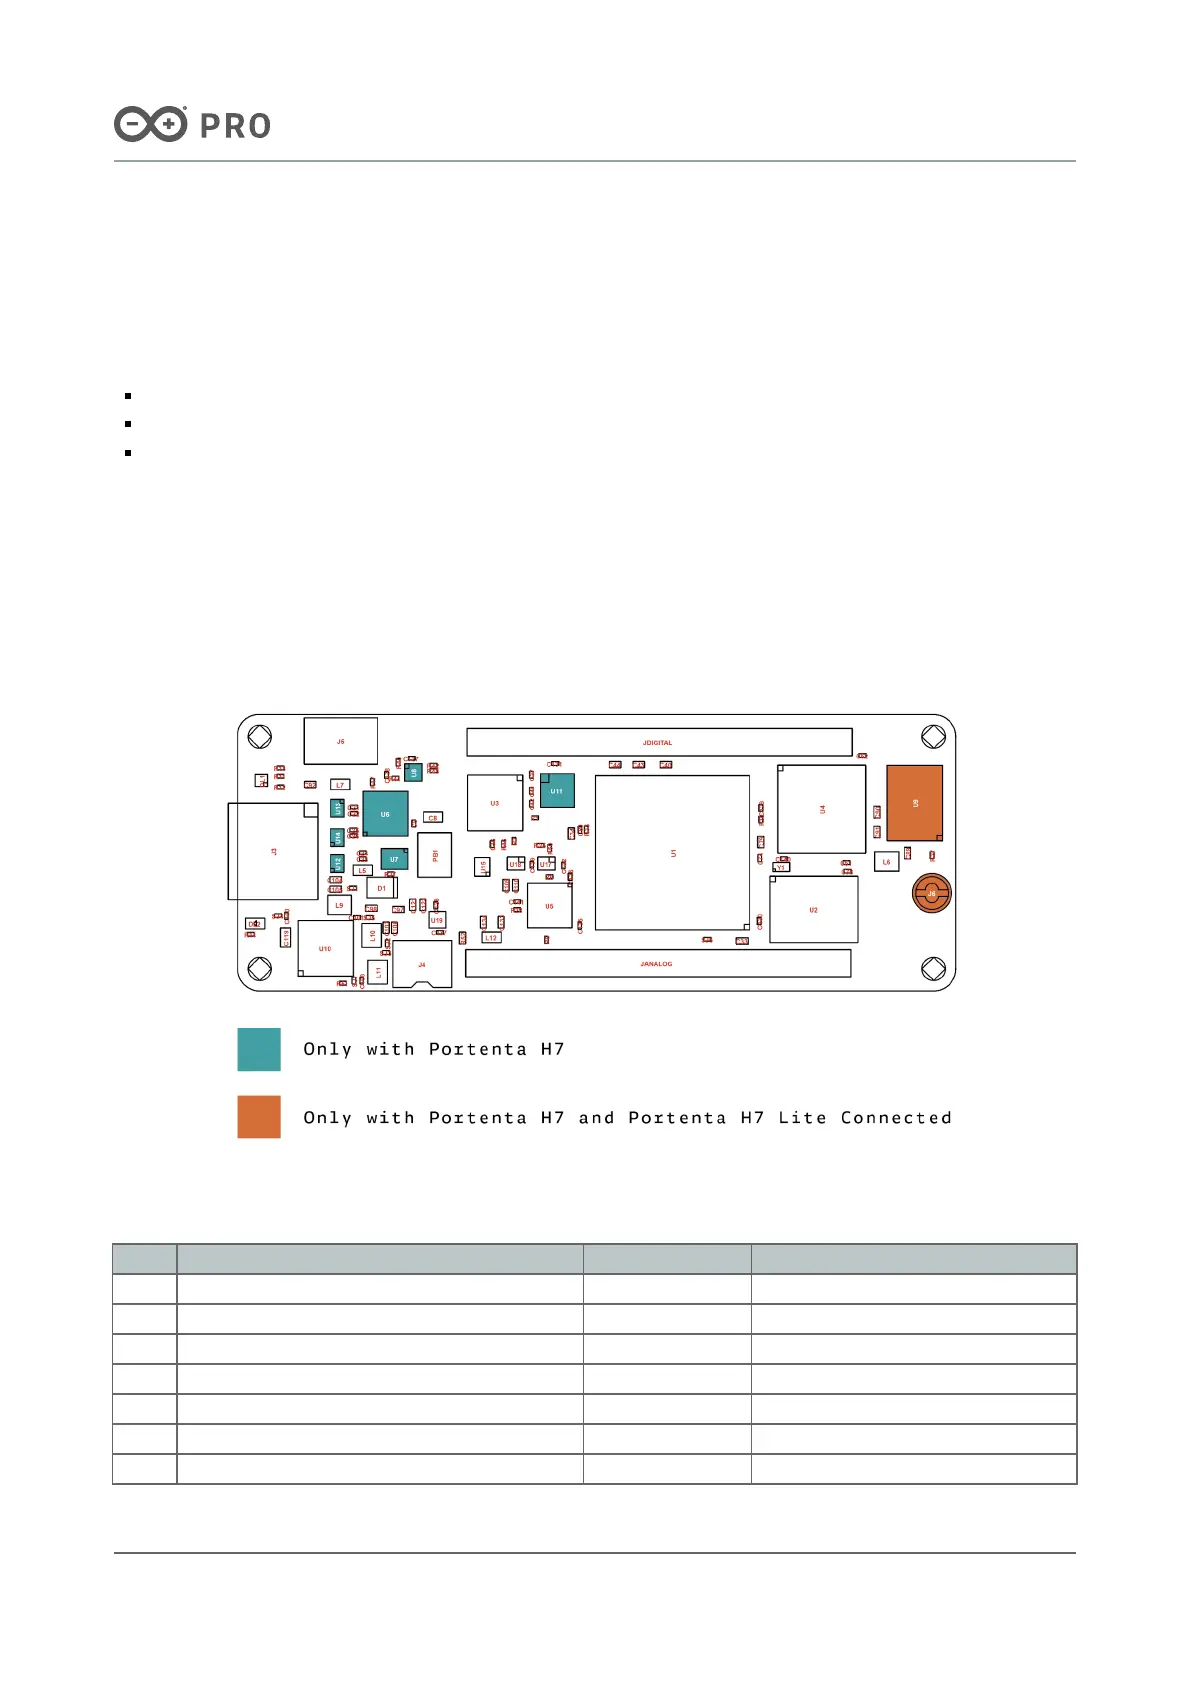
5.1 Board Topology
Depending on the variant, some of the components does not apply. The image below originates from the H7 form
factor, see what components are applied on your board:
Board Topology
Ref. Description Ref. Description
U1 Main processor U10 Power Manager
U3 USB HS PHY U12, U13, U14 ESD protection*
U4 SDRAM U16 Crypto Chip (Microchip)
U5 Ethernet PHY J1, J2 High Density Connectors
U6 MIPI to USB-C/DisplayPort converter* ANT1 Antenna or U.FL Connector**
U8 I2C level shifter* J4 Battery Connector
U9 Wifi/BT Module** J5 ESLOV Connector

Questions and Answers:

Question and Answer IconNeed help?

Do you have a question about the Arduino Portenta H7 Series and is the answer not in the manual?

Arduino Portenta H7 Series Specifications

General IconGeneral
ProcessorDual-core Arm Cortex-M7 and Cortex-M4
Clock Speed480 MHz (Cortex-M7), 240 MHz (Cortex-M4)
Flash Memory2 MB
SRAM1 MB
Operating Voltage3.3V
Input Voltage (recommended)5V
EEPROMNo
Operating Temperature-40°C to +85°C
Dimensions66.04 mm x 25.4 mm
RAM8 MB SDRAM
Analog Output Pins2
ConnectivityWiFi, Bluetooth, Ethernet
WiFi802.11 b/g/n
BluetoothBluetooth 5
USBUSB 2.0
Ethernet10/100 Ethernet
Camera InterfaceParallel camera interface
CANYes
SPIYes
I2CYes
UARTYes

Related product manuals