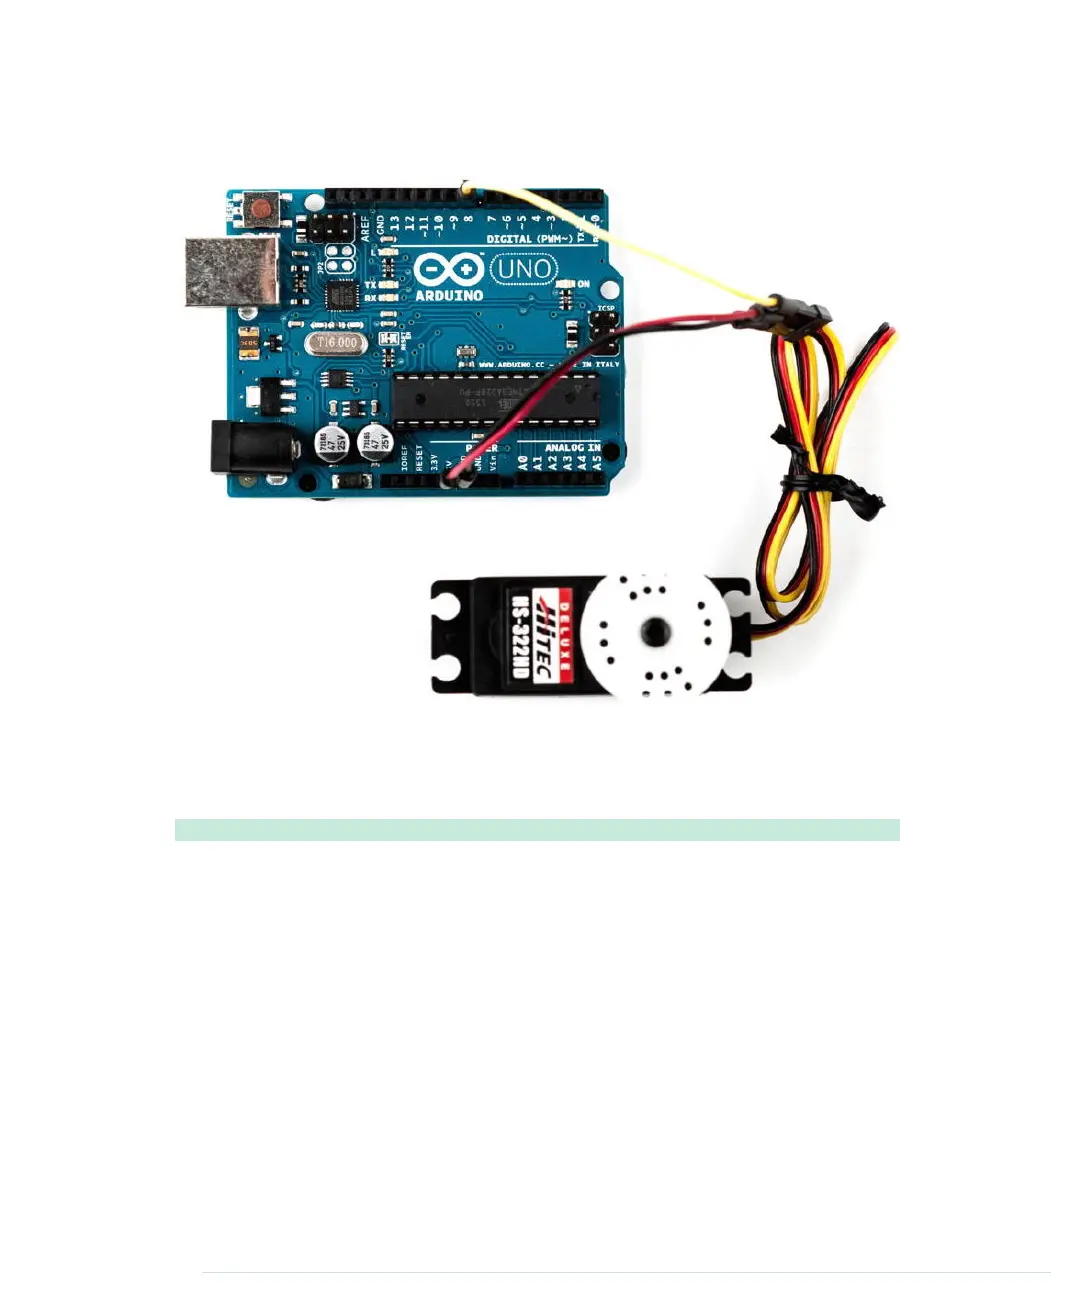
Here’s a picture of a servo motor connected to an Arduino using wires. You
can also use pin headers, but wires give you more flexibility.
Controlling servo motors is convenient, because you can set the motor’s shaft
to an angle between 0 and 180. With the following sketch, you can send a
degree value via the serial port and move the servo motor accordingly:
Motors/SerialServo/SerialServo.ino
#include <Servo.h>
Line 1
-
const unsigned int MOTOR_PIN = 9;
-
const unsigned int MOTOR_DELAY = 15;
-
const unsigned int SERIAL_DELAY = 5;
5
const unsigned int BAUD_RATE = 9600;
-
-
Servo servo;
-
-
void setup() {
10
Serial.begin(BAUD_RATE);
-
servo.attach(MOTOR_PIN);
-
delay(MOTOR_DELAY);
-
servo.write(1);
-
delay(MOTOR_DELAY);
15
}
-
-
Chapter 13. Controlling Motors with Arduino • 228
report erratum • discuss
www.it-ebooks.info
 Loading...