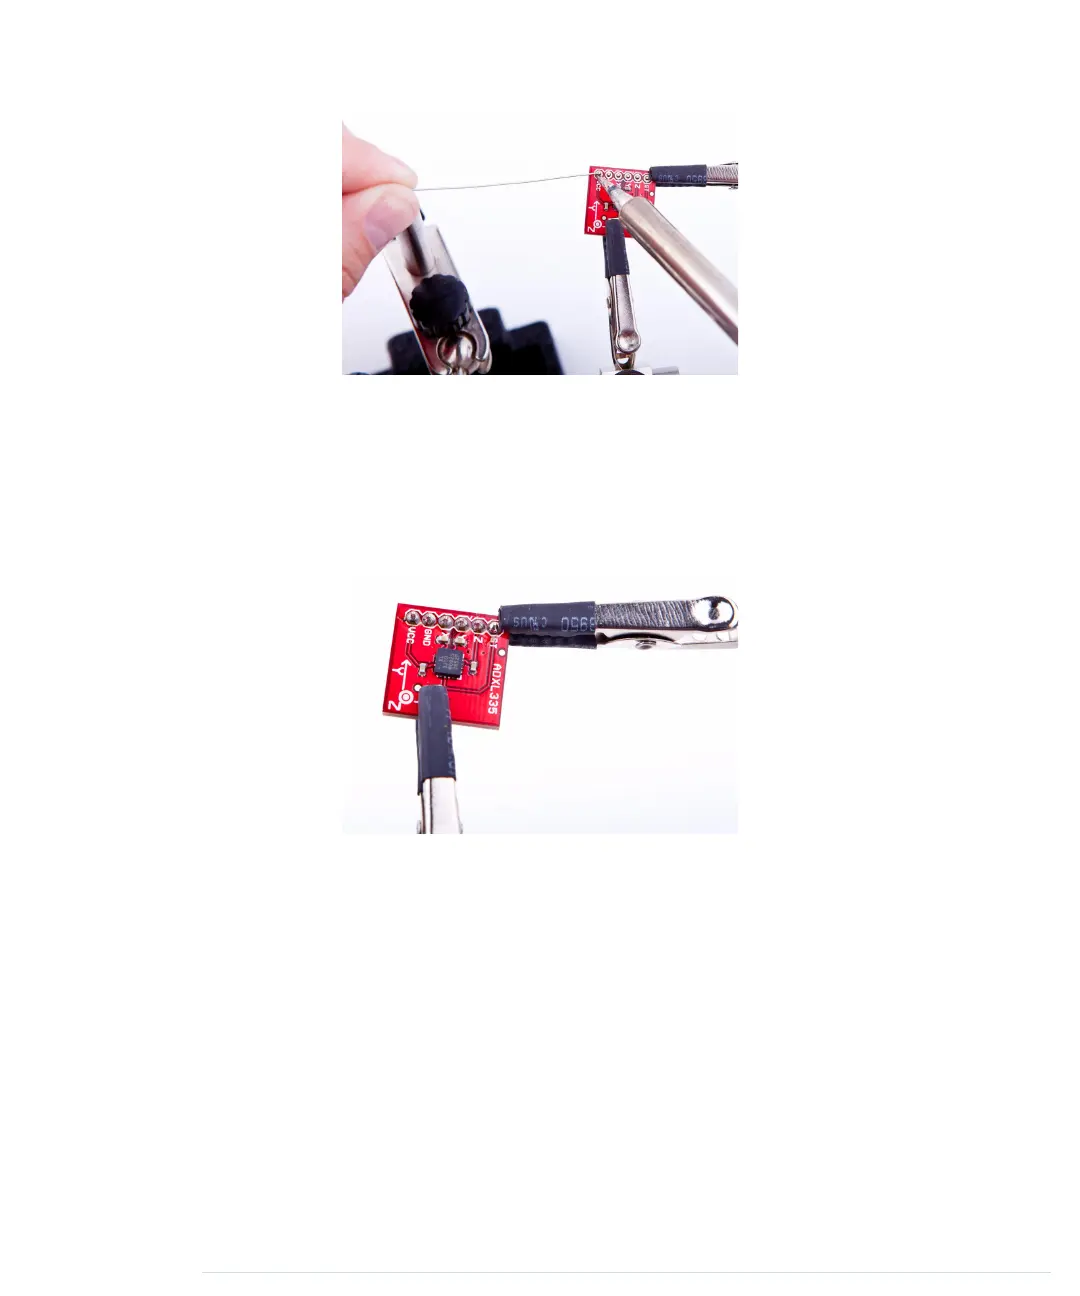
As soon as the solder starts to flow, you’re safer, because the solder distributes
heat automatically. Feed some more solder (not too much!) until you have a
nice, shiny solder joint. The whole process shouldn’t take more than two to
three seconds. When you’re finished, remove the iron tip quickly and give the
joint a few seconds to cool down.
Repeat this for all six pin headers, and the result should look like this:
Test it by building the motion-sensing game controller, and play a video game
to relax.
Congratulations! You have just finished your first soldering job!
Learning How to Desolder
Let’s face it: even if soldering isn’t that difficult, things can still go wrong.
Sometimes you solder a part to the wrong place. In other cases you acciden-
tally use too much solder and create unwanted connections. To correct such
mistakes, you have to remove the excessive solder.
The following figure shows two of the most popular tools for desoldering. On
the left you see a desoldering braid, and on the right you see a desoldering
pump (also known as a solder sucker).
report erratum • discuss
Learning How to Desolder • 247
www.it-ebooks.info
 Loading...