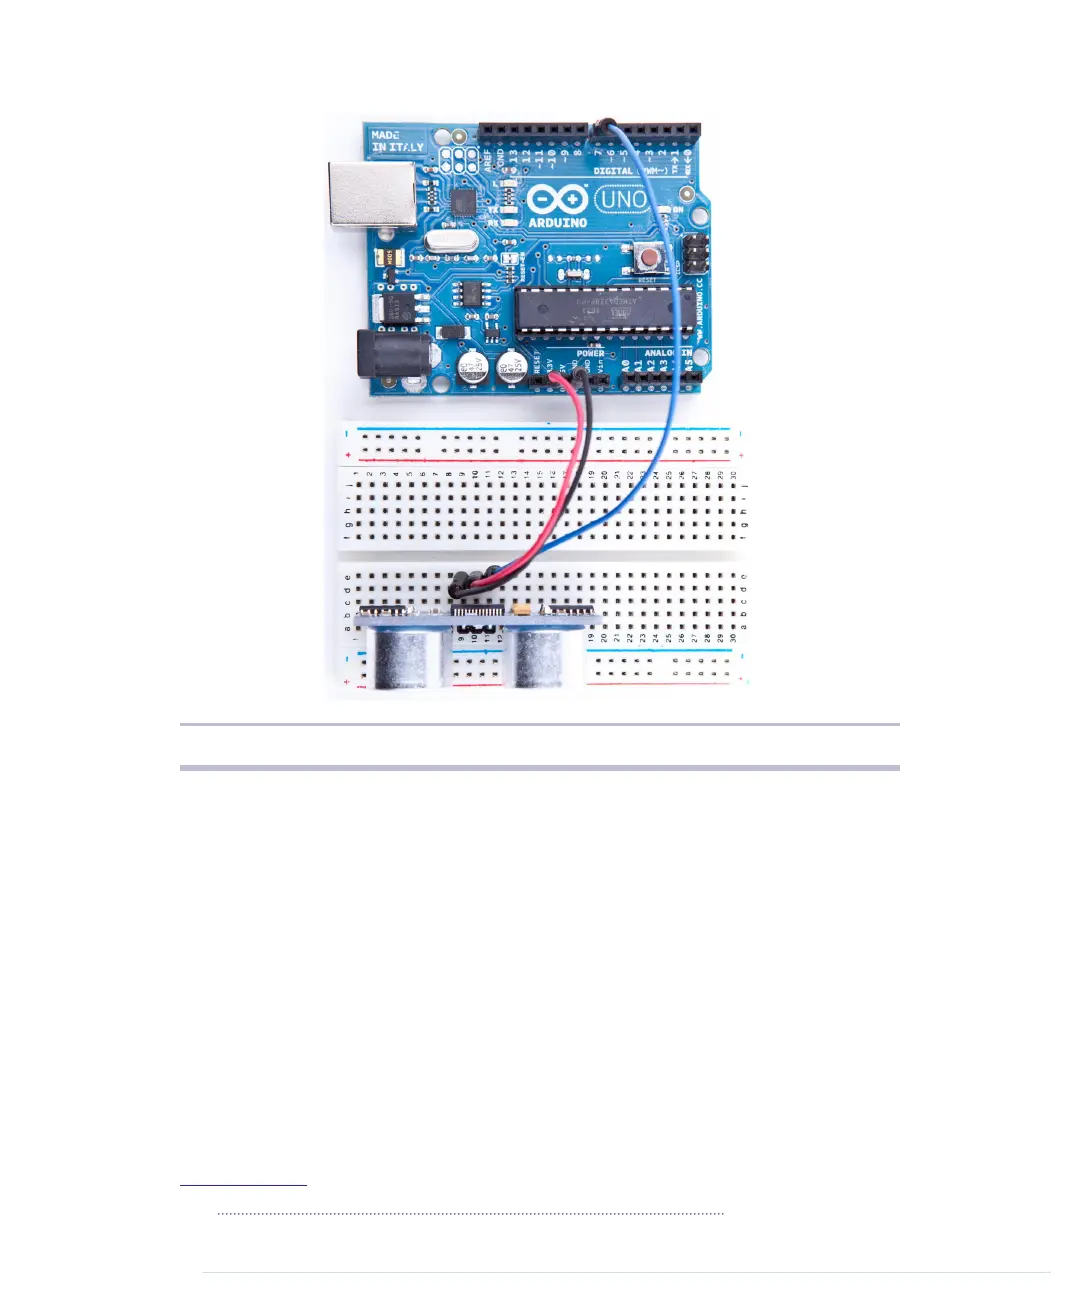
Figure 16—Photo of PING))) basic circuit
The real action happens in
loop
, where we actually implement the PING)))
protocol. According to the data sheet,
2
we can control the sensor using pulses,
and it returns results as variable-width pulses, too.
In lines 9 to 11, we set the sensor’s signal pin to
LOW
for 2 microseconds to
bring it to a proper state. This will ensure clean
HIGH
pulses that are needed
in the next steps. (In the world of electronics, you should always be prepared
for jitters in the power supply.)
Finally, it’s time to tell the sensor to do some work. In lines 13 to 15, we set
the sensor’s signal pin to
HIGH
for 5 microseconds to start a new measurement.
Afterward, we set the pin to
LOW
again, because the sensor will respond with
a
HIGH
pulse of variable length on the same pin.
2.
http://www.parallax.com/downloads/ping-ultrasonic-distance-sensor-product-guide
report erratum • discuss
Measuring Distances with an Ultrasonic Sensor • 81
www.it-ebooks.info
 Loading...