3
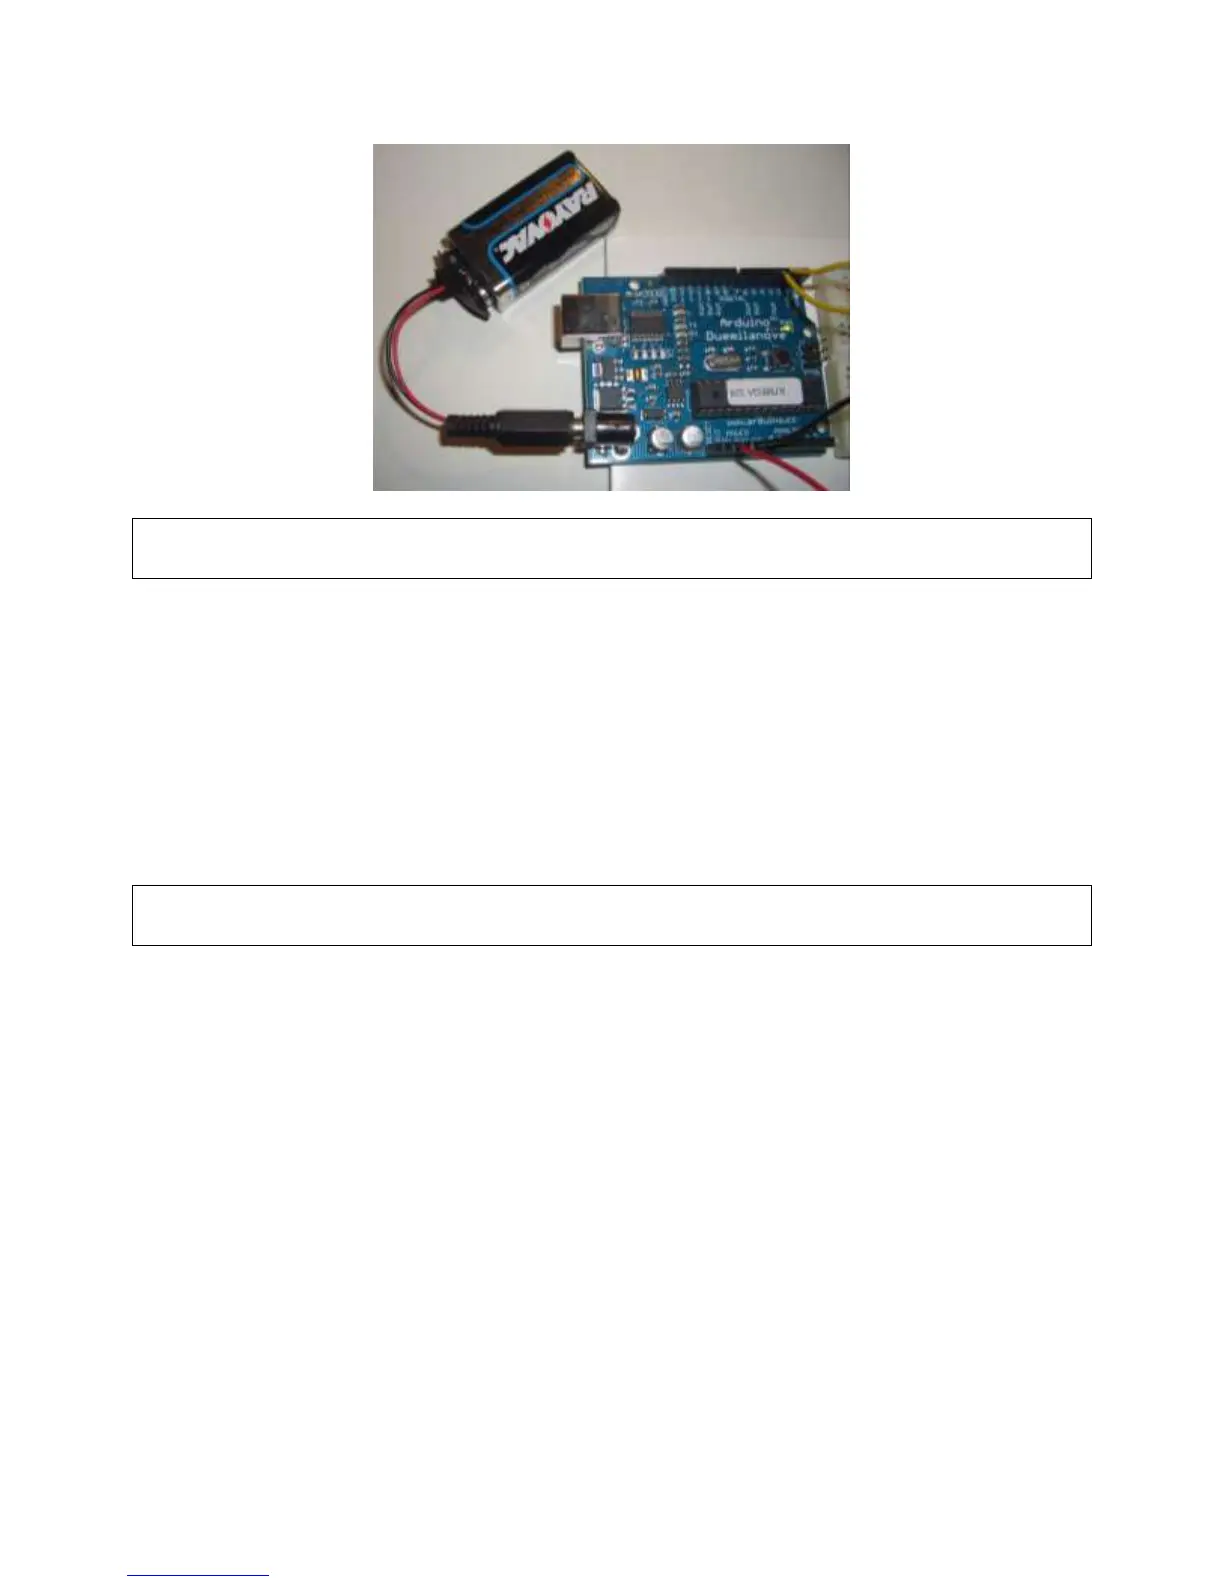
Warning: Watch the polarity as you connect your battery to the snap as reverse orientation
could blow out your board.
Disconnect your Arduino from the computer. Connect a 9 V battery to the Arduino power jack
using the battery snap adapter. Confirm that the blinking program runs. This shows that you can
power the Arduino from a battery and that the program you download runs without needing a
connection to the host PC
1.5 Moving On
Connect your Arduino to the computer with the USB cable. You do not need the battery for now.
The green PWR LED will light. If there was already a program burned into the Arduino, it will
run.
Warning: Do not put your board down on a conductive surface; you will short out the pins on
the back!
Start the Arduino development environment. In Arduino-speak, programs are called “sketches”,
but here we will just call them programs.
In the editing window that comes up, enter the following program, paying attention to where
semi-colons appear at the end of command lines.
void setup()
{
Serial.begin(9600);
Serial.println("Hello World");
}
void loop()
{}
Your window will look something like this

 Loading...


