6
Warning: Only use solid wire on the breadboard. Strands of stranded wire can break off and fill
the holes permanently.
Hint: Trim wires and component leads so that wires and components lie close to the board.
To keep the Arduino board and breadboard together, you can secure both to a piece of fom-core,
cardboard or wood using double-stick foam tape or other means.
2 Flashing an LED
Light emitting diodes (LED's) are handy for checking out what the Arduino can do.. For this
task, you need an LED, a 330 ohm resistor, and some short
pieces of 22 or 24 g wire. The figure to the right is a sketch
of an LED and its symbol used in electronic schematics
Using 22 g solid wire, connect the 5V power pin on the
Arduino to the bottom red power bus on the breadboard and
the Gnd pin on the Arduino to the bottom blue power buss
on the breadboard. Connect the notched or flat side of the LED (the notch or flat is on the rim
that surrounds the LED base; look carefully because it can be hard to find) to the Gnd bus and
the other side to a free hole in main area of the breadboard Place the resistor so that one end is in
the same column as the LED and the other end is in a free column. From that column, connect a
wire to digital pin 2 on the Arduino board. Your setup will look something like this
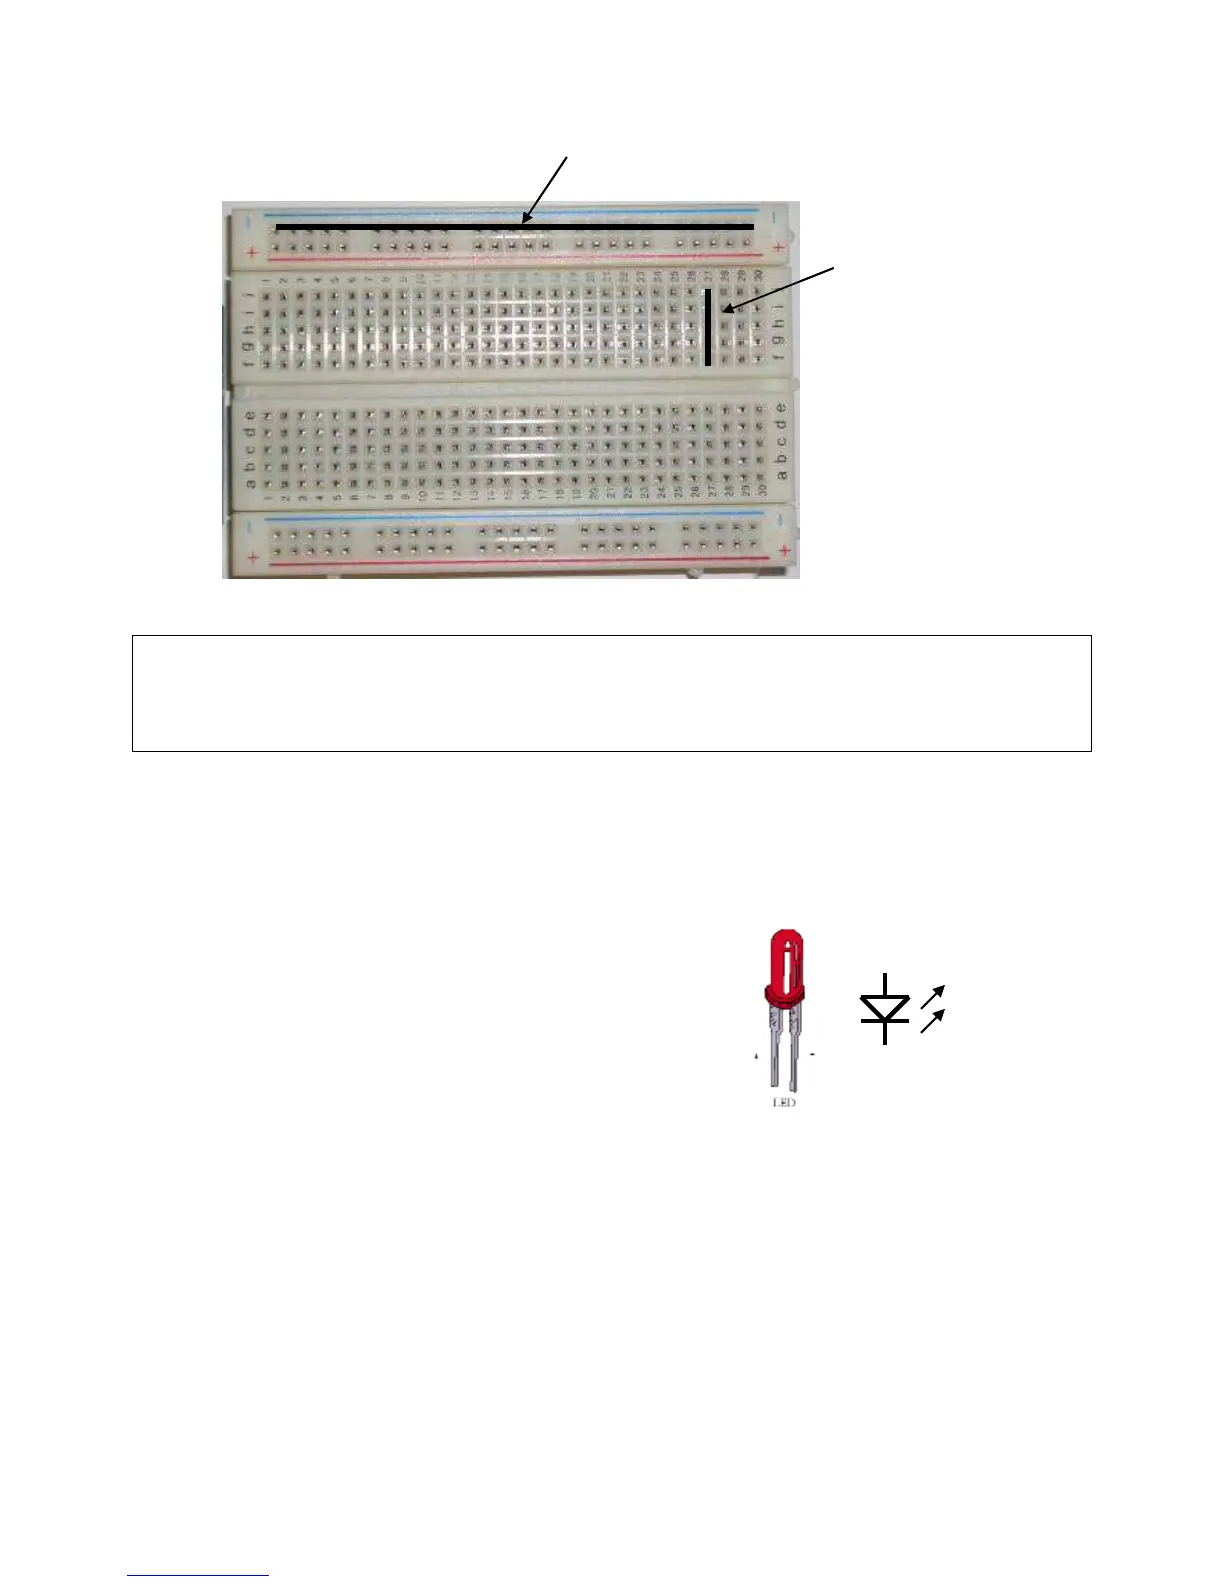
Horizontal runs connected
Vertical runs
connected
Horizontal runs connected
Vertical runs
connected

 Loading...


