7
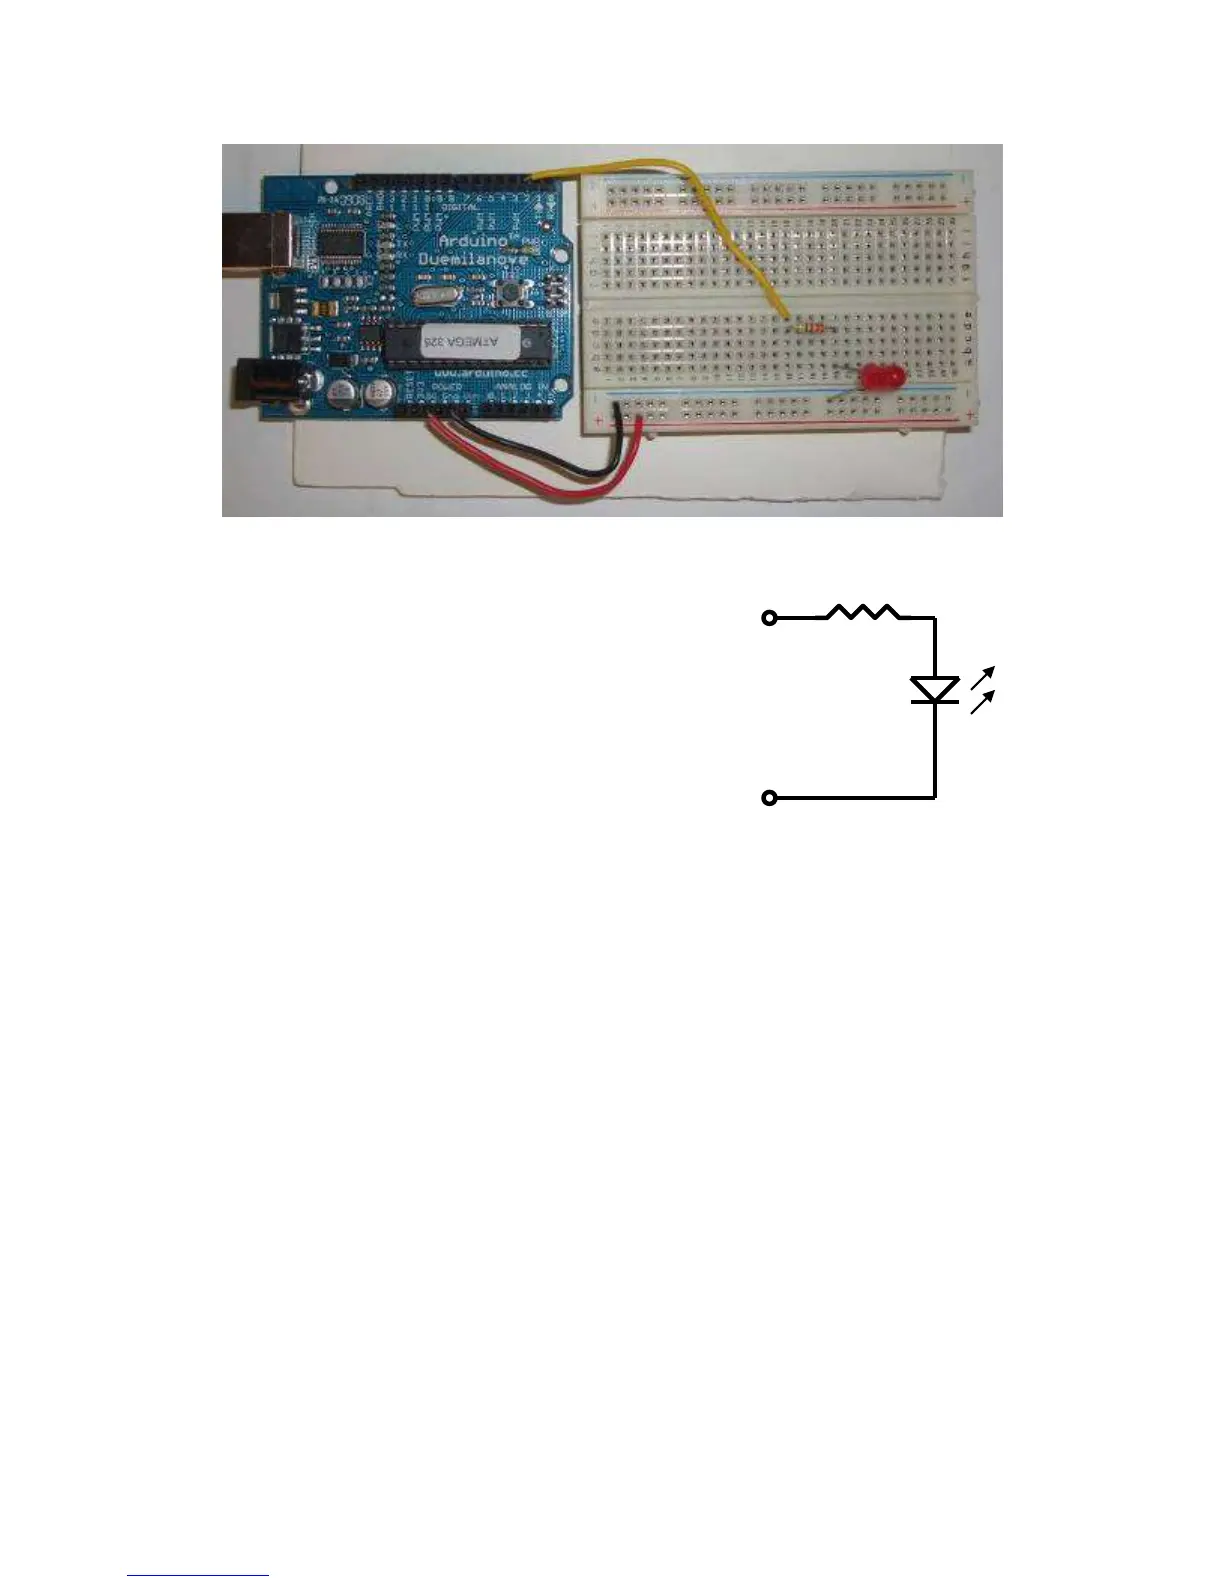
To test whether the LED works, temporarily
disconnect the wire from pin 2 on the Arduino
board and touch to the 5V power bus. The LED
should light up. If not, try changing the orientation
of the LED. Place the wire back in pin 2.
On the LED, current runs from the anode (+) to the
cathode (-) which is marked by the notch. The
circuit you just wired up is represented in schematic
form in the figure to the right.
Create and run this Arduino program
void setup()
{
pinMode(2,OUTPUT);
digitalWrite(2,HIGH);
delay(1000);
digitalWrite(2,LOW);
}
void loop()
{}
Did the LED light up for one second? Push the Arduino reset button to run the program again.
Now try this program, which will flash the LED at 1.0 Hz. Everything after the // on a line is a
comment, as is the text between „/*‟ and „*/‟ at the top. It is always good to add comments to a
program.
/*---------------------------
Blinking LED, 1.0 Hz on pin 2
----------------------------*/

 Loading...


