〖Indoor Unit Installation〗
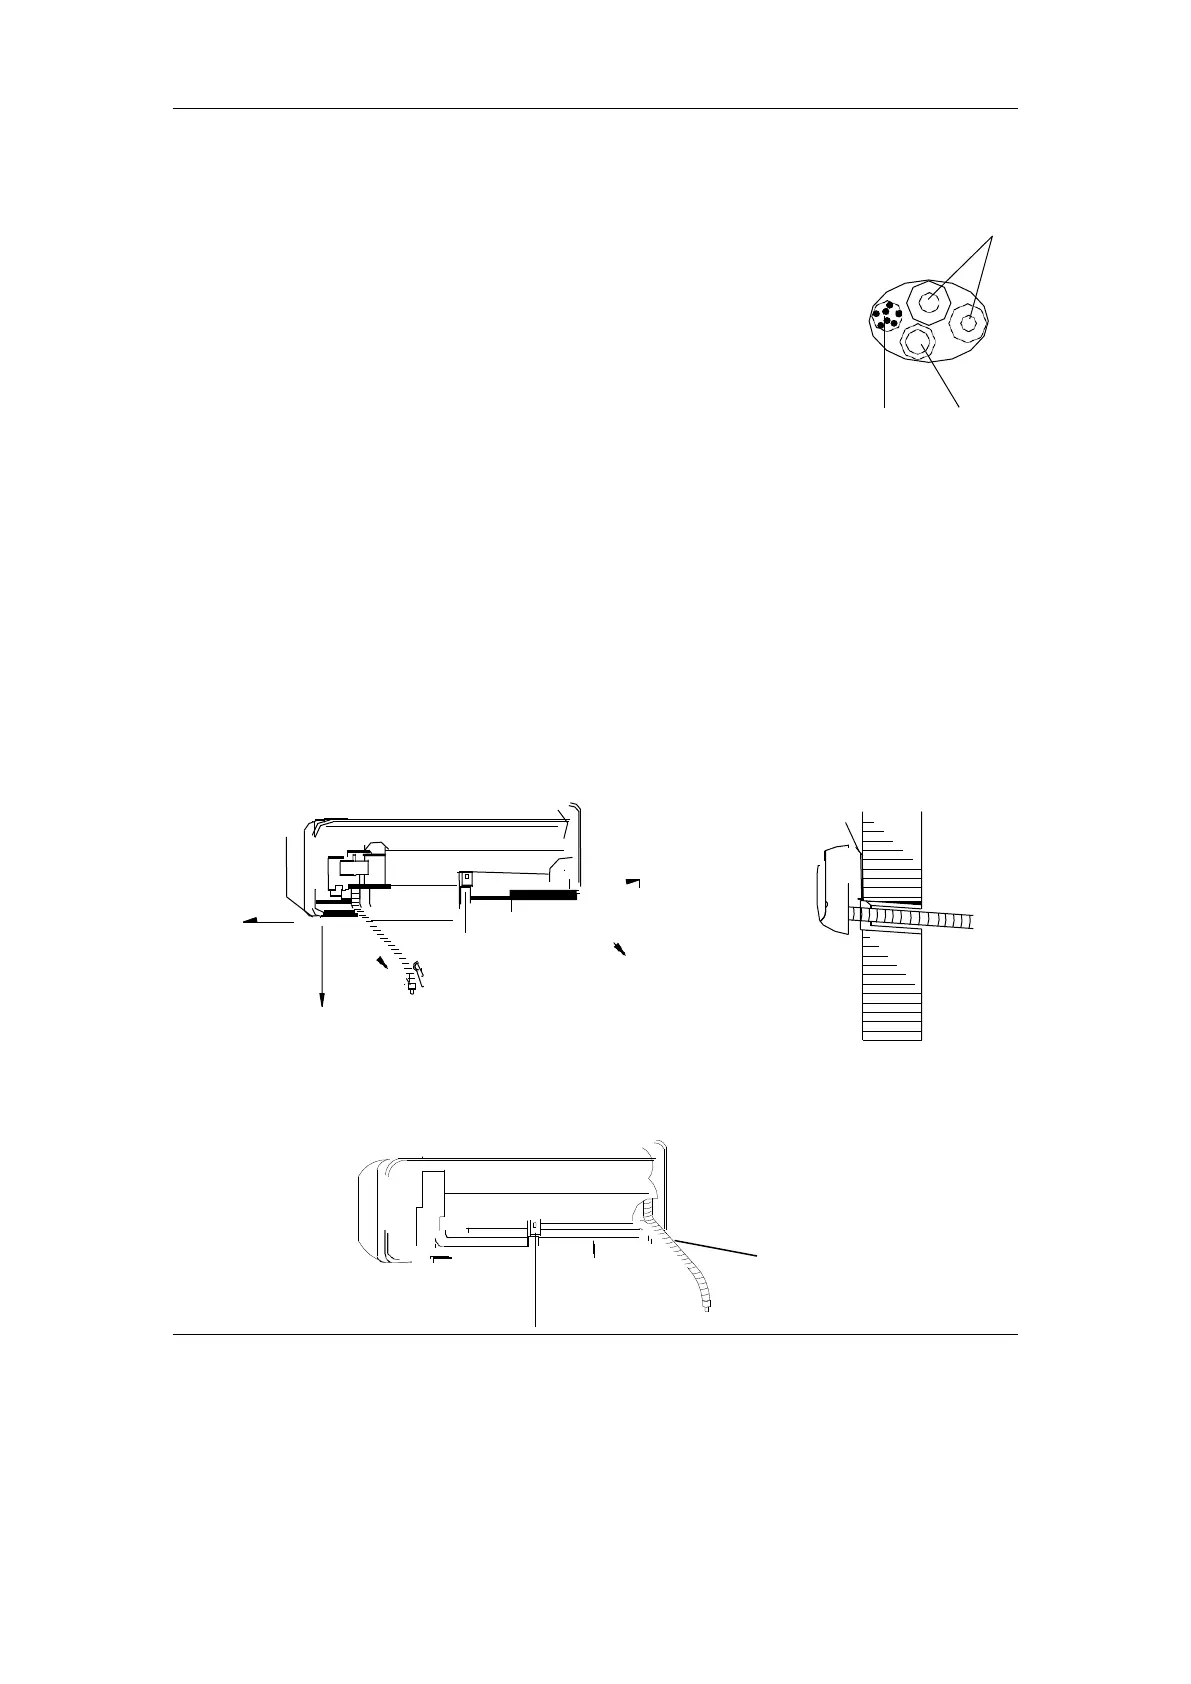
The tube may be connected in several directions as below shown Figures.
1. Connecting right back tube (similar to right lower tube) (Optional,
Refer to Fig.7)
⚫ Pull out the tubing from bottom of the chassis; and connect the
drainpipe. Strap the joint of tubing reliably.
⚫ Lead the connecting wire to the indoor unit (Do not connect to
the power).
⚫ Strap together the tubes, discharge pipe and connecting wire
with adhesive tape. The discharge pipe is put at the below.
Pipeline
⚫ Remove the board which is on the chassis.
⚫ Check if the connections are reliable.
Units connecting wires
Fig.6
Drain pipe
⚫ Mount the indoor unit on the two hooks at the upper part of installation board.
2. Connecting left back tube (similar to left lower tube). (Optional, Refer to Fig9)
⚫ Move the discharge tube to the left side, and discharge cap to the right side.
⚫ Fix the tubes in the slot of the indoor unit with the fix clamp.
⚫ The following mounting steps are the same as those in “1. Connecting right back tube.”
Notes:
Left chart is available for the position of drain hose, refer to Fig.7. Right chart is
available for the position of drain hose, refer to Fig.9.
Drain hose
Installation
Wall
Leftward
Rightward
Rightback
Fixed clamp
Leftback
Downward
Fig.7
Drain hose