〖Outdoor Unit Installation〗
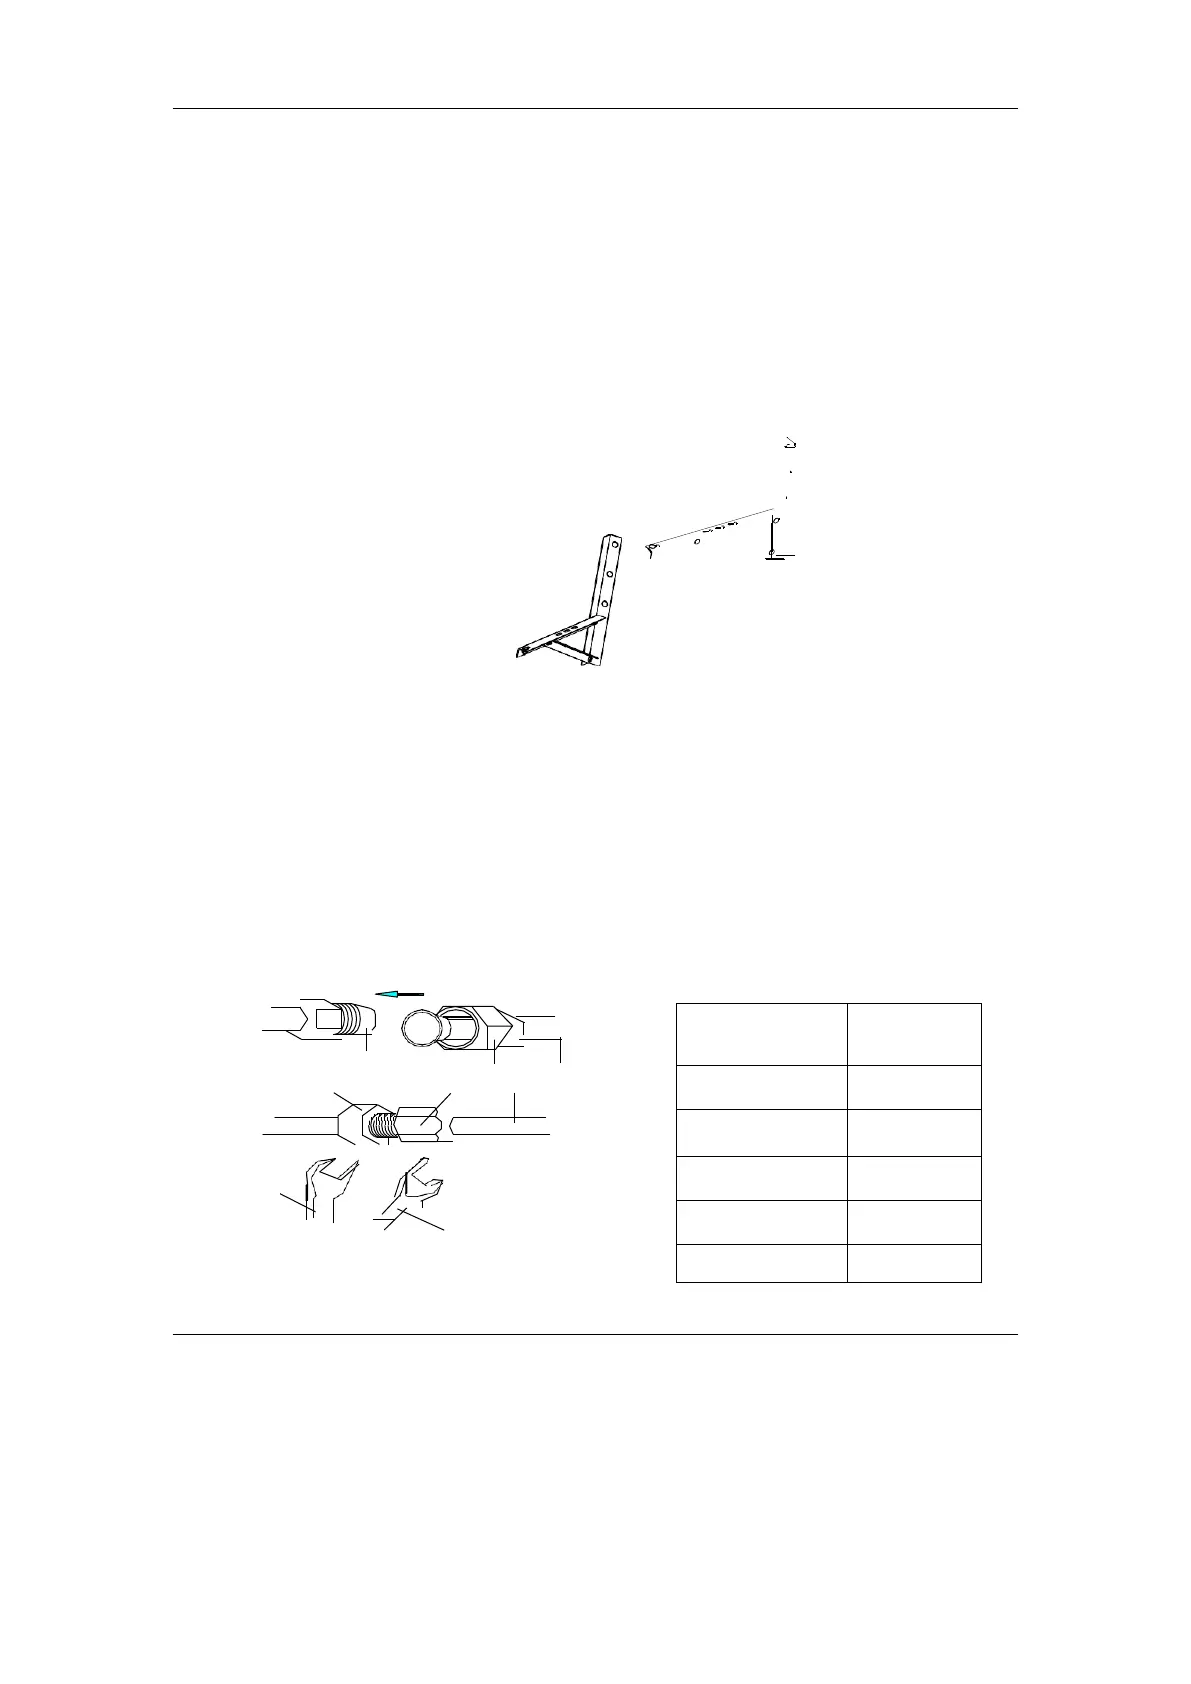
⚫ If installation brackets for installing outdoor unit are needed, user could buy the brackets from our
company or agents(Fig.10).
⚫ Assemble the mounting frame and supports with the attached 6 screws , plain washers, spring
washers, and nuts.
⚫ Drill 6 or more holes on the wall according to the feet size of the air conditioner. Determine the
locations for mounting left and right supports. Ensure that the left and right supports are on the same
level.
⚫ Fix installation frame on the wall with expansive bolts.
⚫ Fix outdoor unit with 4 bolts on the installation brackets.
⚫ Fittings must be tightly screwed; Connection must be tight and reliable.
⚫ In installing outdoor unit, the body should be hung with ropes to prevent from falling.
⚫ In installing or repair, tools and components should be prevented from falling.
⚫ Regularly check the reliability of the installation frame.
Fig.10
〖Tubing Connection
〗
Installation support
⚫ Detach the valve cover of outdoor unit.
⚫ Align flaring nut to the thread center, and screw the nut tightly by hand.
⚫ Screw tightly the flaring nut with torque spanner until the torque spanner produces "click” sound.
⚫ It is recommended to use torque spanner to connect the tubing. If other flexible or fixed spanner is
used, it may damage the horn mouth due to improper force.
⚫ The bending angle of the tube should not be too small or the tube may break up, so the service
personnel should use tube bender to bend the tube.
⚫ Never let water, dust or sand gets into the pipe.
Table 2
Thread Flaring nut
Pipeline
Wrench
Fig.11
Torque Wrench