Fitting instructions for:
• Internal mechanical time clock
• Internal RF receiver for Ariston programmable
room thermostat
These instructions to be used in conjunction with the appliance
installation instructions. Ensure the appliance is electrically
isolated before working on the appliance.
Remove the outer casing, and remove the front control panel by
removing the 2 securing screws.
Remove the clock blanking plate (or existing clock if tting the
RF receiver in a product with an existing mechanical clock) from
the front control panel of the boiler.
Using the 4 securing screws supplied with the clock accessory,
secure the clock/RF receiver into position, ensuring the
accessory is oriented correctly.
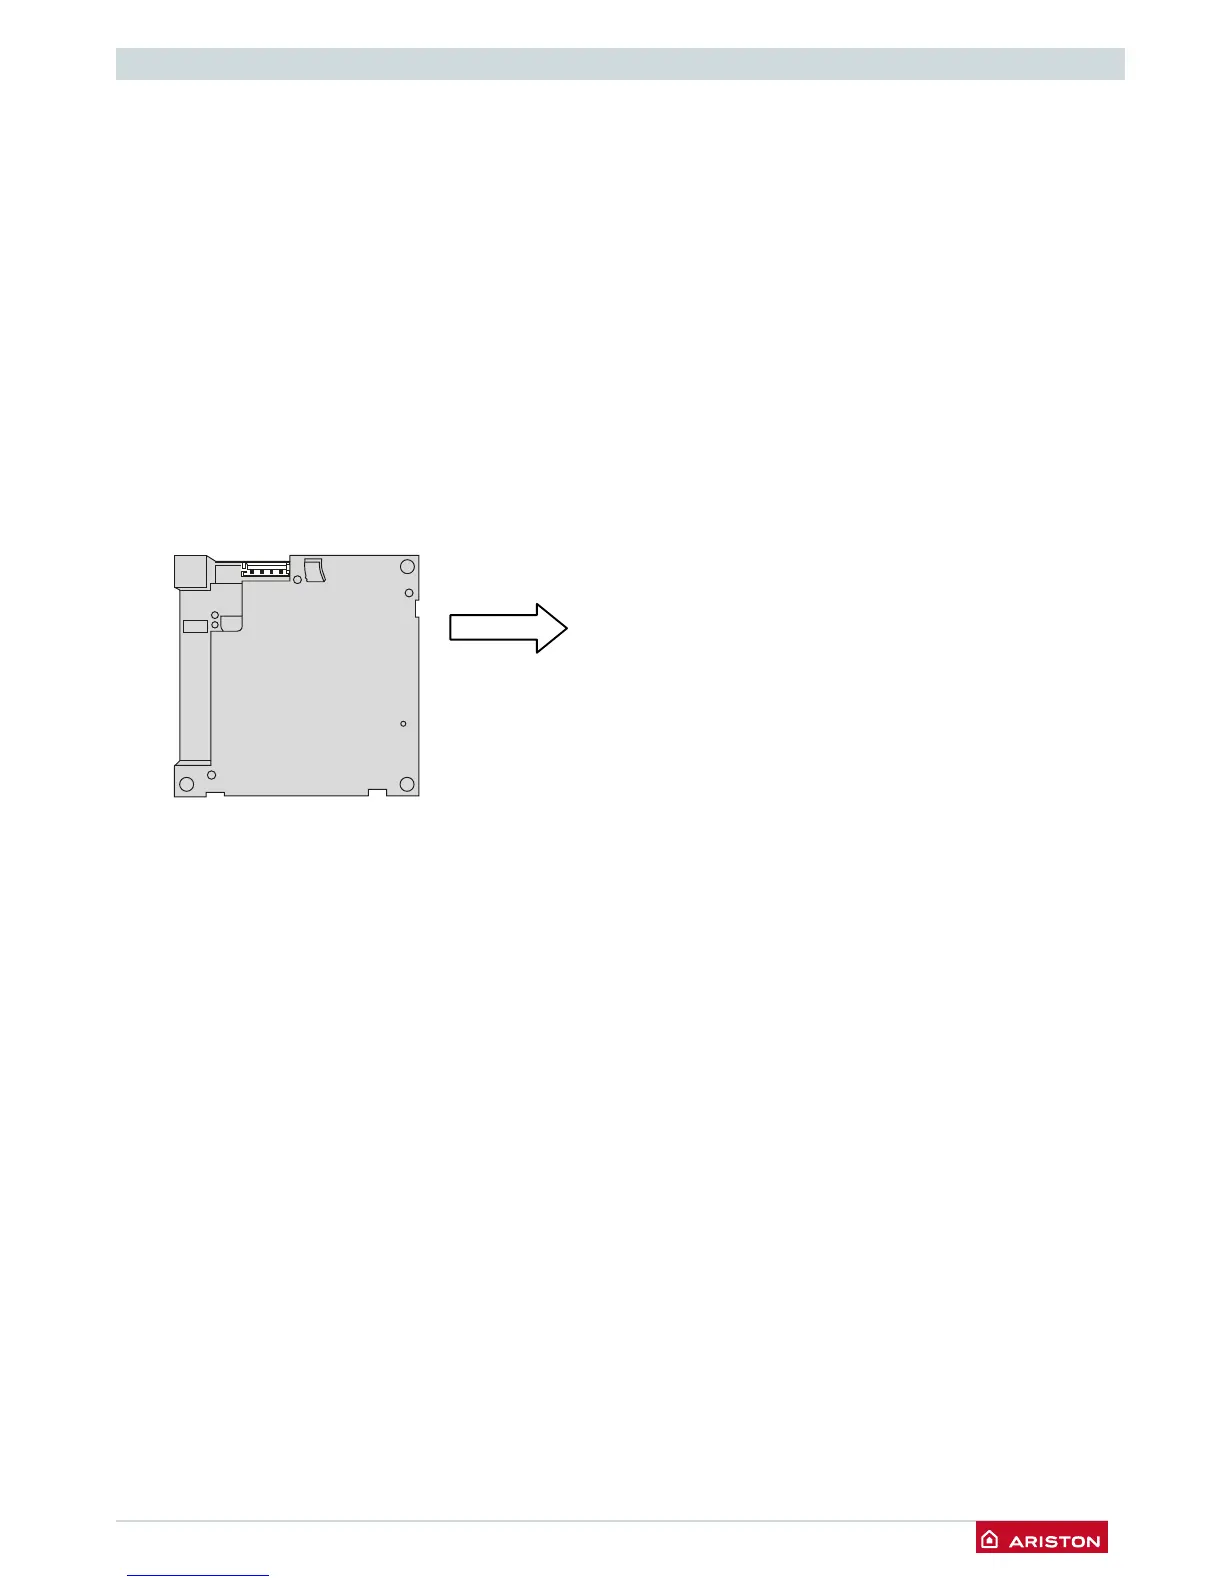
Connect the wires to the clock accessory using the spade
connectors (see g. 1 for wiring conguration)
Fig. 1
Reassemble appliance, turn on electrical supply and operate
accessory using instructions supplied.
1 Ground (Blue)
2 24 V (Black)
3 CH 1 (Brown)
4 NOT USED
 Loading...