9Get Started
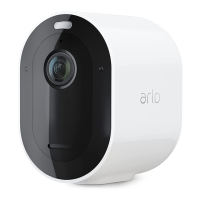
Pro 4 Spotlight Camera
User Manual
Check the LED
The camera LED lights when the camera is powered on. The LED changes color and blinks
depending on the battery charge and to indicate the status of activities such as pairing the
camera and updating the camera rmware.
• Slow blinking blue. The camera is in the process of pairing with the SmartHub.
• Fast blinking blue. The camera paired with the SmartHub.
• Blinking amber. The camera is out of range, a connection error occurred during pairing, or
the camera battery charge is low (15% or less).
• Alternating blue and amber. The camera failed to pair with the SmartHub, or a rmware
update is in process, or a reset is in process.
Find a good location for your camera
Select a location for your camera with a clear vantage point to fully optimize the wide eld
of view. For the best experience, choose a location with a strong WiFi signal. You can check
the WiFi signal strength in the Arlo app. For information about WiFi connections, see WiFi
connection options on page 19.
Wall-mount your camera with the magnetic
mount
Your Pro 4 Spotlight Camera comes with a magnetic-based camera mount. The mount has a
built in groove where you can hide your cable and provide strain relief if you want to keep the
camera mounted and plugged into a wall source.
To install a magnetic mount:
1. Select a location for the mount up to 6.5 feet
(1.9 meters) high.
*
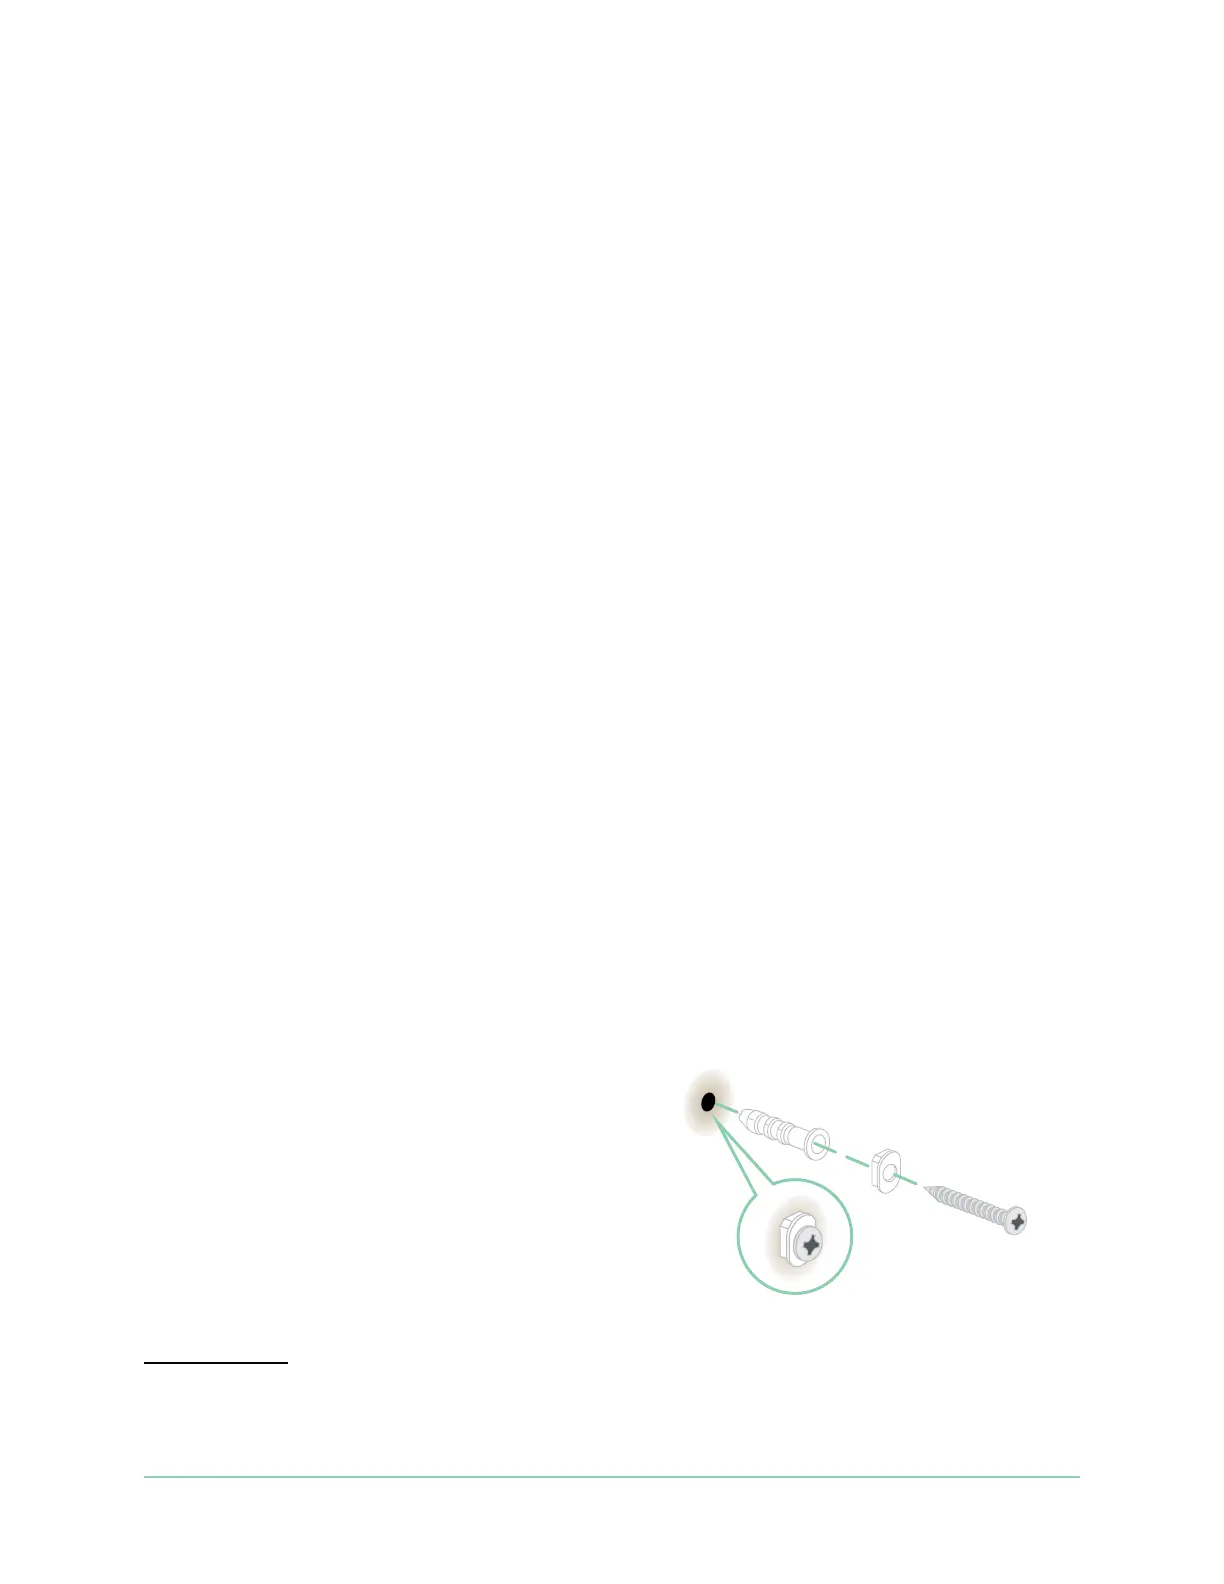
2. Fasten the mouting screw into a wall.
If you’re working with drywall, use the plastic
drywall anchor that we provide.
Use the plastic stopper to help guide how far
to screw it into the wall.
*At 6.5 feet (2 meters) or higher, we recommend using the Arlo Outdoor Mount.