6
5 INSTALLATION GUIDE
1
4
5
3
13
1. Before connection, ush water through pipe-
work to remove all debris etc.to prevent damage
to the valve mechanism.
2. ENSURE WATER SUPPLIES HAVE BEEN
ISOLATED.
3. Remove the xing kit parts if already assem-
bled to the xing stud. Fit the exible hoses into
the mixer body (if not already tted). Ensure the
basin seal is in place & orientated as shown.
The larger diameter of the seal should locate
into the base recess of the mixer. Offer the mixer
towards the basin hole.
This product (with exible hoses) will require
hoses to be manipulated into the basin hole one
at a time.
Red, blue & yellow index pins are supplied.
The appropriate coloured pins should be
pressed into the handle. See sec.1
Remember to t isolating valves*.
*Isolation valves should be tted to permit future maintenance of this product.
The cartridge mechanism includes a strainer.
DO NOT apply heat near this product. Heat generated by
soldering could damage plastic parts and seals.
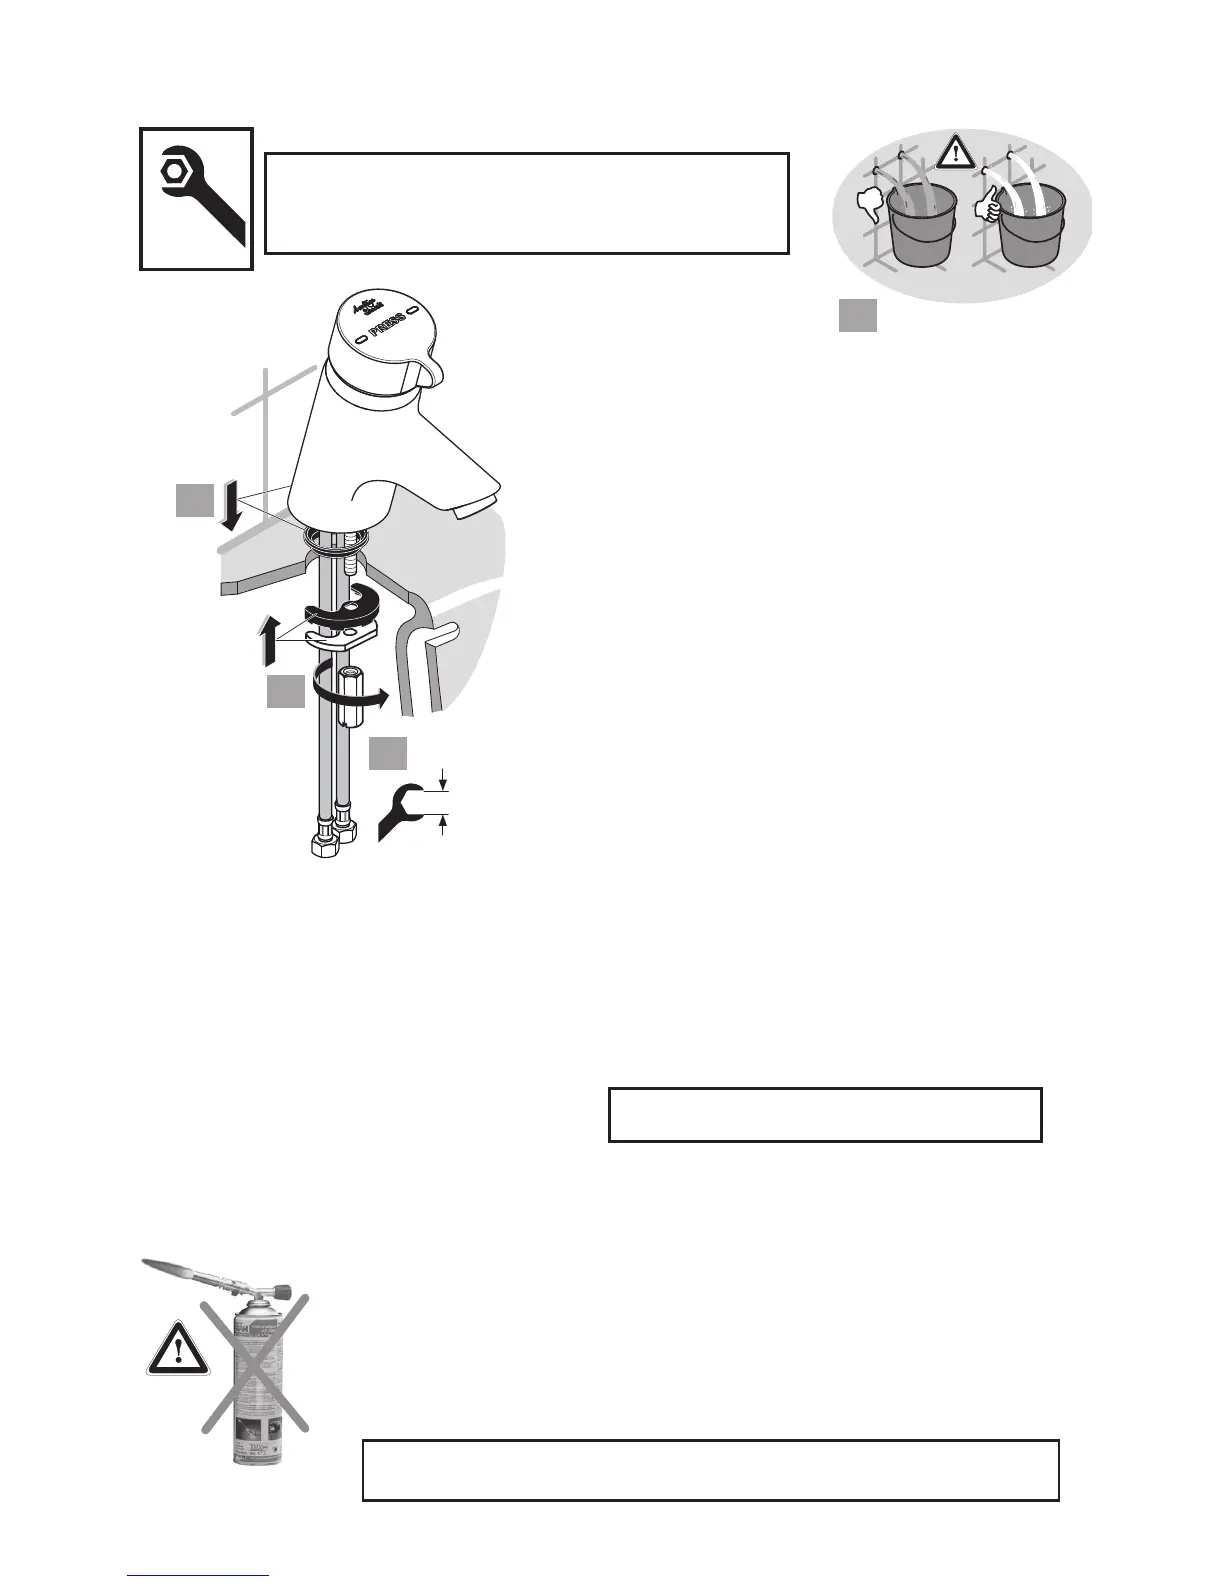
4. Attach the rubber gasket to the clamping plate. With the gasket uppermost
slide this assembly onto the xing stud using the hole in the gasket & plate.
5. Hand tighten the nut against the clamping plate until the rubber gasket makes
contact with the underside of the basin.
Ensure the mixer spout is positioned correctly, & then tighten the nut securely
with a 13mm A/F socket (or spanner).