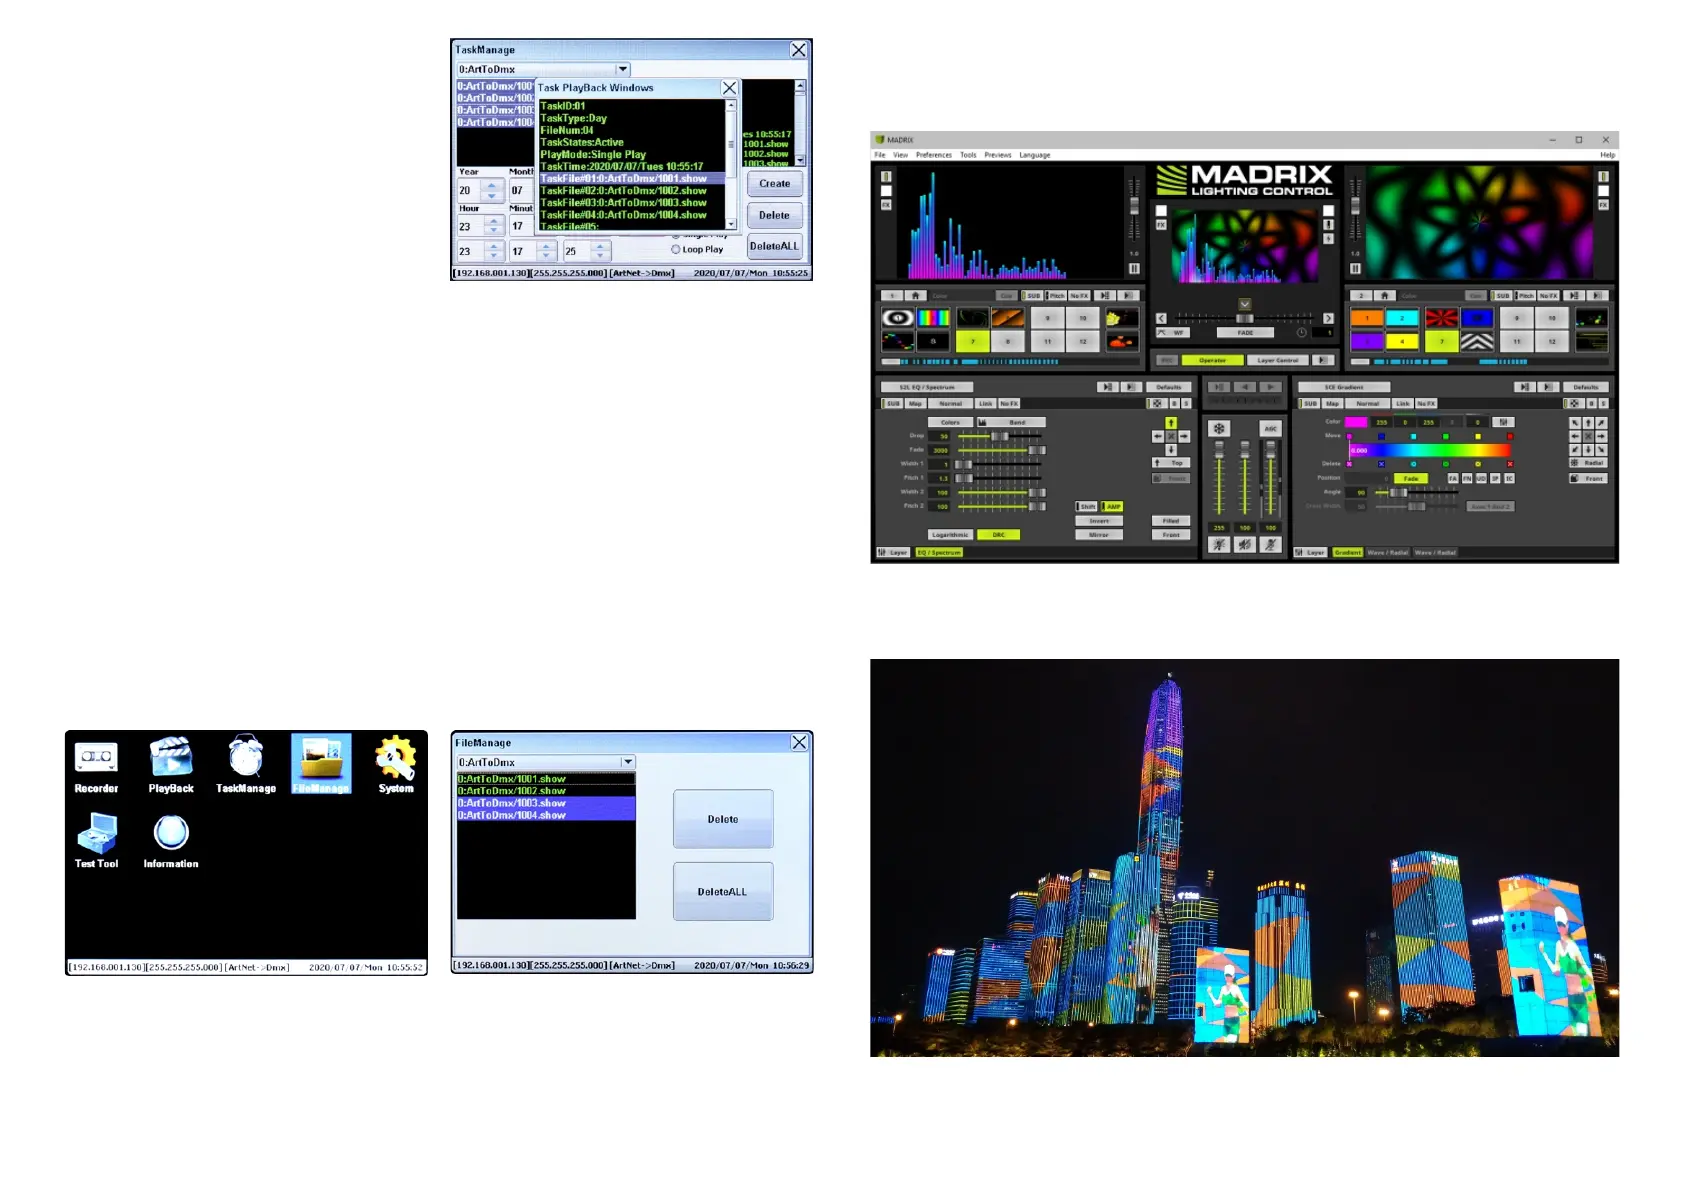
When a task is played, the Task PlayBack Window will pop
up and show the task information.
Note: 1) please make sure the Task function is enabled
in the part of “Set Task” of System Configuration page,
Task should be set as “ON”. Otherwise the created
Tasks will not be played at the scheduled time.
Note: 2) If two tasks are created at the same scheduled
time, the task with Week Task Type will have priority,
the task with Day Task Type will be ignored.
Note: 3) Within a time period, if a task is being
7.FileManage
On the LCD screen home page, touch the “FileManage” icon to enter into FileManage page. FileManage function allows
you to mange the recorded files, you can select multiple files by short touch the file names, then press “Delete Button”
to delete the selected files or press “DeleteALL Button” to delete all recorded files.
Note: please be careful to delete the recorded files, once deleted, the recorded files will lose and all the created
tasks using the deleted files will lose.
Note: 6) This device has memory function, once a task was triggered and device power is reset, the device will
continue to play the triggered task.
Note: 4) If multiple recorded files are selected for a task, and one of them is deleted accidentally, system will
ignore this deleted file and play next file directly.
executed, and the trigger time of another task is within this period, this another task will be ignored.
Note: 5) If you would like to trigger the task repeatedly 24 hours every day, just set the task mode as All Day Task,
choose Week item (number of days in a week) as 7, set the play mode as Loop Play, and set the starting time as
00:00:00 and set the end time as 23:59:59 on the date which is later than the date of system time.
8.Screen Calibration
When touch screen is not sensitive for touch control, we need to calibrate the screen and initialize the calibration
parameter, please follow the steps below:
4. Keep holding the screen for 2 seconds after power on the device then release the screen, the program will enters into
calibration mode, then press the 4 appeared cross sight beads one by one to complete calibration.
1. Power off the device
2. Use the touch pen or a finger to press and hold down the touch screen
3. Power on the device when press and hold down touch screen
Step 1: Record programs (color sequences) that are programmed and played by a ArtNet supported PC
software and save to SD card, following is an example of Madrix lighting control, please refer to its user manual
to learn how:
9. Application of Recorder & TaskManage Functions
Step 2: Create scheduled tasks which will play the chosen recorded programs at scheduled time every day or
week by TaskManage function, which will run under standalone mode, and does not need a ArtNet supported
PC software, following is an application example of TaskManage function:
2) One ArtNet supported PC software is enough for multiple projects which will save much costs.
3) Use the PC software just for Recorder function, all projects can run programs under standalone mode.
Note: 1) The Recorder & TaskManage functions enable the device to run programs under standalone mode.
 Loading...