POWER CHECKING
mark for adjustment
mark for adjustmentmark for adjustment
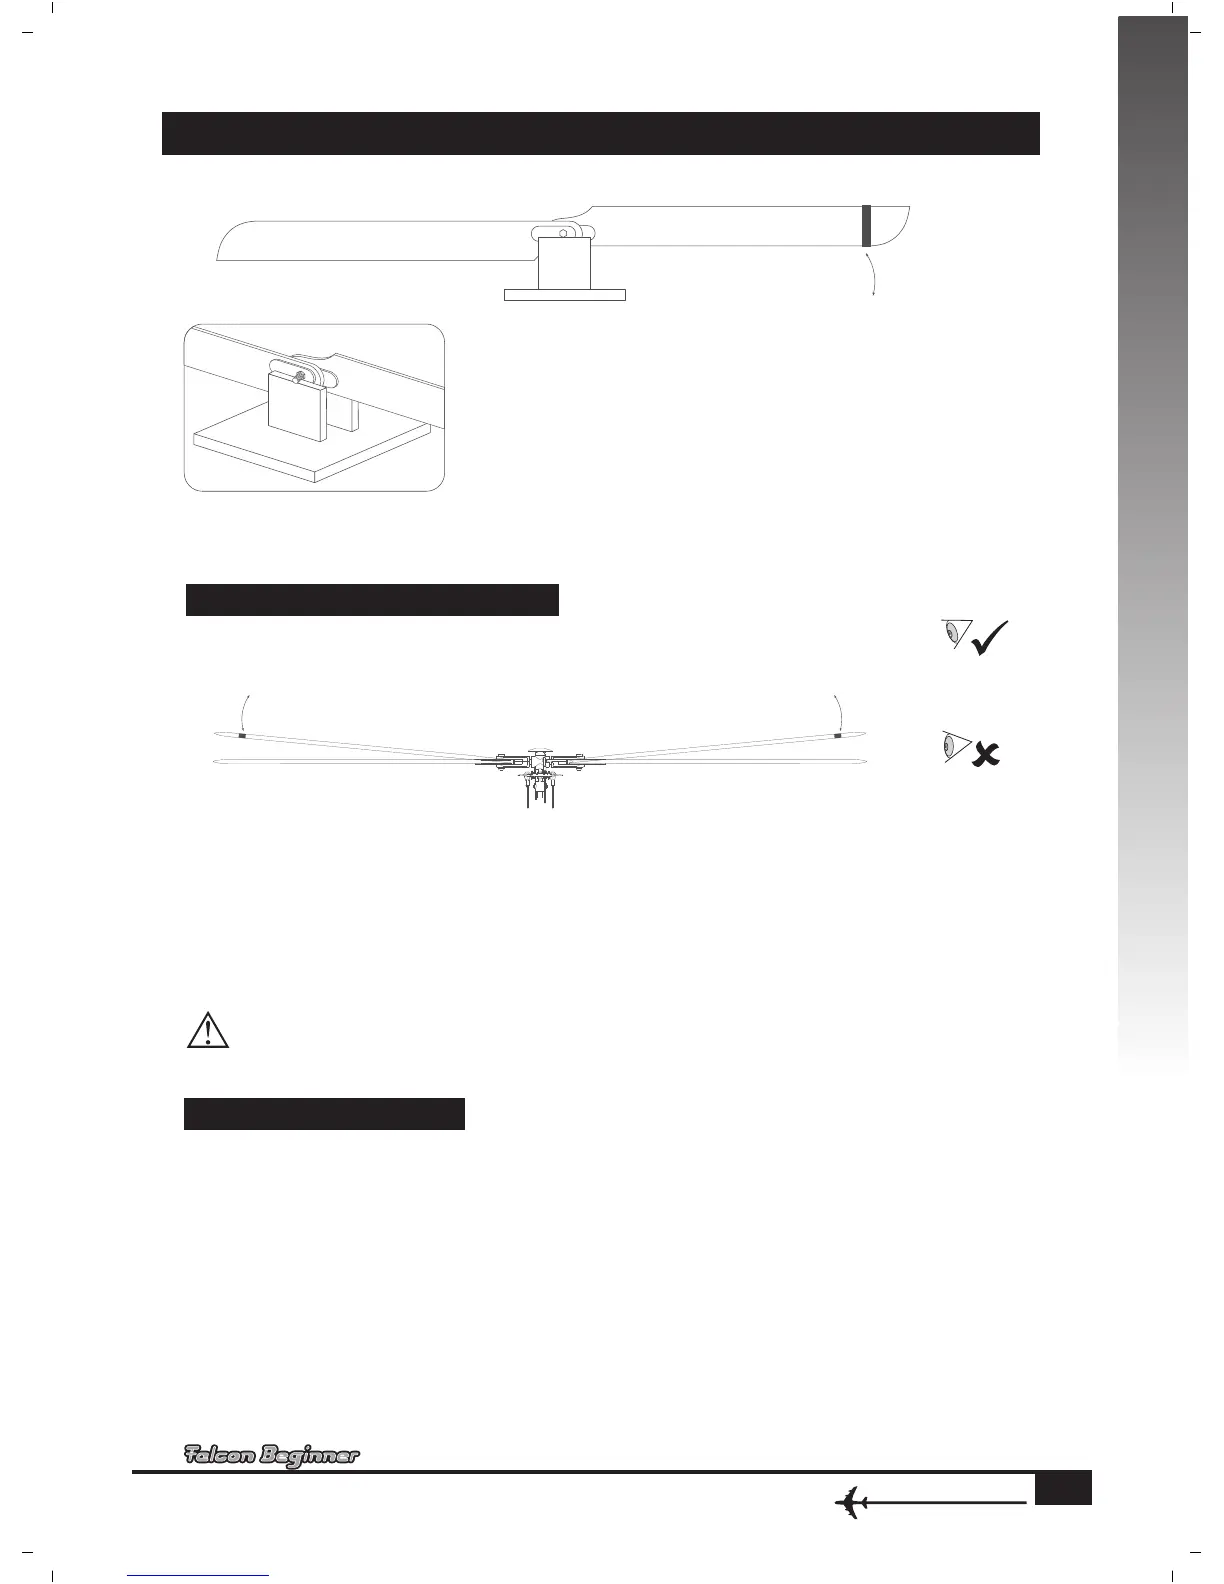
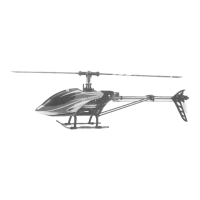
BALANCING THE MAIN ROTOR BLADES AND TAIL BLADES
Check and correct the balance of the main rotor blades before your
first flight. Place a 3M screw through the two main blades as shown in
th e diagram. Tighten th e blades an d ensure that they are st raight as
shown in the diagram. Add tape to the higher blade until the two blades
become level. Repeat the same process for the tail blades.
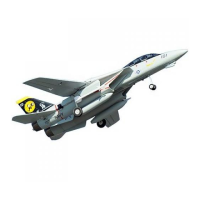
ADJUSTING BLADE TRACKING
Usin g the small colored pieces of tape provided in the kit, aff i x t h e tape to the ends of the rotor
blades as shown in the picture. Hover the helicopter and observe the blade tips, they should appear to be
on one plane or y o u should see just one blade w h e n viewed from the end of t h e blades. If one blade
app e ars h igh e r th a n t h e ot h er a djus t t h e l o w bl a de b y t u r nin g th e ba l l l i nk o ne t u rn a t a t ime eit h er
clockwise or counter clock wise until bot h blades are tra cking on the sam e p lane, see dia gram. This
adjustment is done at the blade grip to ball link connection.
Never keep your eyes on the level of revolving blades to avoid any hurt from flying off blades
accidentally.
Pls check following items when power and speed drops;
1. Whether the battery is fully charged and its specification is suitable;
2. Pitch is too high (over pitch will affect power and flight time );
3. Two Main rotor blades keep in one line;
4. There is a shake between the main and tail rotor, which might be resulted from distortion or loosen on
main shaft or Tail cross shaft;
5. Drive gear or shaft too tight.
www.art-tech.cn
13