MX-2406M / MX-5006M
7
WARNING
• Wait for about 5 sec. before you switch the equipment on again after switching it off.
Switchingitonandoffcontinuouslymaycausebreakdownoftheamplier.
• Even after switching it off, some residual power is always still present.
Pulltheplugoutofthesocketifyoudonotusetheamplierforextendedperiodsoftime.
• Make sure the equipment and all connected equipment are switched off.
• Use the corresponding cable to connect this equipment and other external devices.
5.3 Connect the power supply and switch on the equipment
• Make sure the amplier and connected devices are switched off.
• Turn the volume button (MASTER volume) to the left.
• Connect the supplied AC power cable.
• Switch on the connected external equipment, then the amplier.
5.4 Use of microphone
• Turn the volume control of the selected input to the left. Connect the microphone to the amplier.
• Turn the volume control to the desired position.
• Position the microphone and speak clearly while the volume button is turned to the left and no distortion occurs.
5.5 Switch off
• Turn the volume button to the left to minimum.
• Switch off the ON/OFF button on the amplier, then on the switched-on external devices.
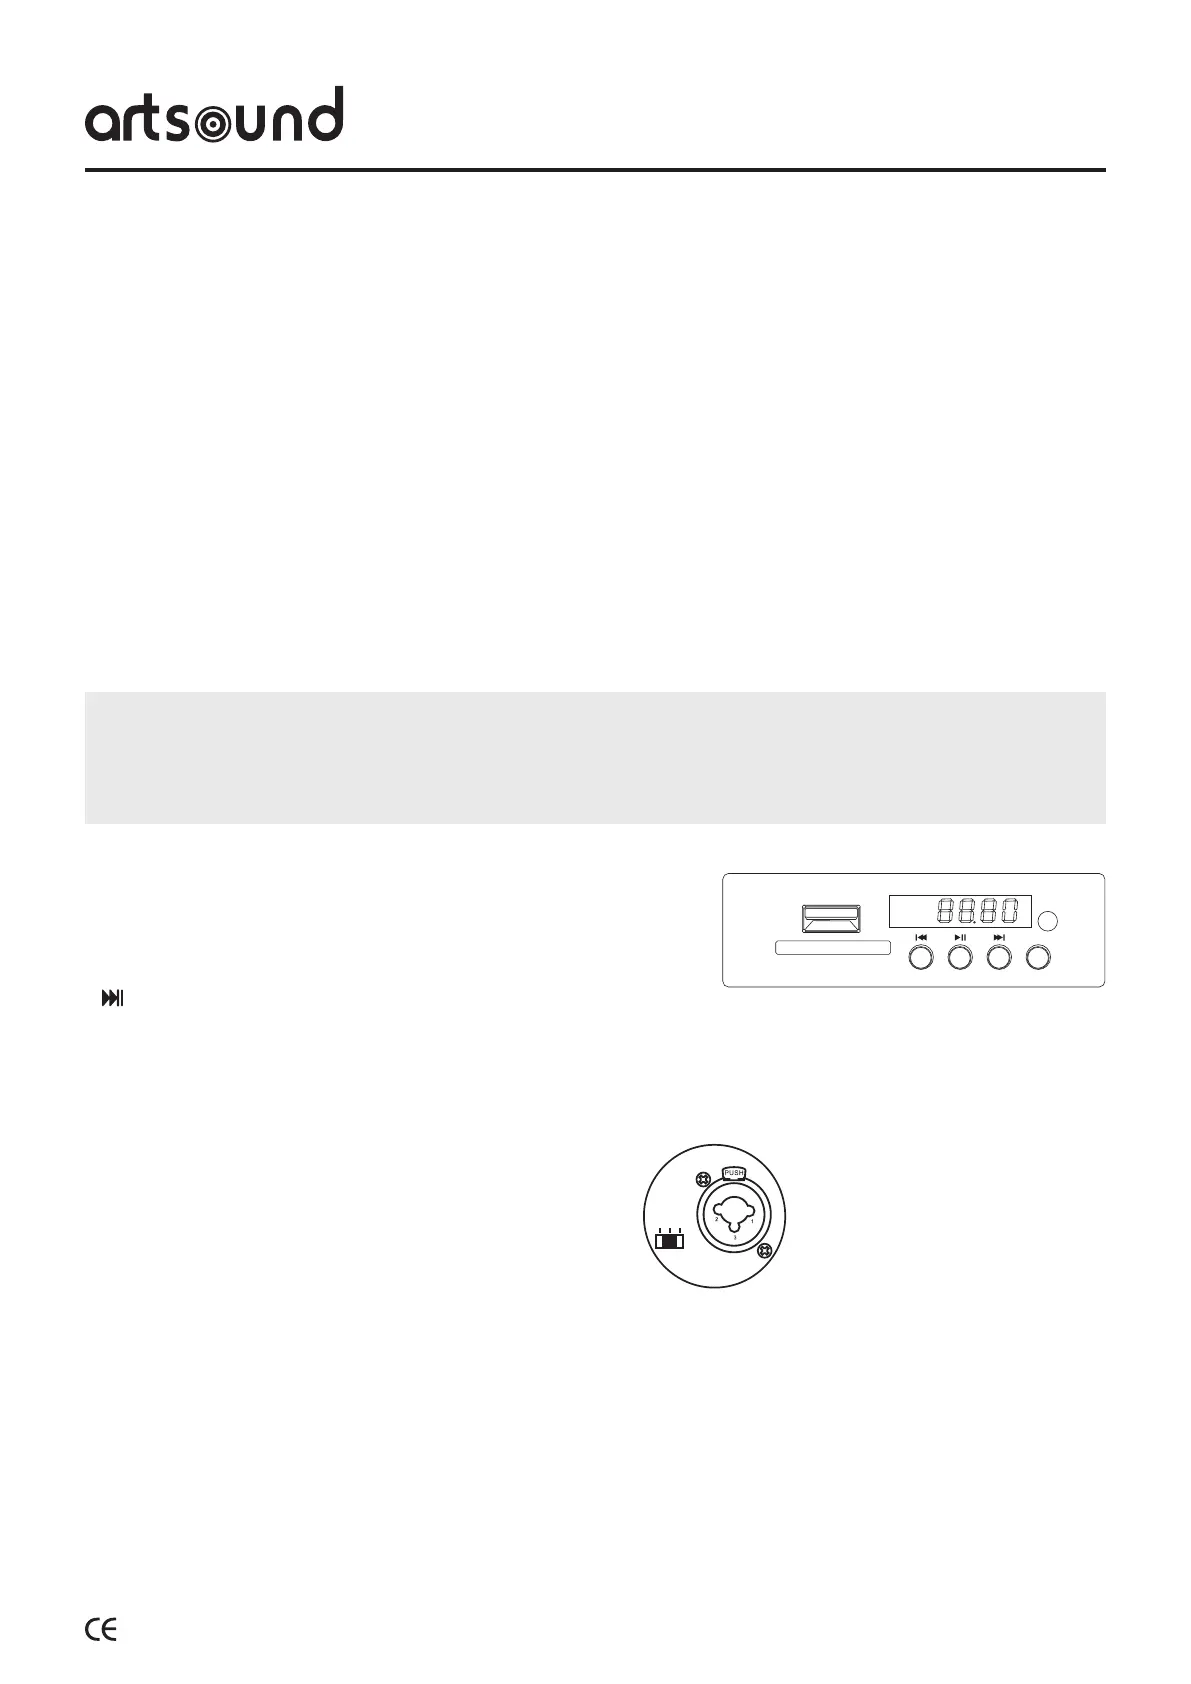
5.6 Built-inmultimediasource
• USB/SD input : auto display as soon as medium is placed
• ‘MODE’ button – choice selection source – FM/Bluetooth or MP3 play-
back
• button : short pulse = previous number/long pulse = volume -
•• button: short pulse = next number/long pulse = volume+
••
button: press to pause music, press again to continue playing
5.7 Bluetoothfunction
• Press the ‘MODE’ key until Bluetooth appears.
• Go to Bluetooth settings in in the device to be connected and connect with amplier.
• Once connected, the device is automatically recognised.
5.8 Selection button LINE/MIC/PHANTOM
• Select LINE when external devices type CD, DVD or other
are connected.
• Select MIC when a condenser microphone with power is
connected.
• Select PHANTOM to use the 48V built-in phantom power
for microphones without power of their own.
5.9 Selectivecallingmicrophone(MIC-216)
• Connect the MIC-216 to one of the RJ-45 terminals on the back of the device to use this selective or general calling
option and remote activation of the built-in tone generator.
5.2 Connectanyexternalequipment