Do you have a question about the Aruba AP25 and is the answer not in the manual?
Details the procedure for attaching the flush mount sleeve to the access point until it clicks.
Explains how to mount the access point with the sleeve onto a ceiling rail by rotating it clockwise.
Describes detaching the access point with sleeve from a ceiling rail by turning counter-clockwise.
Outlines steps for mounting the access point with sleeve to a wall bracket at an angle.
Details detaching the access point with sleeve from a wall mount by turning counter-clockwise.
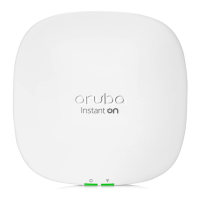
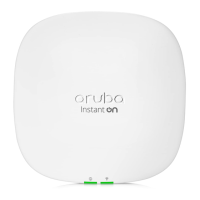
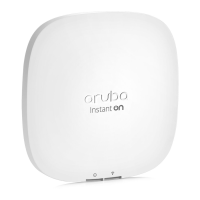
The AP25 Flush Mount Sleeve is an accessory designed to enhance the aesthetic integration and concealment of the AP25 access point. This installation guide outlines the process of attaching the sleeve to the access point and subsequently mounting the combined unit to various surfaces, as well as the procedures for removal.
The primary function of the AP25 Flush Mount Sleeve is to provide a practical and aesthetic solution for concealing the AP25 access point. By lining up with the exterior of the access point, the sleeve helps the device blend seamlessly into its environment, offering a more discreet and customized appearance. This is particularly useful in settings where the visibility of networking equipment needs to be minimized for design or security reasons. The sleeve is made of plastic (R9B36A), ensuring a lightweight yet durable addition to the access point.
The AP25 Flush Mount Sleeve is designed for straightforward installation and removal, facilitating its use in various deployment scenarios.
The process of attaching the sleeve to the AP25 access point is simple and intuitive. Users are instructed to first fit the bottom corners of the sleeve around the access point. Following this, the sleeve is pressed onto the access point until an audible click confirms that it is securely in place. This click mechanism ensures a firm attachment, preventing accidental dislodgement during subsequent handling or mounting. The guide includes a visual aid, Figure 1, which illustrates this step, showing the sleeve being pressed onto the access point from above, with arrows indicating the downward motion and the points of engagement. This method ensures that the sleeve is properly aligned and secured, providing the intended flush mount appearance.
Once the sleeve is attached to the access point, the combined unit can be mounted to a ceiling rail. The installation process involves a specific sequence of actions to ensure secure attachment.
For wall mounting, the process also involves specific steps to ensure stability and proper alignment.
The AP25 Flush Mount Sleeve is designed for easy removal, which is essential for maintenance, troubleshooting, or relocation of the access point.
To remove the combined unit from a ceiling rail, a simple counter-clockwise rotation is performed.
The removal process from a wall is similar to that from a ceiling rail.
The design emphasizes user-friendliness, with clear instructions and visual aids to guide the installation and removal processes. The "click into place" mechanism for both sleeve attachment and mounting ensures that users can confidently confirm a secure installation without specialized tools. The inclusion of a "NOTE" section at the beginning of the installation instructions, suggesting that the wall/ceiling mount bracket may need to be installed prior to the sleeve, highlights a logical sequence for optimal setup. This comprehensive approach to installation and removal makes the AP25 Flush Mount Sleeve a practical and adaptable accessory for various deployment environments.
| Product Name | Aruba AP25 |
|---|---|
| MU-MIMO Technology | Yes |
| Frequency Bands | 2.4 GHz, 5 GHz |
| Ethernet Ports | 1 x 2.5G Multi-Gigabit Ethernet (PoE) |
| Antenna Type | Integrated Omni-Directional Antennas |
| MIMO | 4x4 |
| Power over Ethernet (PoE) | 802.3at |
| Mounting | Wall, Ceiling |
| Operating Temperature | 0°C to 50°C |
| Wi-Fi Standard | Wi-Fi 6 (802.11ax) |