7 Installation
There are three basic steps to follow to install an ASEPCO valve:
Step 1: Install the valve body.
Step 2: Attach the diaphragm to the actuator assembly
Step 3: Insert the actuator/diaphragm assembly into the valve body and clamp them
together.
Please use the following detailed instructions for each of these steps to ensure proper
functioning of the valve.
7.1 Install the valve body
There are two basic options for installing a valve body, either you can use a hygienic clamp
to clamp it into place, or you can weld it into place.
Clamping the valve body in place
You can use a single-hinge clamp, a double bolt clamp or a double hinge clamp for this
purpose. Ask your engineering team about the most appropriate clamp to use.
ASEPCO valves are compatible with a wide range of clamps from a variety of
manufacturers.
ASEPCO supplies every valve with a clamp to assemble the actuator/diaphragm assembly
to the valve body.
Welding the valve body in place
If you are welding the valve into place, please refer to "Welding guidelines" on page39.
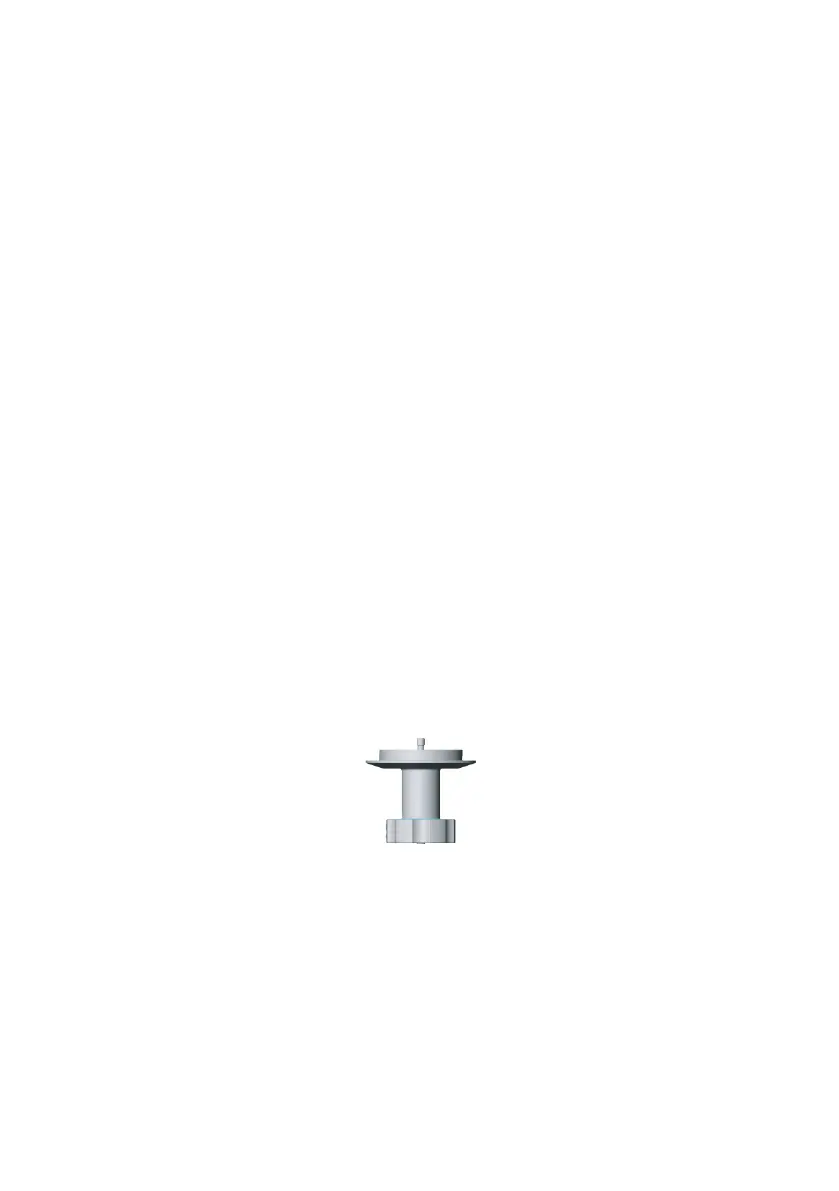
7.2 Install and remove diaphragm - manual actuator
Install an elastomer diaphragm
1. Close the valve until the position indicator is flush with the handle or the threaded
shaft is fully extended. Place the actuator handle down on a flat surface to ensure
that the position indicator is flush with the handle.
m-radialdiaphragmvalve-en-02 11
 Loading...