English
34
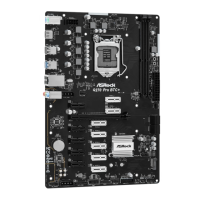
2.9 Installing the 4-pin PCIe Power Connectors
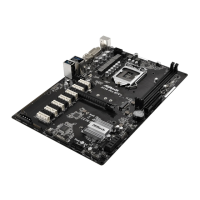
e extra 4-pin PCIe power connectors on this motherboard oer more
power for your graphics cards. ey provide stable voltages and greatly
reduce the risks of burning your motherboard or graphics cards.
When the graphics cards are installed, be sure to install the PSU’s 4-pin
power cables to the corresponding 4-pin PCIe power connectors (PCIE_
PWR) on your motherboard; otherwise, the cards may be damaged.
Make sure the 4-pin PCIe power connector and the external power connector on the
graphics card are connected to the same PSU; otherwise, the motherboard and the
graphics card may be damaged.
 Loading...
