13
viron xt pumps Installation Manual
12
viron xt pumps Installation Manual
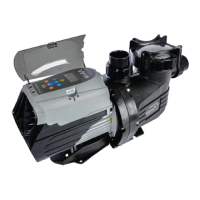
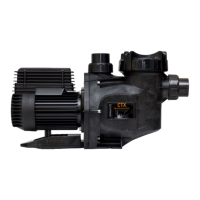
The Viron XT Pump models covered in this
installation and operation manual provide separate
compartments for high voltage and low voltage
wiring.
4.4.3 User Interface
•
•
4.4.4 Data Port Connection (RJ12)
If a compatible AstralPool VX Salt Chlorinator, Viron
Salt Chlorinator or Viron Connect Touch Screen, is
connected with the AstralPool communication cable,
the speed of the pump and operating hours can be
controlled by these devices.
The Viron P320XT and P520XT must have its in-
built timer deactivated if the pump operating times
and speeds are to be operated by the compatible
AstralPool Salt Chlorinator EQ, RolaChem Dosing
Controller or Viron Connect remote touch screen. See
Section 6.3.8
1. Remove 2 Philips head screens from rear of pump and
the data port cover is removed by hand.
2. Plug RJ12 6 wire at cable purchased from AstralPool
into rear of pump and reassemble.
3. To achieve a proper seal, press the at cable under
the guide tabs (detailed view A). Slide data port cover
back on by aligning the tabs with the slots and the at
cable with the recess (detailed view B).
Figure 10. Data Port Location on XT Pump