15
viron xt pumps Installation Manual
14
viron xt pumps Installation Manual
Section 5. Operation
5.1 Normal Operation
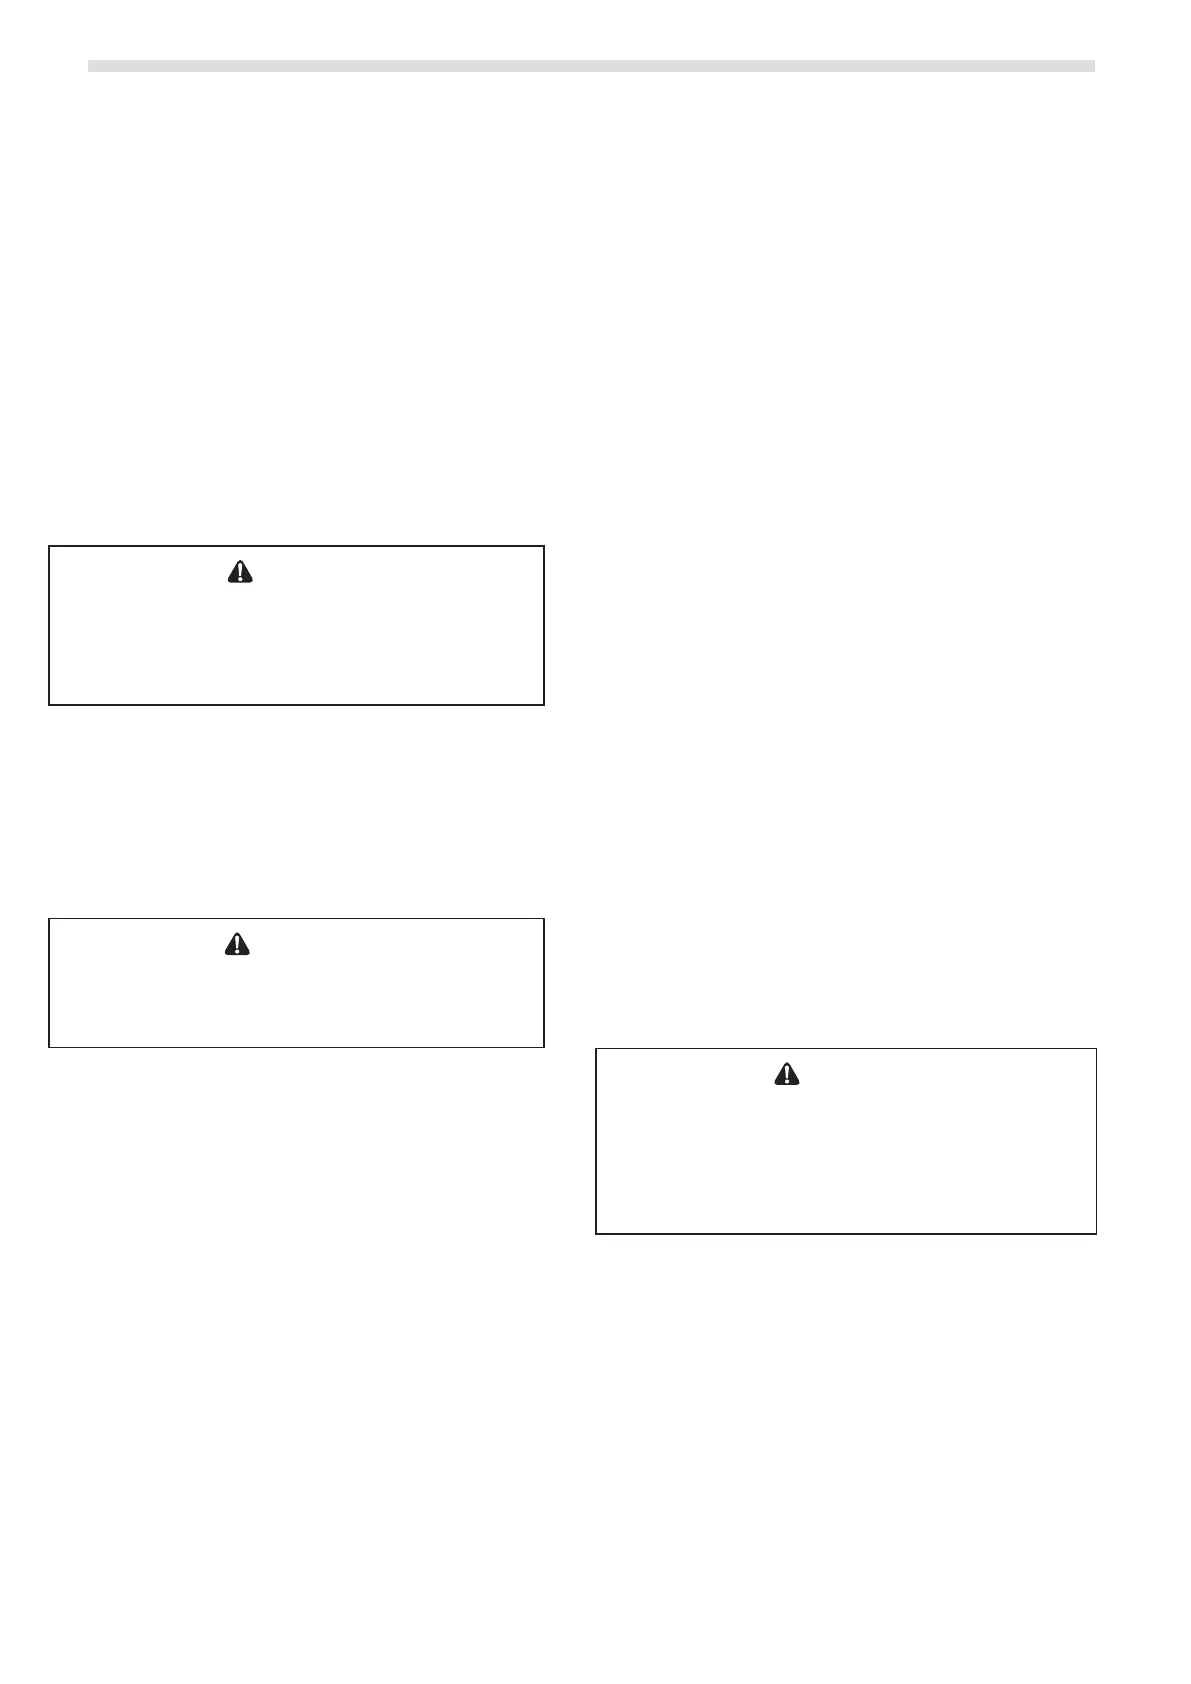
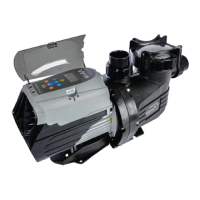
The Viron XT Pumps has three (3) pre-set speed
settings: Low, Medium and High.
• Low speed is the recommended setting for everyday
pool ltration when a cleaner is not connected.
• Medium speed can be used for gentle spa jet action,
when a suction cleaner is connected to the skimmer or
pool ltration.
• High speed should be used when backwashing,
manually vacuuming the pool, or operating spa jets or
some water features such as waterfalls.
5.2 Starting Up the Pump
CAUTION
Never run the pump without water. Running the
pump “dry” for any length of time can cause severe
damage to both the pump and motor and will void
the warranty.
If this is a new pool installation, make sure all piping
is clear of construction debris and has been properly
pressure tested. The filter should be checked for
proper installation, verifying that all connections and
clamps are secure according to the manufacturer’s
recommendations.
WARNING
To avoid risk of property damage, severe personal
injury or death, verify that all power is turned off
before starting this procedure.
1. Depending on the location of the pump, do one of the
following:
• If the pump is located below the water level of the
pool, open the lter pressure release valve to prime
the pump with water.
• If the pump is located above the water level of the
pool, remove the lid and ll the basket with water
before starting the pump.
2. Prior to replacing the lid, check for debris around
the lid o-ring seat. Debris around the lid o-ring seat
will cause air to leak into the system and will make it
dicult to prime the pump.
3. Hand-tighten the lid to make an air tight seal. Do not
use any tools to tighten the lid: hand-tighten only.
Make sure all valves are open and the unions are tight.
Restore power to the pump.
4. Once all the air has left the lter, close the pressure
release valve.
5. Press the MENU button for initial programming to
enter overdrive speed. FAST and two (2) rotating
circles will show on the user interface display.
• Viron XT Pump primes 30% faster than
conventional maximum speed.
• Viron XT Pump automatically limits maximum
speed according to the system’s total dynamic
head and power consumption.
• Once the pump is primed (or fail to prime within
ve (5) minutes), the speed will return to the last
speed when in the MANUAL mode.
6. If the water ow is not available within 1/2-minute,
turn o the power and prime the pump again. After
three (3) attempts at priming, turn o the pump and
check for leaks.
NOTE If no leaks are evident, a check valve or foot valve is
required to hold water for priming.
7. If water ow is not adequate after cleaning the lint
basket, turn o the power and check for other issues
such as the check valve, air leaks, faulty seal, cracked
lint pot lid, etc.
8. The Viron XT Pump will automatically start on PRIME
speed for the rst ve (5) minutes to assist with
priming, which will quickly ll the hair and lint pot
with water.
After ve (5) minutes, the speed will return to the last
speed when in the MANUAL mode. Note: See Section
6 for further details on adjusting the Prime speed and
Prime time.
9. During normal operation, it is recommended that
the Viron XT Pump operate on LOW speed for twelve
(12) hours per day. This setting provides the lowest
operating cost with the lowest noise levels. Should the
pool have areas where the water does not turn over
with this setting, increase the speed until the desired
water movement is obtained.
For technical assistance, call AstralPool Technical
Support at 1300 186 875.
5.3 Pump Lid Removal
WARNING
ELECTRICAL SHOCK HAZARD
Turn off all switches and the main breaker in the
variable-speed pump electrical circuit before starting the
procedure. Failure to comply may cause a shock hazard
resulting in severe personal injury or death.
1. Make sure that the pump is turned OFF.
2. Make sure that the switch to the circuit breaker to the
motor is turned OFF.
3. Make sure all necessary isolation valves are closed to
prevent water from reaching the pump.
4. Following the markings on the locking ring, turn the
ring counter-clockwise until the ‘START’ markings align
with the ports. See Figures 11.
5. Carefully remove the lid with locking ring.