EasyManuals Logo

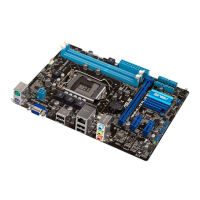
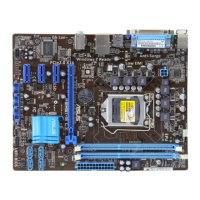
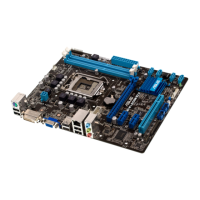
Asus P8H61-M LX3 User Manual

Asus P8H61-M LX3
65 pages
To Next Page IconTo Next Page
To Previous Page IconTo Previous Page
Page #21 background imageLoading...
Page #21 background image
1-11Chapter 1: Product introduction
3. Connect the CPU fan cable to the connector on the motherboard labeled CPU_FAN.
Do not forget to connect the CPU fan connector! Hardware monitoring errors can occur if
you fail to plug this connector.
1.6.3 Uninstalling the CPU heatsink and fan
To uninstall the CPU heatsink and fan:
1. Disconnect the CPU fan cable from the connector on the motherboard.
2. Rotate each fastener counterclockwise.
3. Pull up two fasteners at a time in a diagonal sequence to disengage the heatsink and
fan assembly from the motherboard.
A
A
B
B
A
A
B
B
CPU_FAN
CPU FAN PWM
CPU FAN IN
CPU FAN PWR
GND
P8H61-M LX3 Series
P8H61-M LX3 Series CPU fan connector
Table of Contents

Questions and Answers:

Question and Answer IconNeed help?

Do you have a question about the Asus P8H61-M LX3 and is the answer not in the manual?

Asus P8H61-M LX3 Specifications

General IconGeneral
Form FactorMicro ATX
ChipsetIntel H61
CPU SocketLGA 1155
Memory Slots2
Memory TypeDDR3
Max Memory16 GB
PCIe x16 Slots1
SATA Ports4 x SATA 3Gb/s
Audio ChipsetRealtek ALC887
Ethernet10/100/1000 Mbps
USB Ports8 x USB 2.0
AudioRealtek ALC887
LANRealtek 8111E
Video OutputsD-Sub

Related product manuals