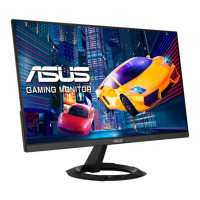
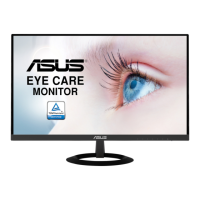
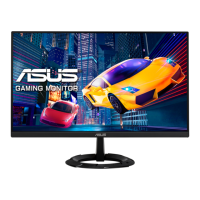
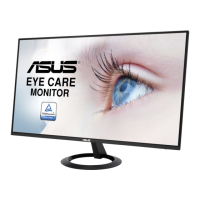
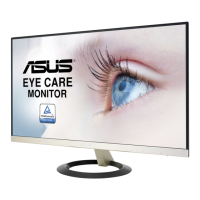
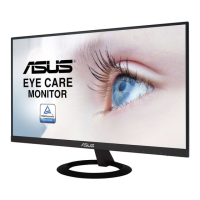
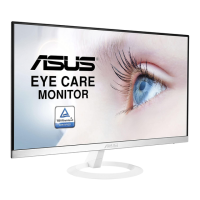
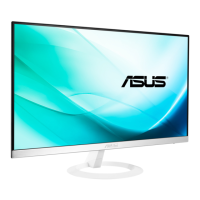
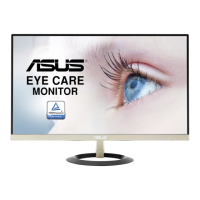
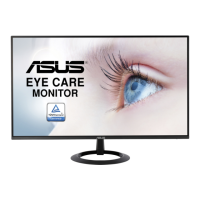
This document is a user guide for the ASUS VZ2491R Series LCD Monitor, providing comprehensive instructions for setup, operation, and maintenance. The monitor is designed to offer a crisp, broad, and bright display with various features to enhance the user's viewing experience.
Function Description
The ASUS VZ2491R Series LCD Monitor serves as a visual display unit for computers and other compatible devices. It features a widescreen LCD panel, providing a large viewing area for various applications, from document editing to gaming and movie watching. The monitor supports multiple input sources, including VGA and HDMI, allowing for flexible connectivity with different systems.
A key function of this monitor is its OSD (On-Screen Display) Menu, which allows users to adjust a wide range of image and system settings. This menu is accessed via control buttons located on the back of the monitor. The OSD is organized into several main categories:
- Splendid: This function offers eight sub-functions, or preset modes, optimized for different viewing scenarios. These include Standard Mode for document editing, sRGB Mode for photo and graphic viewing, Scenery Mode for displaying scenery photos, Theater Mode for movie watching, Game Mode for gaming, Night View Mode for dark-scene games or movies, Reading Mode for book reading, and Darkroom Mode for weak ambient light environments. Each mode has a Reset option to revert to preset settings.
- Blue Light Filter: This feature is designed to reduce the energy level of blue light emitted from the LED backlight, aiming to alleviate eye strain. It offers four levels of blue light reduction, with Level 4 being an optimized setting compliant with TUV Low Blue Light Certification.
- Color: This section allows users to fine-tune image color settings. Adjustable parameters include Brightness, Contrast, Saturation, Color Temperature (with options like Cool, Normal, Warm, and User Mode), and Skin Tone (with options like Reddish, Natural, and Yellowish).
- Image: This function provides controls for various image enhancements. These include Sharpness, Trace Free (to speed up response time), Aspect Control (to adjust the aspect ratio to Full, 4:3, or OverScan), VividPixel (an ASUS exclusive technology for crystal-clear visuals), ASCR (dynamic contrast ratio), FreeSync (for HDMI only, enabling dynamic refresh rate range from 48Hz to 75Hz), ELMB (eliminates screen tearing and reduces motion blur when FreeSync is Off), and Shadow Boost (enhances dark tones in images). For VGA input, additional settings like Position, Focus, and Auto Adjust are available.
- Input Select: This function allows users to choose between available input sources, such as VGA and HDMI.
- System Setup: This comprehensive section allows users to adjust various system configurations. It includes settings for Splendid Demo Mode, GamePlus, QuickFit, ECO Mode, OSD Setup (for OSD Timeout, DDC/CI, and Transparency), Language, Key Lock, Information display, Power Indicator, Power Key Lock, and All Reset.
- Shortcut: This feature allows users to assign specific functions to two shortcut keys for quick access. Available options for shortcuts include Blue Light Filter, Splendid, Brightness, Auto Adjust, Contrast, Color Temp., QuickFit, and GamePlus.
The monitor also includes a GamePlus Function, a toolkit designed to enhance the gaming experience. This function provides a crosshair overlay with six different options, an on-screen timer, an FPS (frames per second) counter, and Display Alignment lines for multi-monitor setups.
Usage Features
The ASUS VZ2491R monitor is designed with user convenience in mind, offering several features that make it easy to set up and use:
- Easy Assembly: The monitor base is designed for straightforward attachment to the arm, secured with a screw. This allows for quick setup.
- Adjustable Viewing Angle: The monitor's angle can be adjusted from -5° to +22°, enabling users to find the most comfortable viewing position. This ergonomic feature helps reduce strain during prolonged use.
- Flexible Connectivity: With both VGA and HDMI ports, the monitor can connect to a wide range of devices, from older computers to modern laptops and gaming consoles.
- Intuitive OSD Navigation: The control buttons on the back of the monitor, combined with a clear OSD menu structure, make it easy to navigate and adjust settings. The use of up/down keys for value adjustment and left/right keys for menu navigation simplifies the user experience.
- QuickFit Function: This exclusive ASUS feature provides three patterns—Grid, Paper Size, and Photo Size—to aid designers, photographers, and general users. The Grid pattern helps organize content, Paper Size allows viewing documents in real size, and Photo Size helps in accurately viewing and editing photos in real size.
- Power Indicator: The power indicator light clearly shows the monitor's status (ON, Standby, or OFF) with different colors (White, Amber, OFF).
- Shortcut Keys: The ability to assign frequently used functions to dedicated shortcut keys (Shortcut 1 and Shortcut 2) provides quick access to settings like Blue Light Filter, Splendid modes, Brightness, Contrast, and GamePlus, streamlining adjustments during use.
- Wall Mount Capability: The detachable stand allows the monitor to be wall-mounted (specifically for VGA Port models), providing flexibility in placement and saving desk space. This requires a separately purchased UL Listed Wall Mount Bracket (75 x 75 mm, M4 x 10 mm screws).
Maintenance Features
The user guide provides clear instructions for maintaining the monitor to ensure its longevity and optimal performance:
- Safe Handling: Users are advised to disconnect cables and the power cord before lifting or repositioning the monitor. Correct lifting techniques, such as grasping the edges of the monitor and avoiding lifting by the stand or cord, are emphasized to prevent damage.
- Cleaning Instructions: The monitor surface should be cleaned with a lint-free, non-abrasive cloth after turning off and unplugging the power cord. For stubborn stains, a cloth dampened with a mild cleaner can be used. Users are warned against using cleaners containing alcohol or acetone and against spraying cleaner directly on the screen to prevent internal damage or electric shock.
- Ventilation: Slots and openings on the cabinet are provided for ventilation and should not be blocked. The monitor should not be placed near radiators or heat sources without proper ventilation to prevent overheating.
- Power Management: Users are advised to use the appropriate power plug and avoid overloading power strips and extension cords to prevent fire or electric shock. Unplugging the unit during lightning storms or extended periods of non-use protects it from power surges.
- Environmental Considerations: The monitor should be kept away from dust, humidity, and extreme temperatures. It should not be placed in areas where it may get wet and should always be on a stable surface.
- Troubleshooting Guide: The manual includes a comprehensive troubleshooting section (FAQ) to help users diagnose and resolve common issues such as the power LED not turning on, no screen image, image being too light or dark, image bouncing or having a wave pattern, color defects, and low or no sound. This empowers users to perform basic fixes before seeking professional help.
- Professional Service: Users are explicitly warned against attempting to open the monitor cabinet or repair the power supply themselves due to dangerous high voltages. In case of technical problems, users are directed to contact a qualified service technician or their retailer.
- Product Recycling: ASUS offers recycling and takeback programs, encouraging responsible disposal of electronic products, batteries, and packaging materials. Information on these services is provided through the ASUS CSR website.
- Key Lock Function: The monitor includes a Key Lock function, which can be enabled or disabled by pressing and holding the down key for 5 seconds. This prevents accidental changes to settings.
- All Reset Option: Within the System Setup menu, an "All Reset" option allows users to revert all settings to the factory default mode, which can be useful for resolving configuration issues or preparing the monitor for a new user.