Installation & Servicing instructions ATAG A-Series
25
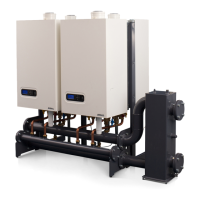
Solo boiler with external DHW cylinder and sensor control.
- Connect wiring of the optional external 3 way valve to the 3-core screw connector at
the back of the control board
- Choose the right sensor from DHW sensor set AA05204U
- Connect wiring of the optional cylinder sensor T3 to the yellow connector on position
9 and 10. Do not connect 230V!
See also chapter 7.
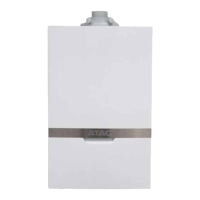
Solo boiler with external DHW cylinder and on/off thermostat control.
- Connect wiring of the optional external 3 way valve to 3-core screw connector at the
back of the control board
- Connect wiring of the optional cylinder thermostat to the 2-core screw connector at
the back of the control board. Volt-free! Do not connect 230V!
See also chapter 7.
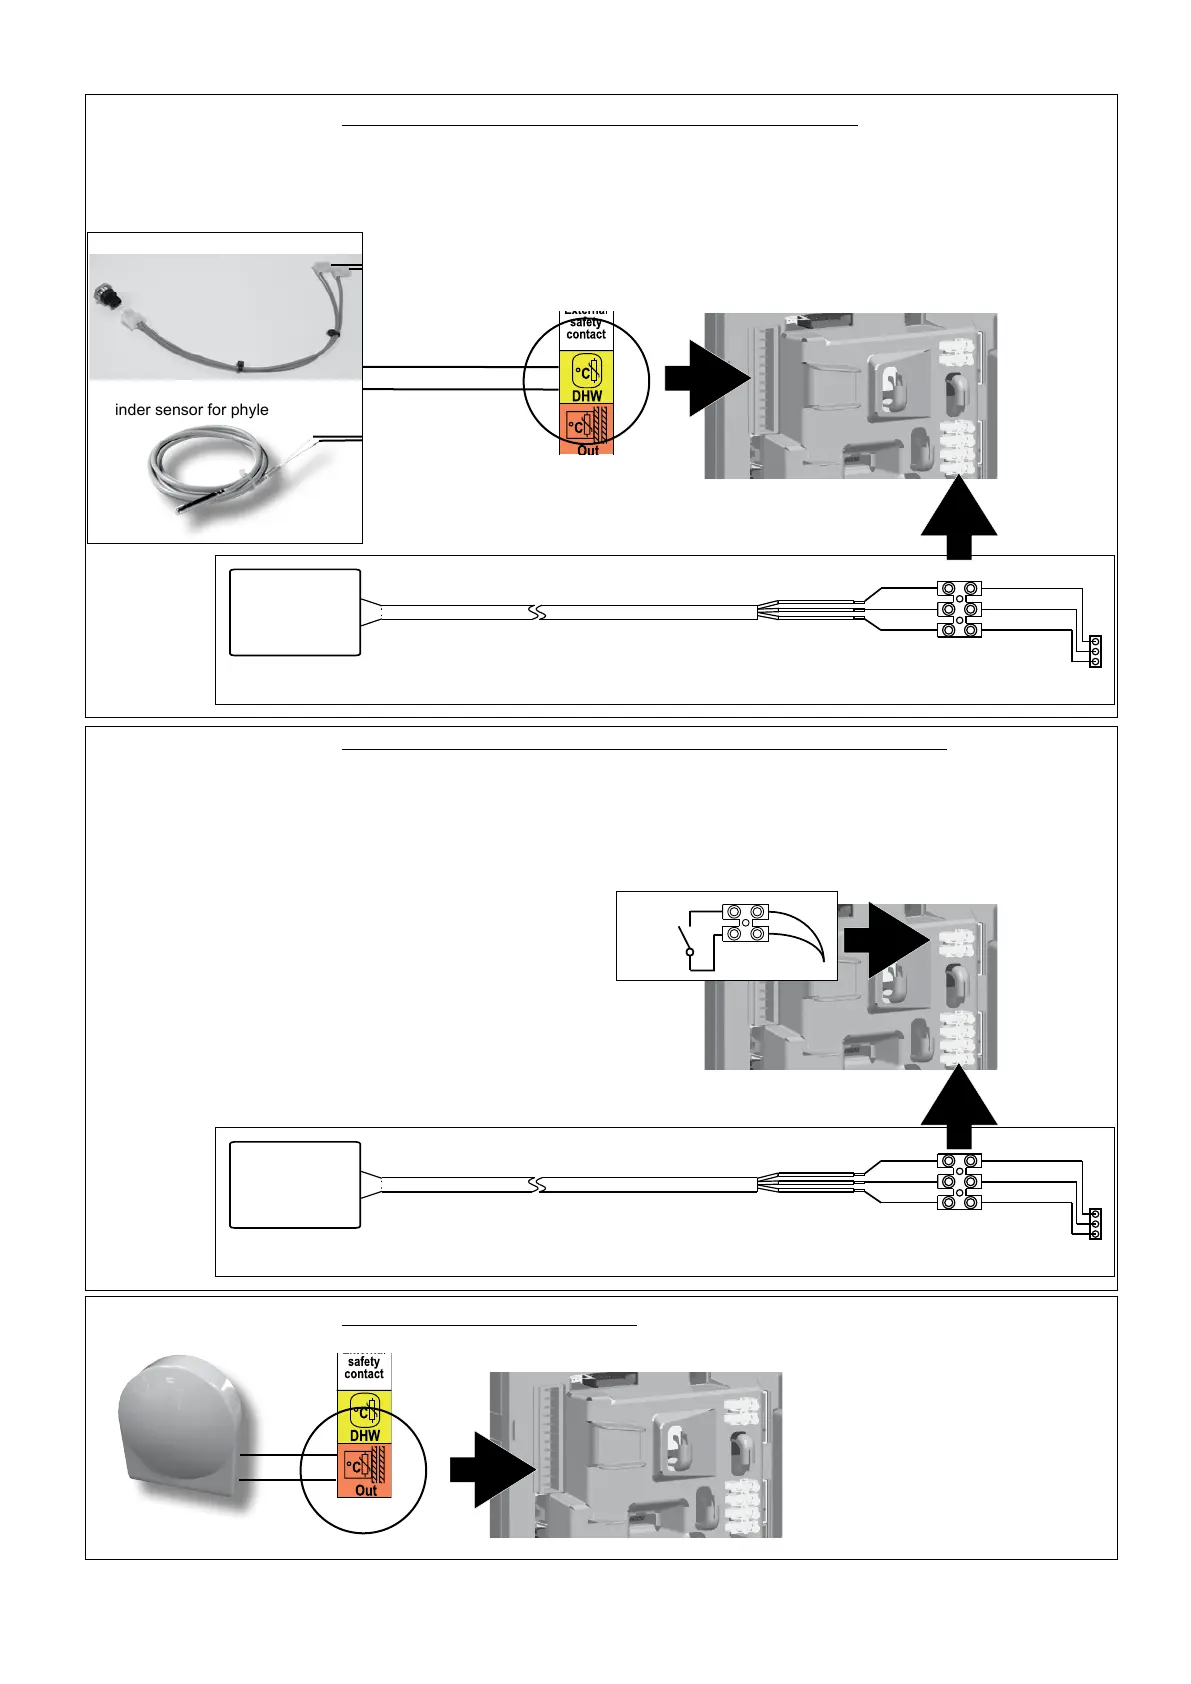
Weather dependant boiler control (independently of selected thermostat control)
- Connect outside sensor ARZ0055U to the orange connector on position 11 and 12.
X10
a.
b.
c.
a.
b.
c.
Cylinder sensor for phyle
9
10
Cylinder sensor with
M5 female connection
AA05204U
AA00030U
a. brown
b. blue
c. black
X10
a.
b.
c.
a.
b.
c.
AA00030U
a. brown
b. blue
c. black
Cylinder on/off thermostat
(third party delivery)
11
12
DHW
ON/OFF
STAT
4
5
6
 Loading...