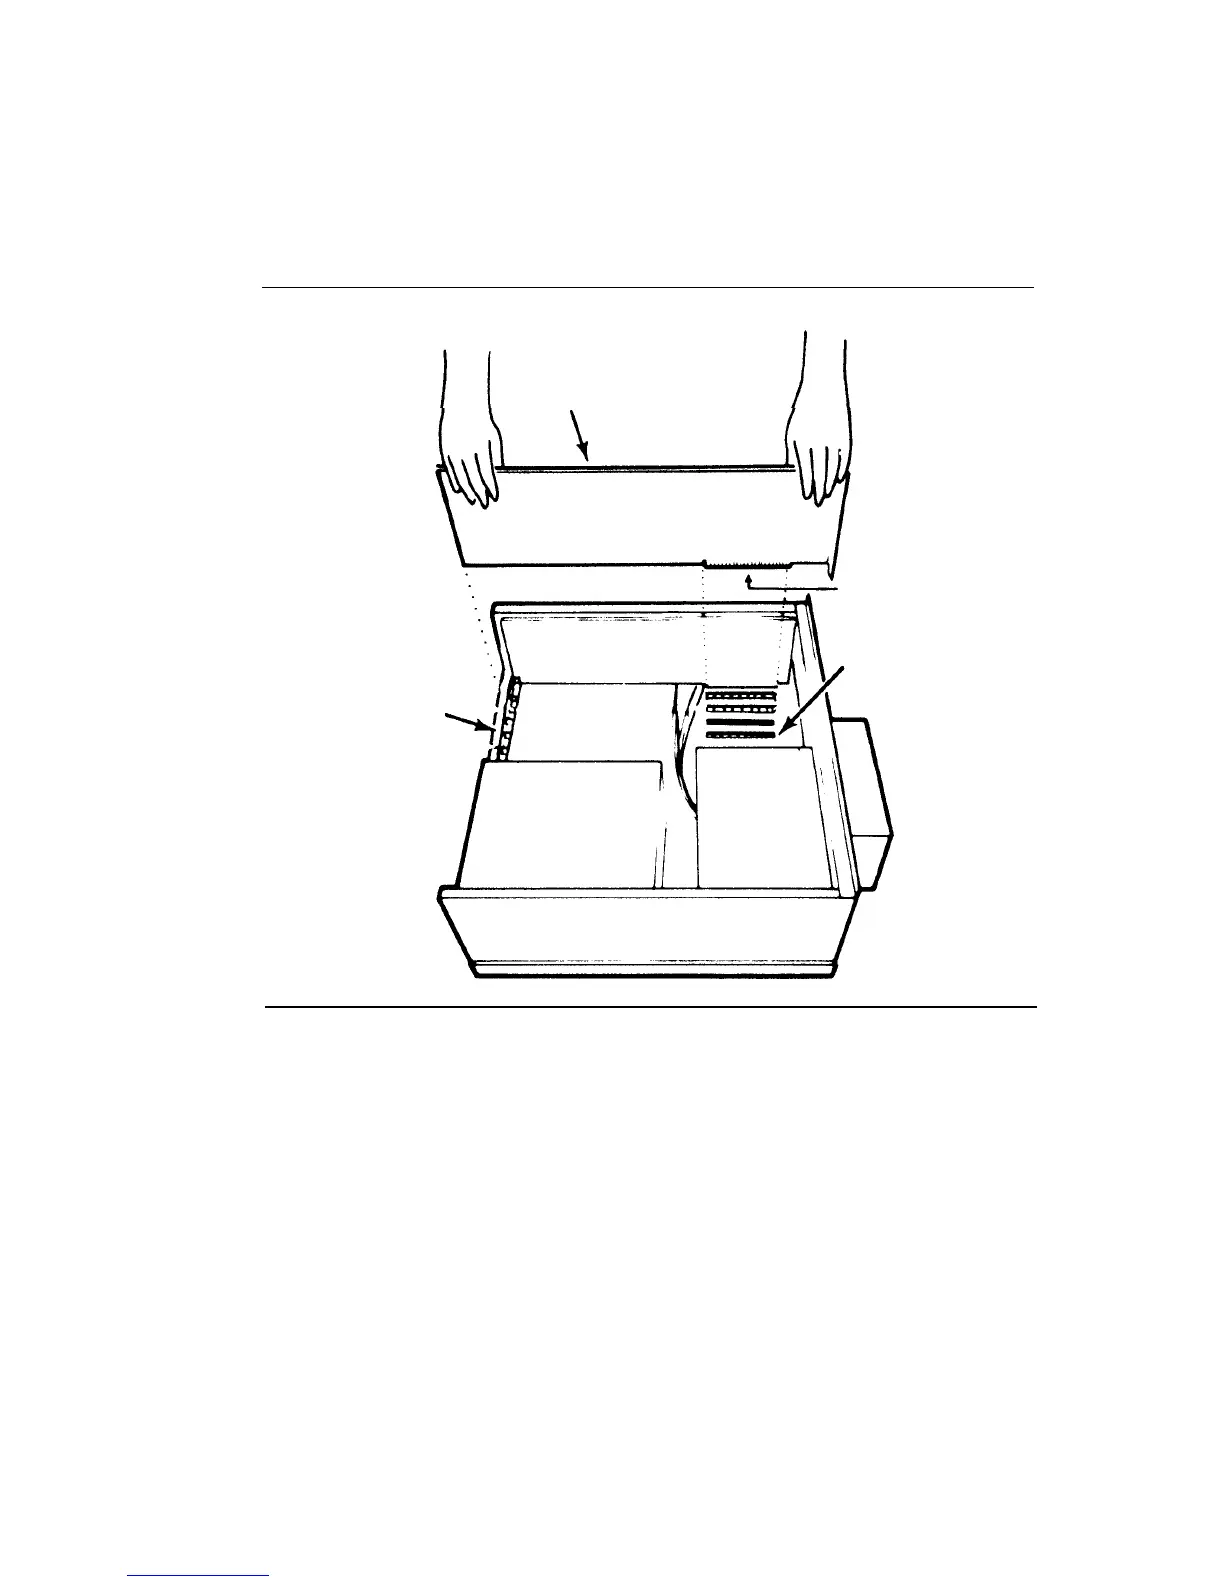
FIGURE 6 Removing the expansion slot cover
6
Expansion slot
cover
FIGURE 7 Lowering the expansion card into the receptable
Position the expansion card so the electrical contacts, the
gold "fingers," are aligned with the receptacle in the
expansion slot and the back edge of the card fits into the
groove on the plastic guide, as shown in Figure 7.
Expansion
card
Gold “fingers”
Receptacle
Plastic
guides
7
Note
The hard disk card that is in slot 7 of the PC is not shown in
Figure 6.
4
5
Make sure the expansion slot is clear. Position the colored
wires crossing the slot so they are
below
the card as you
install it.
❏
❏
❏
Holding the expansion card by its top corner edges, lower the
expansion card into the expansion slot receptacle you have
chosen, as shown in Figure 7. (Do not try to insert the card
through the back of the unit.)
Press down on the top edge of the card until you feel and
hear the card "lock" into place. The card is "locked" when
the frame of the card is flush with the frame of the unit.
If the card tilts or wobbles when you press on either end,
the card is not properly installed. Take out the card and
reinsert it. Be careful that you do not bend the card.
Make sure that the expansion card is not touching any
other card. If it is, move the card to another slot.
Be sure the bracket that replaces the slot cover slides into
its position.
14
Call Management System Installation Guide
Call Management System Installation Guide 15
 Loading...