Connecting the PC to Your MERLIN
Communications System
Use the following directions to connect the PC to your
MERLIN
communications system.
Note
For more efficient call handling, it is recommended that you
connect both the CU 1 and CU 2 jacks to attendant ports on
the
MERLIN
control unit. However, if you have only one
attendant port available, connect that port to CU 1.
1
Turn your PC so you can see the three jacks in the expansion
card.
2
Plug one of the 14-foot station cables provided in the CMS
hardware package to the expansion card’s middle jack, labeled
CU 1.
3
Plug the loose end of this cable to an attendant port.
❏
Do
not
use jack 10.
❏
If you plan to use a second attendant station, both station
jacks must be connected to attendant ports on the same
line card. So, be sure to attach the CU 1 jack to an
attendant port that has a second port available below it.
Then go on to steps 4 and 5.
4
Plug the loose end of the second 14-foot station cable
provided in the CMS hardware package to the CMS
expansion card’s lower jack, labeled CU 2.
5
Plug the other end of this cable into an attendant port on the
same card as the attendant port you connected in step 3.
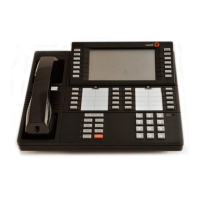
Figure 10 shows an example of a connection between the
expansion card CU 1 and CU 2 jacks and two attendant ports on
a
MERLIN
communications system control unit. Before you
connect the CU jacks to your
MERLIN
system control unit,
check the documentation that came with it to determine which
jacks are attendant ports.
FIGURE 10 Connecting the expansion card to a MERLIN
control unit
Contol unit
attendant ports
CU1
CU2
Call Management System Installation Guide 19
18
Call Management System Installation Guide
 Loading...