Using the Front Panel
ATEM Constellation HD switchers feature a built in control panel featuring dedicated talkback
buttons, a keypad to switch your production and a control knob with menu buttons to access
the switcher settings letting you operate the entire switcher! While you can easily use the front
panel for live switching, its intended purpose is for initially testing your production setup before
going to air. For example, the control panel lets you quickly test keyers, switch sources and
generally confirm everything is working fine before settling into the main production. This is
why we added a lock button so once you are happy that everything is working fine, you can
lock the panel and make sure there are no accidental changes to air.
5
Amphenol
4 2
1
3
PUSH
LOCK
MENU
SET
KEY 1
MIX
DSK 1
MIX
BARS
MIX
BLACK
WIPE
DSK2
MIX
FTB
MP 1
DIP
MP 2
DVE
6 7 8 9 CUT
16 17 18 19
10
20 AUTO
1 2 3 4 5
11 12 13 14 15
PROD
TALK
ENG
TALK
CALL
PGM
MIX
Once your production is setup, lock the panel via the ‘lock’ button
Talkback and Call Buttons
Talkback and call buttons on the front panel give you direct access to talkback features without
the need for additional hardware.
Talkback
ATEM Constellation HD switchers feature push to talk ‘prod talk’ and ‘eng talk’ buttons so you
can converse with production and engineering teams, and a ‘pgm mix’ button to listen to the
program mix. Plug an intercom headset equipped with microphone into the 5 pin XLR socket on
the front panel. If you double press one of the ‘prod talk’ or ‘eng talk’ buttons, the mic stays on
and the button illuminates red until you double press the button again. When both talkback
buttons are selected, the mic will stays on for all talkback channels.
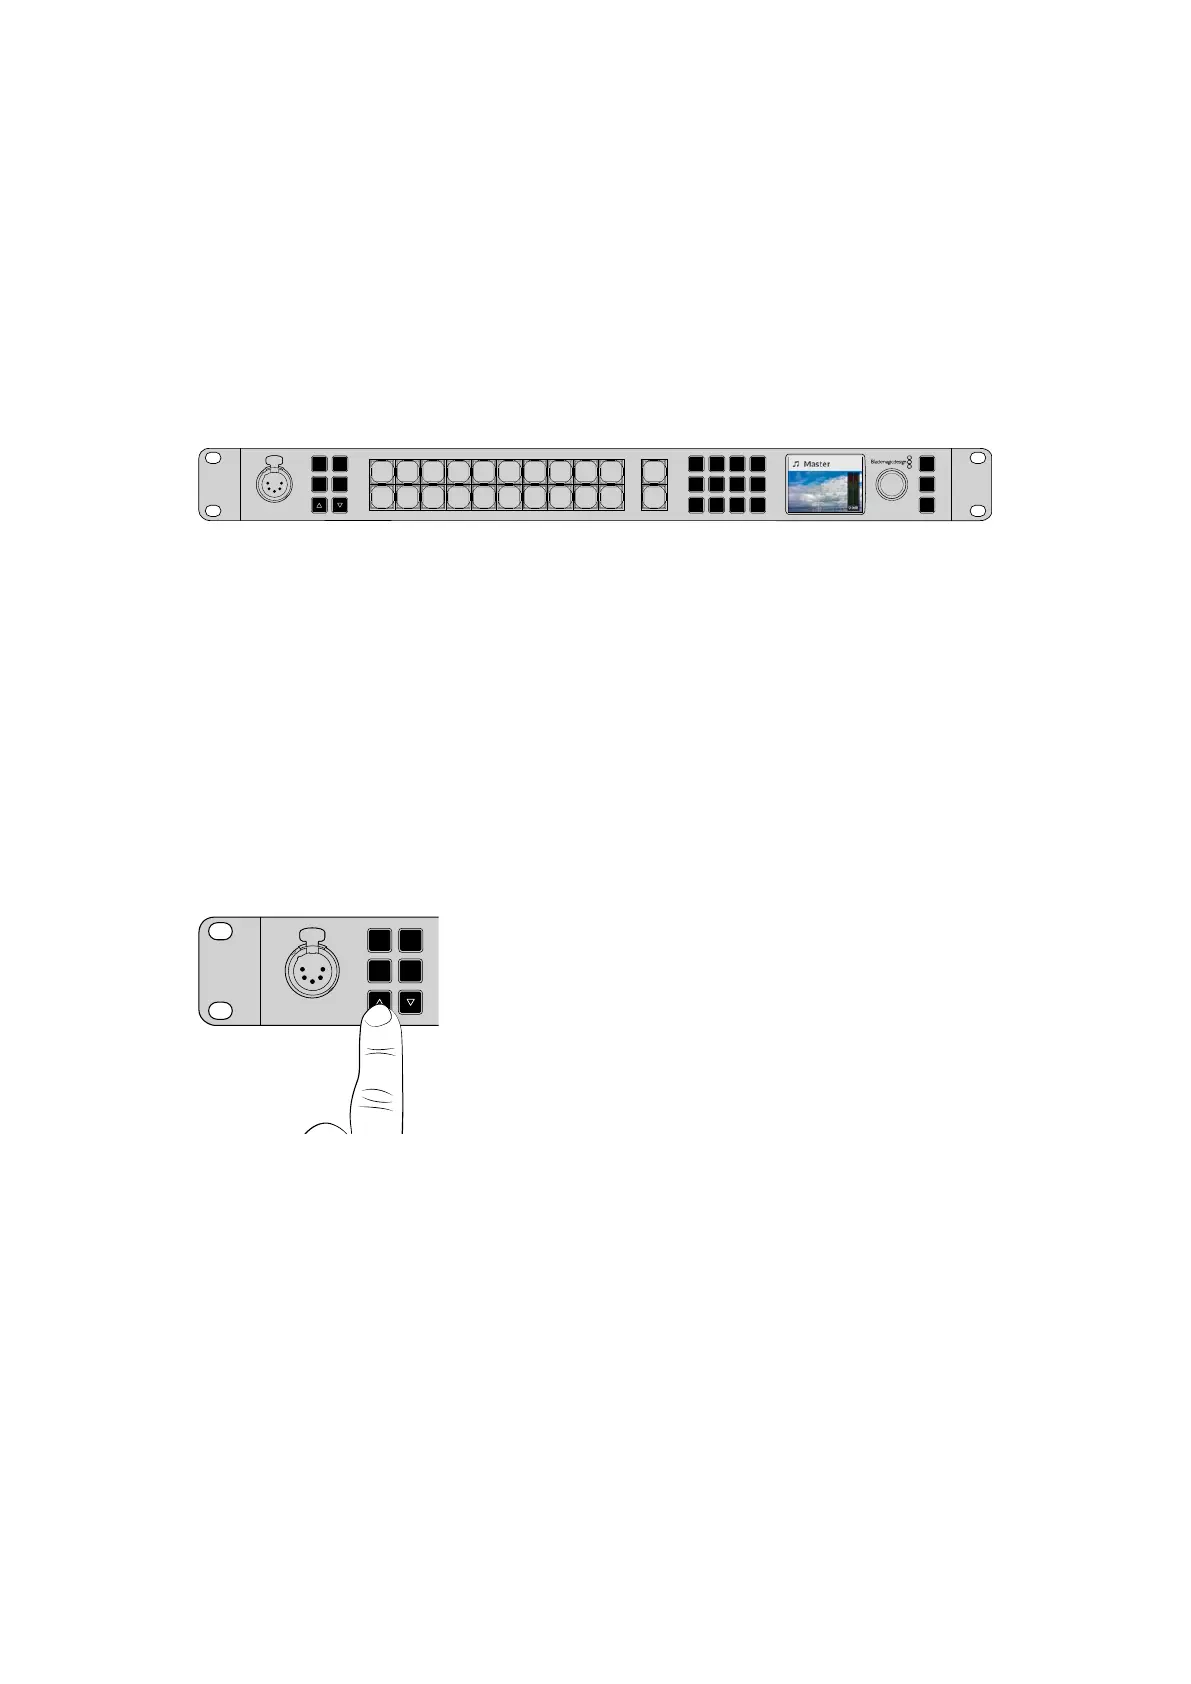
Next, mix the levels in your headphones for production
talkback, engineering talkback and program mix using the
dedicated buttons. The selected button is lit red, meaning
youcan adjust its level with the up and down buttons.
The back panel of ATEM Constellation HD switchers have
a ‘talkback’ connector for routing engineering talkback
and production talkback. For information on how to make
your own talkback adapter cable, see the ‘talkback pin
connections’ section.
The Call Button
Holding down the ‘call’ button will flash the tally light on all connected cameras. This is a helpful
way of seeking the camera operators’ attention, or to let your operators know you are about
to go live.
ATEM Constellation HD LCD Menu
The LCD menus make almost the entire operation of the switcher available. The following
examples show only some of the functions you can perform via the front panel. It’s a good idea
to explore the menus to see what’s available. If you have used the software control panel on
an ATEM switcher in the past, then you will see that each menu is like a palette on the software
control panel and each palette on the software control panel has a menu page on the LCD. There
are a few extra LCD menus for configuring SDI outputs and the audio mixer as well as a settings
page where you can set your switcher transition format, talkback channels and IP address.
5
Amphenol
4 2
1
3
PUSH
LOCK
MENU
SET
KEY 1
MIX
DSK 1
MIX
BARS
MIX
BLACK
WIPE
DSK2
MIX
FTB
MP 1
DIP
MP 2
DVE
6 7 8 9 CUT
16 17 18 19
10
20 AUTO
1 2 3 4 5
11 12 13 14 15
PROD
TALK
ENG
TALK
CALL
PGM
MIX
11Using the Front Panel
 Loading...