To change to cut bus mode:
1 Press the menu button to display the menus.
2 Scroll with the knob through the menus to the ‘Settings’ menu.
3 Press the set button and you will see the settings menu page will be selected.
4 Scroll down the list to the mode menu and select it by pressing the set button.
5 Scroll to the cut bus mode and select it by pressing set.
6 Press the menu button to back out of the menus back to the video preview screen.
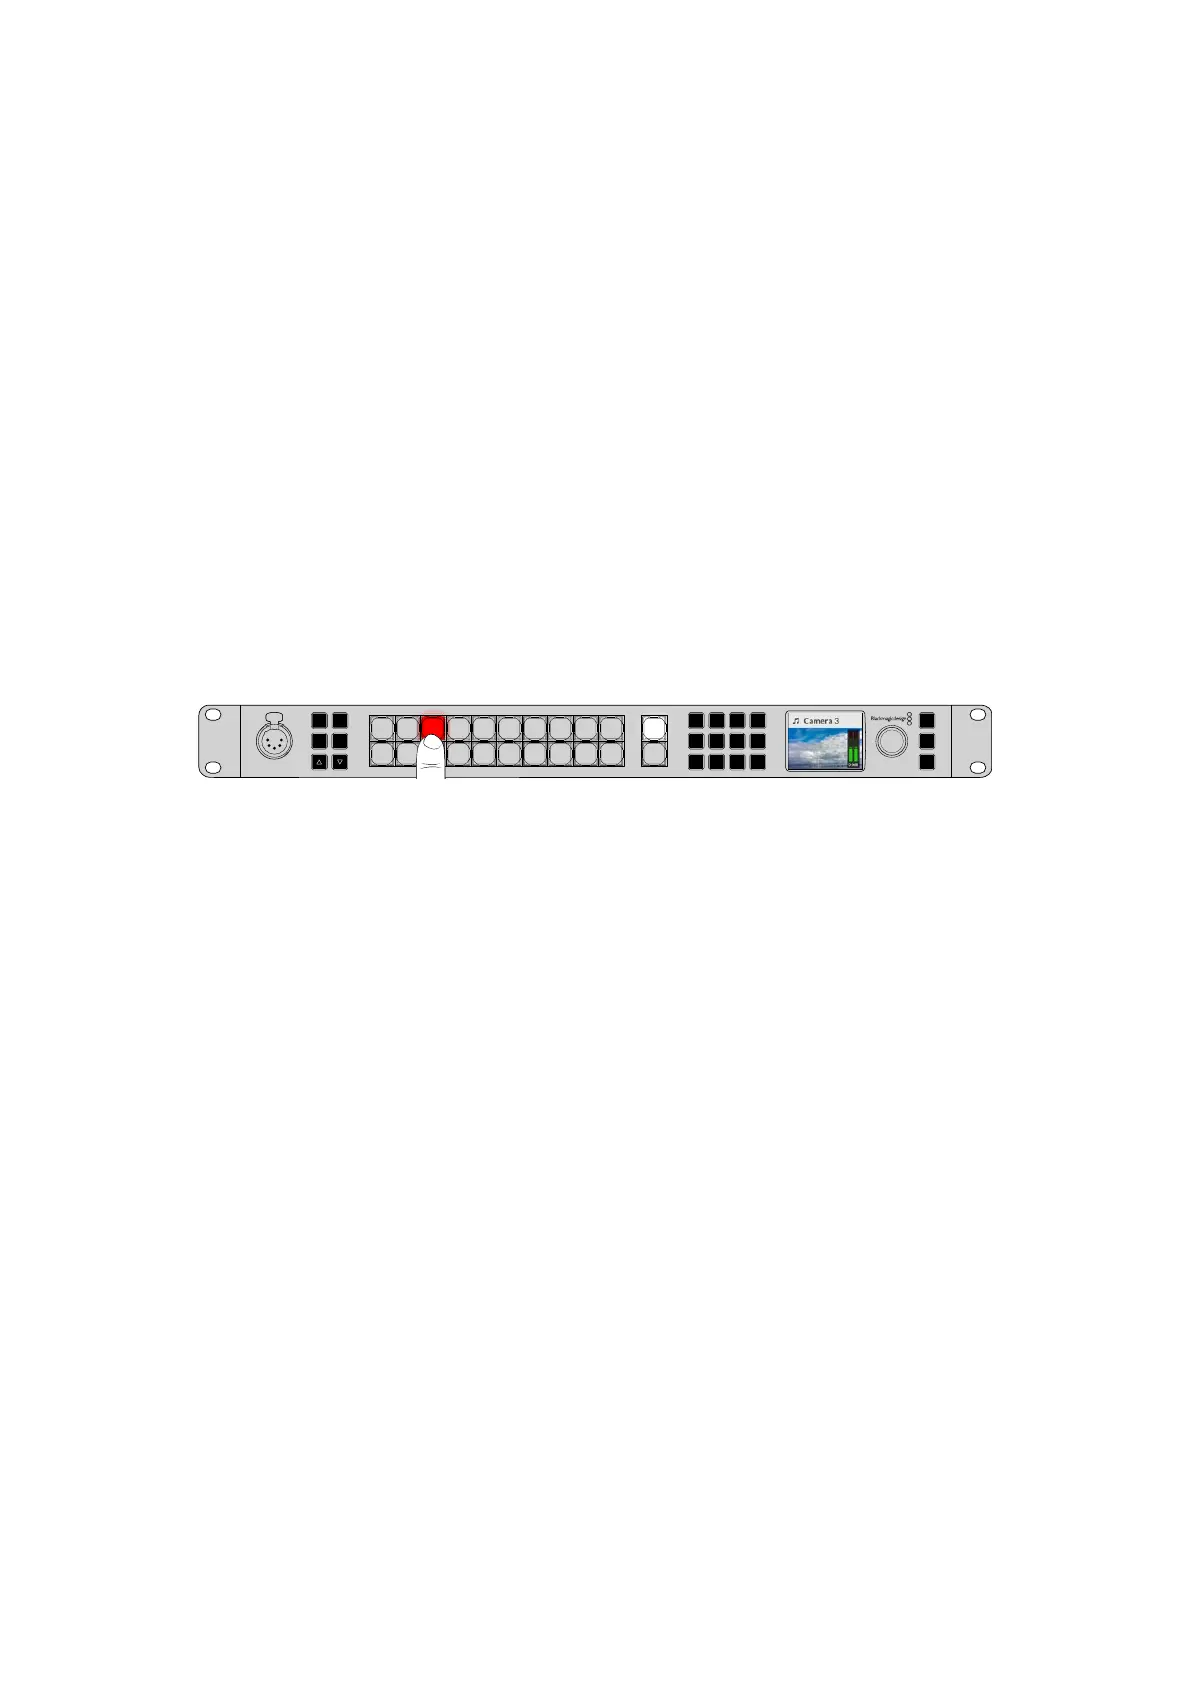
Now the front panel will have changed how it works and switching is performed the instant you
select a source. For example, try selecting a different source using the main input buttons and
you can see that it’s immediately selected and the button is illuminated red. You will notice that
there is no green button highlighted now and that’s because there is no preview bus to select
the source as the source is simply selected the moment you push the button and it’s on air
instantly. That’s why all buttons are now illuminated red.
However, there is another change to the front panel in cut bus mode and that’s the behavior of
the cut and auto buttons. Now the inputs are selected the instant you press them, the cut and
auto buttons don’t trigger the transition anymore. What they are now used for is to select the
type of transition you want when you press the input buttons.
5
Amphenol
4 2
1
3
PUSH
LOCK
MENU
SET
KEY 1
MIX
DSK 1
MIX
BARS
MIX
BLACK
WIPE
DSK2
MIX
FTB
MP 1
DIP
MP 2
DVE
6 7 8 9 CUT
16 17 18 19
10
20 AUTO
1 2 3 4 5
11 12 13 14 15
PROD
TALK
ENG
TALK
CALL
PGM
MIX
In cut bus mode, transitions are performed when you press a source button
For example if you want cuts when you select sources, then select the cut button. It will be
illuminated and now when you select sources you will see a cut. If you want to do transitions
now, then press the auto button. It will illuminate and now when you select sources, you will see
that each transition will use your currently selected transition. Use the same process as shown
in the previous examples to select the type of transition you want in the LCD menus.
In Case of Strange Behavior!
It’s important to note that anything you change on the front panel buttons or in the LCD menus
here will also be reflected on the software and hardware panel. What this means is if the
front panel does not behave in a normal way and seems to be doing strange things that are
unexpected, then it could be that another user has selected a mode that you cannot easily see
on the front panel. For example, another user could have a keyer selected and no background,
so when you press the auto button you are actually selecting a keyer. If you see this happen,
it’sa good idea to check the LCD menus or use the software control panel to clear these
settings back to normal.
This is very important if someone selects a specific switcher feature and then saves the switcher
state! It could mean you turn on the switcher and the front panel does not do what you expect!
Audio Levels
The function of the knob on the front panel is primarily for audio level adjustment, although it
is used for menu selection when you are in the LCD menus. Normally it’s used for audio level
control and you can tell what it’s controlling by looking at the LCD. The label on the LCD will tell
you what the knob is adjusting.
Normally, the LCD has the label ‘master’ and this means the knob is adjusting the main audio
mixer master output. Adjusting the knob will lower the whole program audio levels and you can
see the effect on the main audio meters in the LCD that are superimposed on the video preview.
13Using the Front Panel
 Loading...