1413
Step 2
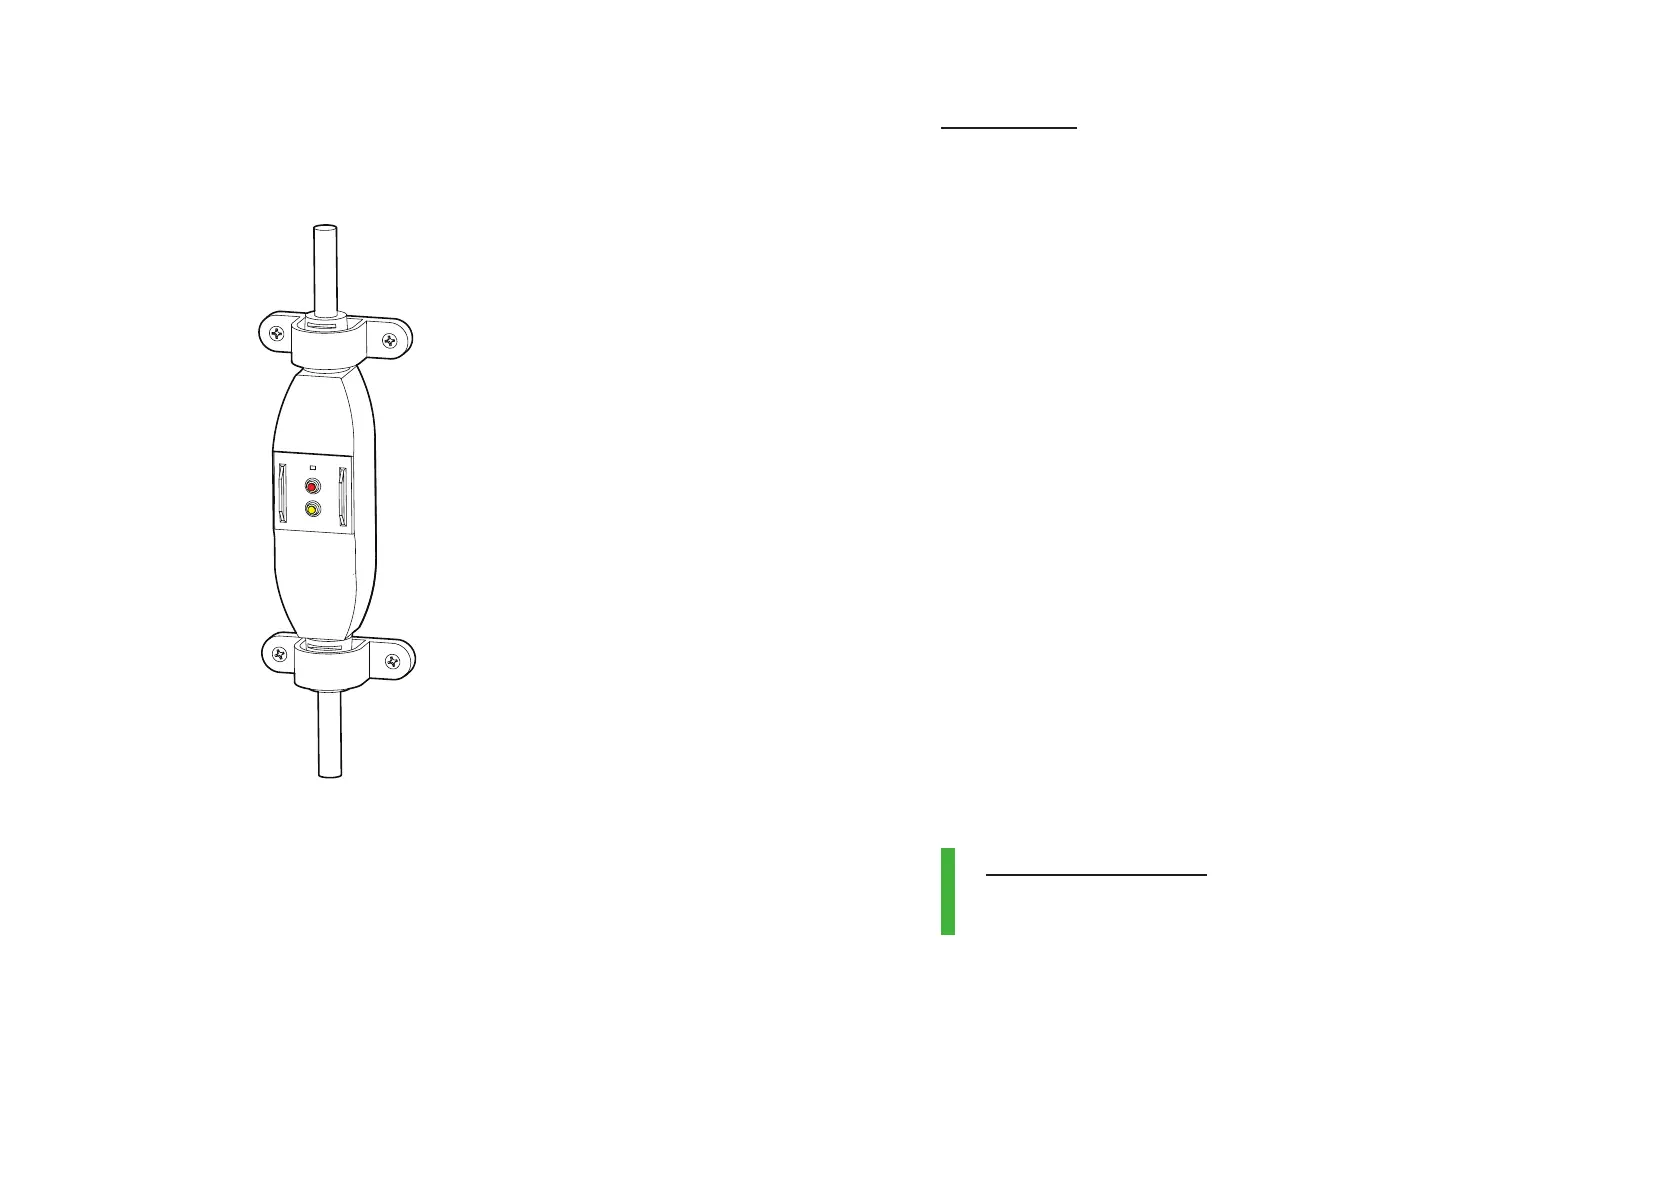
Use the C-clamps to fix the Portable Residual
Current Device (PRCD) intact over the
wall surface.
Step 3
Switch ON the mains power.
Via 6A socket
Step 1
Connect the 3 pin plug to the 3 open terminals
of Ather Dot™.
Step 2
Use the C-clamps to hold the PRCD intact over
the wall surface.
Step 3
Plug the charger into the socket using the
connected 3 pin plug and power it ON. An
earthed 3 pin 6A socket is a must for smooth
and safe charging at all times.
Note: In case you would like to install Ather
Dot™ in a shared parking space in apartment
complexes etc., it is advised to install a utility
energy meter and connect the Ather Dot™
through the meter. This will help you to bill the
power consumed by Ather Dot™ and pay back
your apartment society. Alternatively, you could
connect the socket directly to your dedicated
utility meter.
Ideal state of the charger
Solid Green LED- It signifies that the charger is
healthy and is available for charging.