Do you have a question about the Atlantic Furniture Newport Bookcase Headboard and is the answer not in the manual?
| Material | Wood |
|---|---|
| Style | Traditional |
| Assembly Required | Yes |
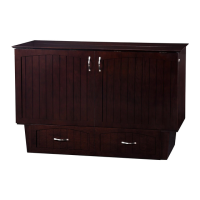
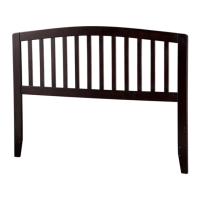
| Finish | Espresso |
| Sizes Available | Full, Queen, King |
| Dimensions | Varies by size |
| Weight | Varies by size |
Identifies all hardware components required for assembly, including quantities and spares.
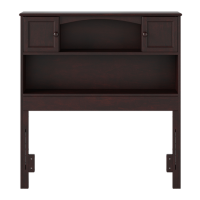
Details all structural components of the bookcase headboard with their respective part numbers and quantities.
Assembles the top rail to dividers and top shelf using specific screws and an allen wrench.
Connects the left and right posts to the side panels using specific screws and an allen wrench.
Attaches the top shelf assemblies, bottom shelf, and pillow stop to the side panels with screws and an allen wrench.
Installs metal pins into locator holes and attaches wooden pulls using screws and a screwdriver.
Connects the left and right doors and the top panel to the side panel assemblies using screws and an allen wrench.
Secures the back panel with nails and installs L-brackets using wood screws and a screwdriver.
Attaches the assembled headboard to the bed frame using specific screws and barrel nuts, tightened with an allen wrench.