17
Instruction Manual
3.1.2 T
OWING
INSTRUCTIONS
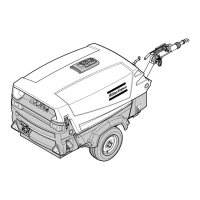
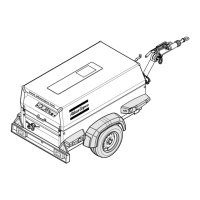
Fig. 3.5 Label on towbar, towing instructions
For both non-adjustable - and adjustable towbar, the towbar should
be as level as possible and the compressor and towing eye end in a
level position.
Push the hand brake lever (3) completely downwards and connect
breakaway cable (5) to the vehicle. Secure jockey wheel (2) or
support leg (1) in the highest possible position. The jockey wheel is
prevented from turning.
Fig. 3.6 Towing position of jockey wheel
3.1.3 H
EIGHT
ADJUSTMENT
(
WITH
ADJUSTABLE
TOWBAR
)
For specific instruction see below!
Fig. 3.7
Fig. 3.8
– Remove spring pin (1).
– Release locking nut (2) with support tools (Extension tube 3).
– Adjust required height of the towbar.
– Tighten locking nut (2) by hand first.
– Secondly tighten locking nut (2) with a tightening torque
corresponding to table (Fig. 3.8). With an extension tube (3) (”A“
corresponding to table) and handforce (”B“ corresponding to
table) easy tightening is possible.
– Fix locking nut (2) with spring pin (1).
– Height adjustment should be undertaken on levelled ground and
in coupled condition.
– When readjusting, make sure that the front point of the towbar is
horizontal to the coupling point.
– Before starting a trip, make sure that the adjustment shaft is
secure, so that the stability and safety is guaranteed while
driving. If necessary tighten the locking nut (2) corresponding to
table (Fig. 3.8).
Before towing the compressor, ensure that the towing
equipment of the vehicle matches the towing eye or ball
connector, and ensure that the hood is closed and locked
properly.
2
2
6
6
Before towing the compressor, make sure that the joints
of the towbar are secured with maximum strength
without damaging the towbar. Be sure that there is no
clearance between the teeth of the joints.
Table
XXX M
A
[Nm] ”A“ [mm] ”B“ [N]
ZV 2000 250 - 300 600 420 - 500
ZV 2500 350 - 400 600 580 - 660
Attention:
A
B
3
2
1
 Loading...