17
Removal and installation of lens
The entire process must be completed in a clean place, and PE gloves or finger
cots must be worn when removing and installing the lenses.
■ Disassembly and assembly of the lower protective lens:
Protective lens is a vulnerable part and needs to be replaced after damaged.
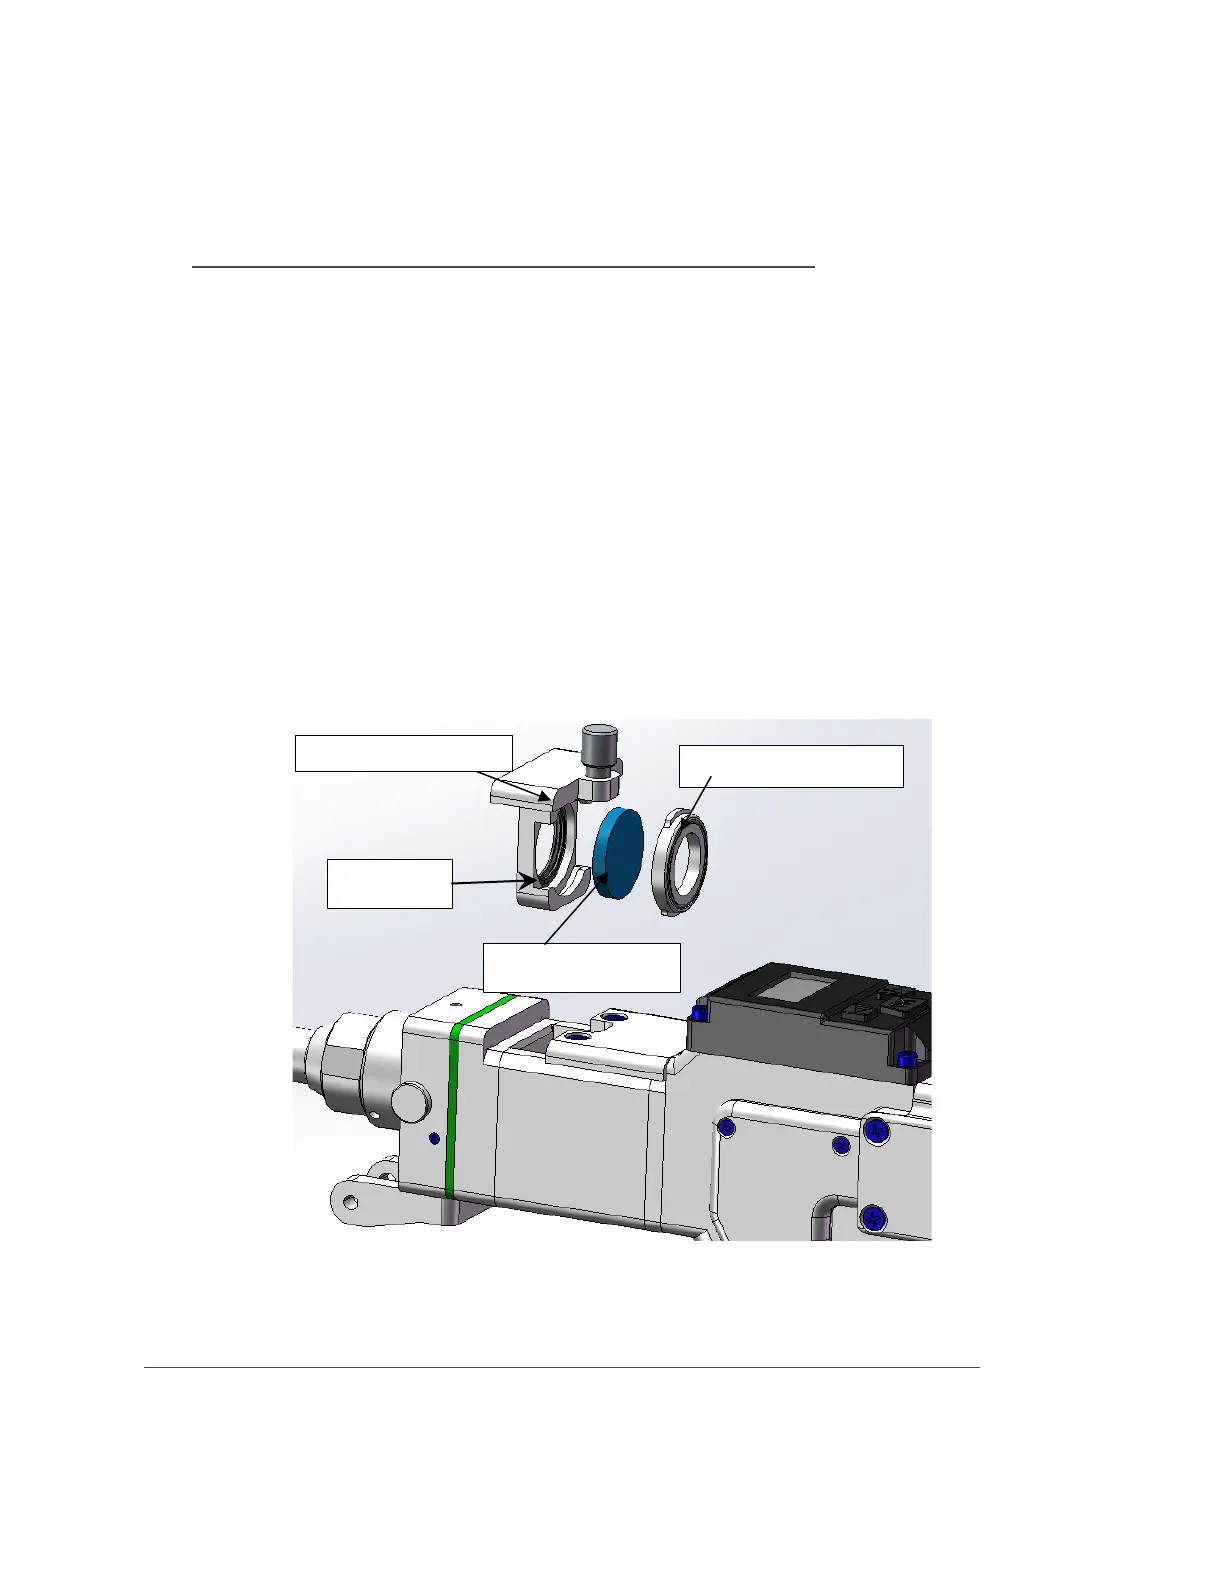
(1)As shown in Figure 10, loosen the locking screws, pinch both sides of the
drawer-type lens holder and slowly pull out the protective lens drawer;
(2)Rotate the protective lens cover 90° to remove the protective lens cover; take
it out from above Lens;
(3)Clean the lens, protective lens drawer and sealing ring. If the sealing ring is
damaged, replace it with a new one;
(4) Install the cleaned (or replaced) lens (regardless of the front and back) to the
protective lens in the drawer;
(5) Reinstall the protective lens cover;
(6) Reinsert the protective glass holder back into the welding head, and tighten the
locking screw.
Picture 10 HW970 protection glass split diagram
■ Disassembly and assembly of the upper protective glass and focusing lens: