A schematic wiring diagram of the controller and the device to be controlled is shown in Figure 3.
The connection of the controller with the device and the sensor should be done with the following
steps:
• Plug the sensor into the sensor port on the back of the controller.
• Plug the power cord from controller into the power outlet.
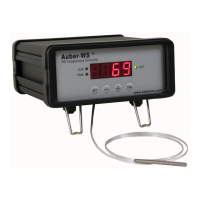
• Flip the power switch to turn on the controller. The LED display will show “8.8.8.8.” for 2
seconds and then display the current temperature. Then turn off the controller.
• Plug the power cord from the device (heater/cooker/smoker) to the output socket on the
back of the controller. If the load has a power switch, please make sure the switch is in
“off” position.
• Place the sensor inside the camber or container to be controlled.
• Turn on the controller.
• Turn on the device.
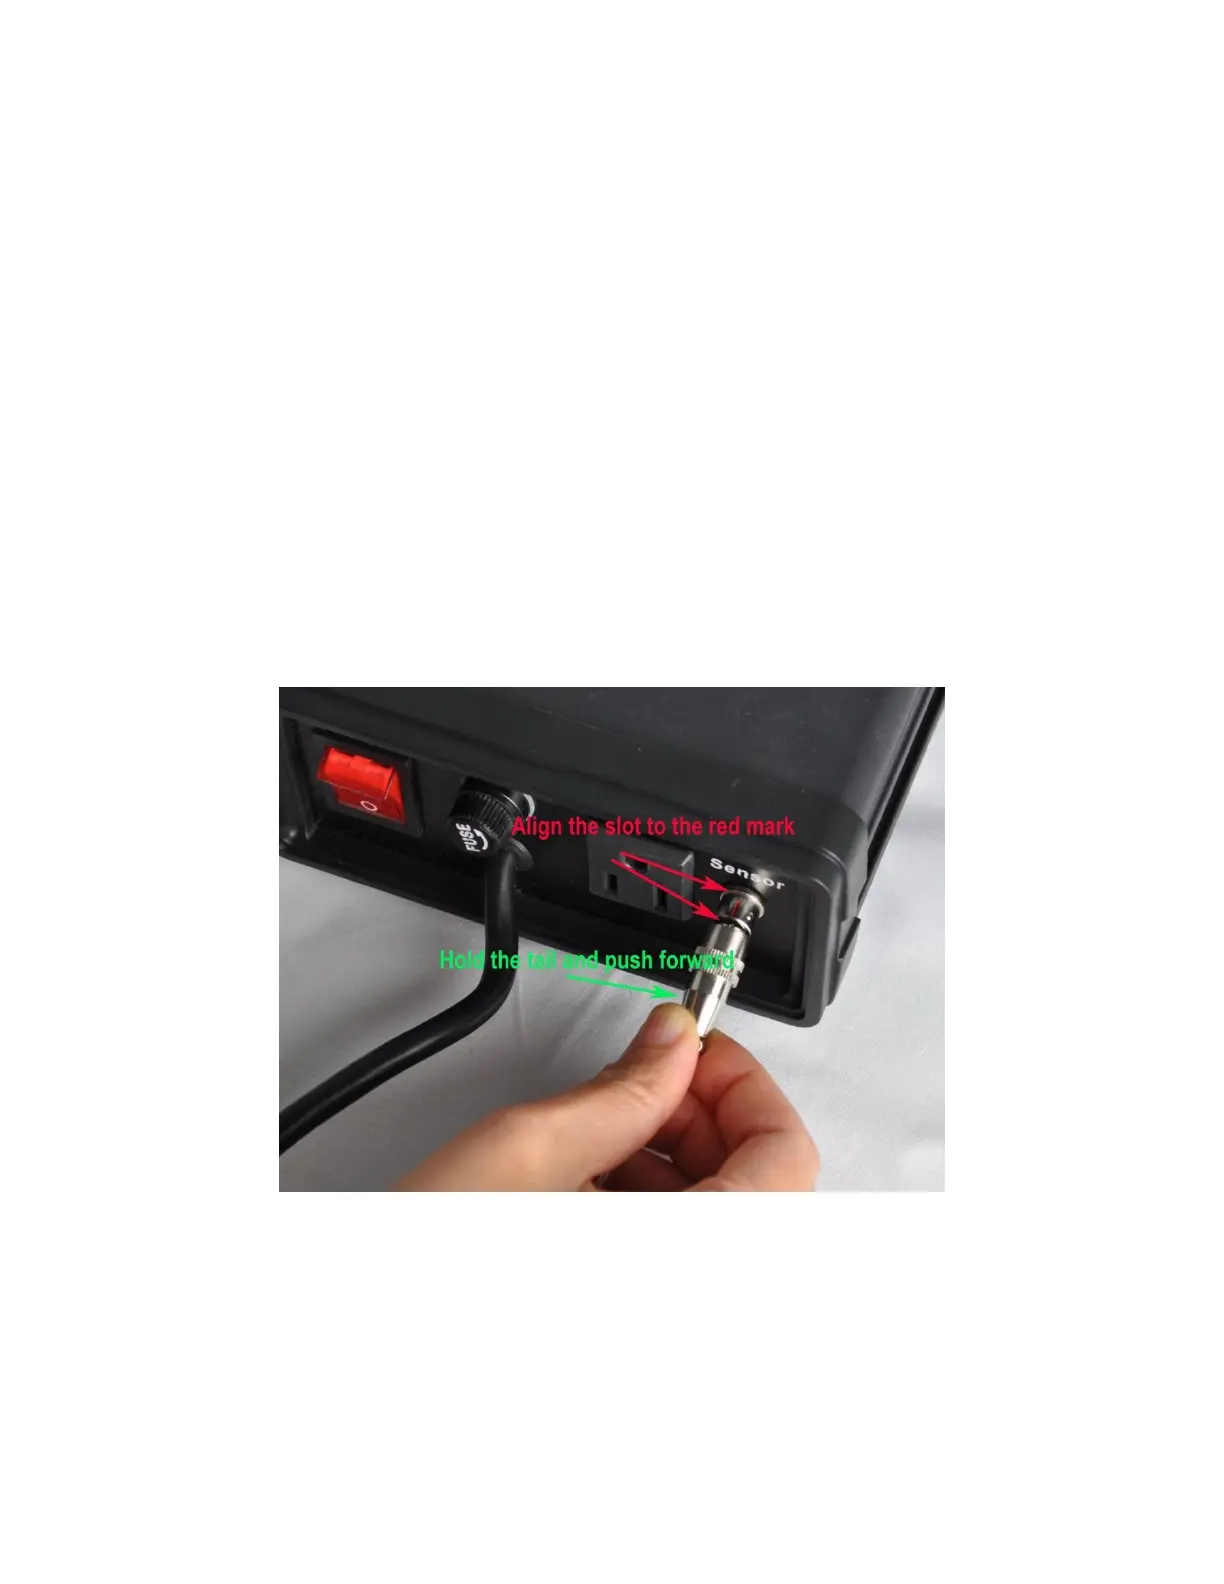
Remark: The connector of sensor contains a slot for pin-connect alignment. It also has a spring
lock to prevent disconnections from accidental pulling on the cable. The following pictures show
how to install and remove it.
Figure 3. How to install the sensor.
 Loading...