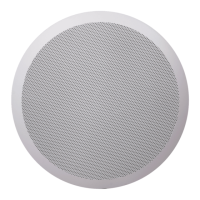
Installing the CELO
Introduction
The CELO speakers feature a quick-fixing mechanism, which allows quick and easy
installation of the loudspeakers in only a few minutes.
The installation of the CELO speakers requires a minimum amount of installation skills.
Before the loudspeaker is installed, the location whereto it will be mounted should be
carefully checked to make sure the surface can support the weight of the speaker and
no lines for water, gas, electricity or other supplies are crossing this point.
Installation procedure
To ensure a safe and secure mounting of the loudspeaker, the installation should be
done according to the procedure described below:
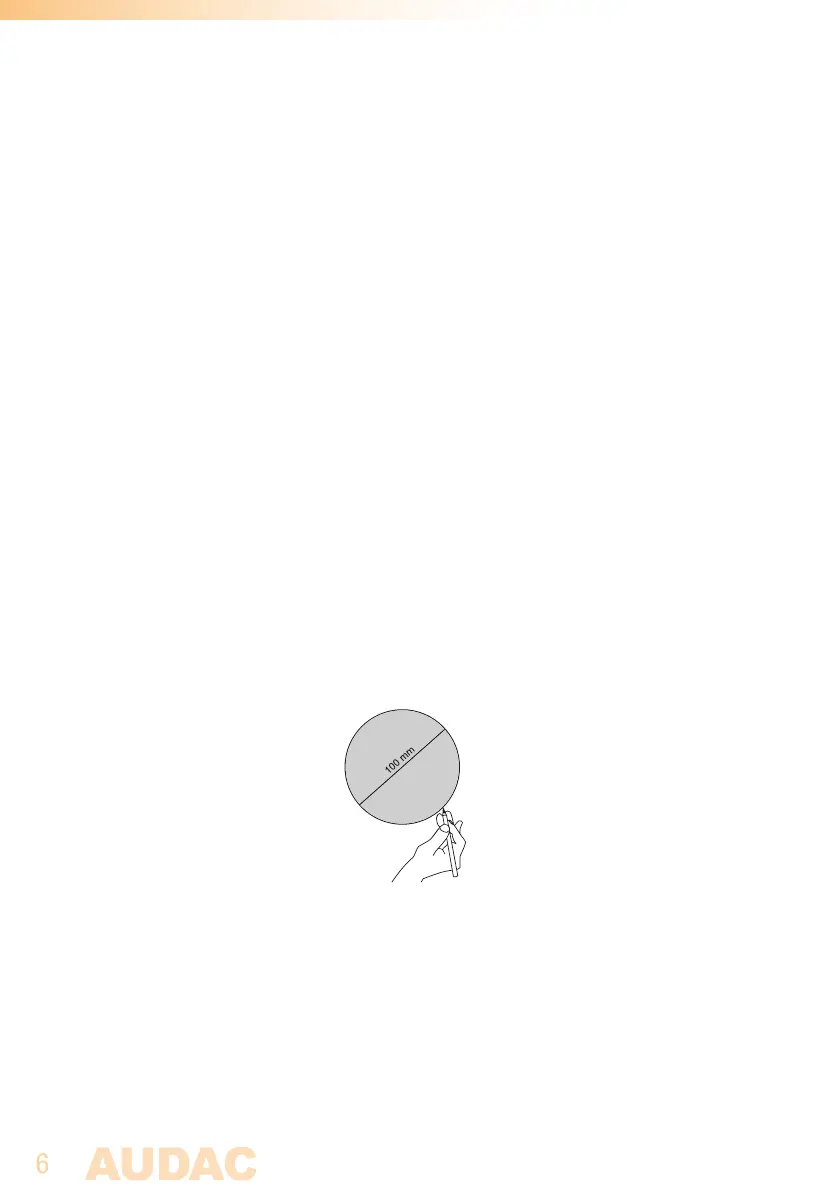
1) Firstly cut a hole into the surface whereto the loudspeaker should be installed with
a diameter of 100 mm. The included cutout template can be used for an easy marking
of the installation hole.
2) Provide the loudspeaker connection cable through the mounting hole. Make sure
the used connection cable is sufficiently thick. The required cable thickness depends
on its length.
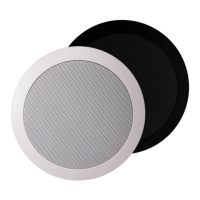
3) Take the loudspeaker, and remove the front grill which is held in place by
neodymium magnets. The front grill can be easily removed by gently pulling it.