7
Installation
Installation of Vacuum Tubes
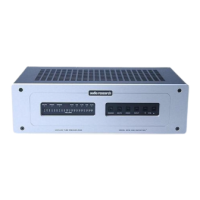
Before operating the Reference 10...
This unit has been shipped with the vacuum tubes installed in protective
foam in a separate box packed inside the shipping carton. Remove the
tubes carefully from the protective foam. Using a phillips-head screwdriver
to loosen the fastening screws, remove the top cover and set aside.
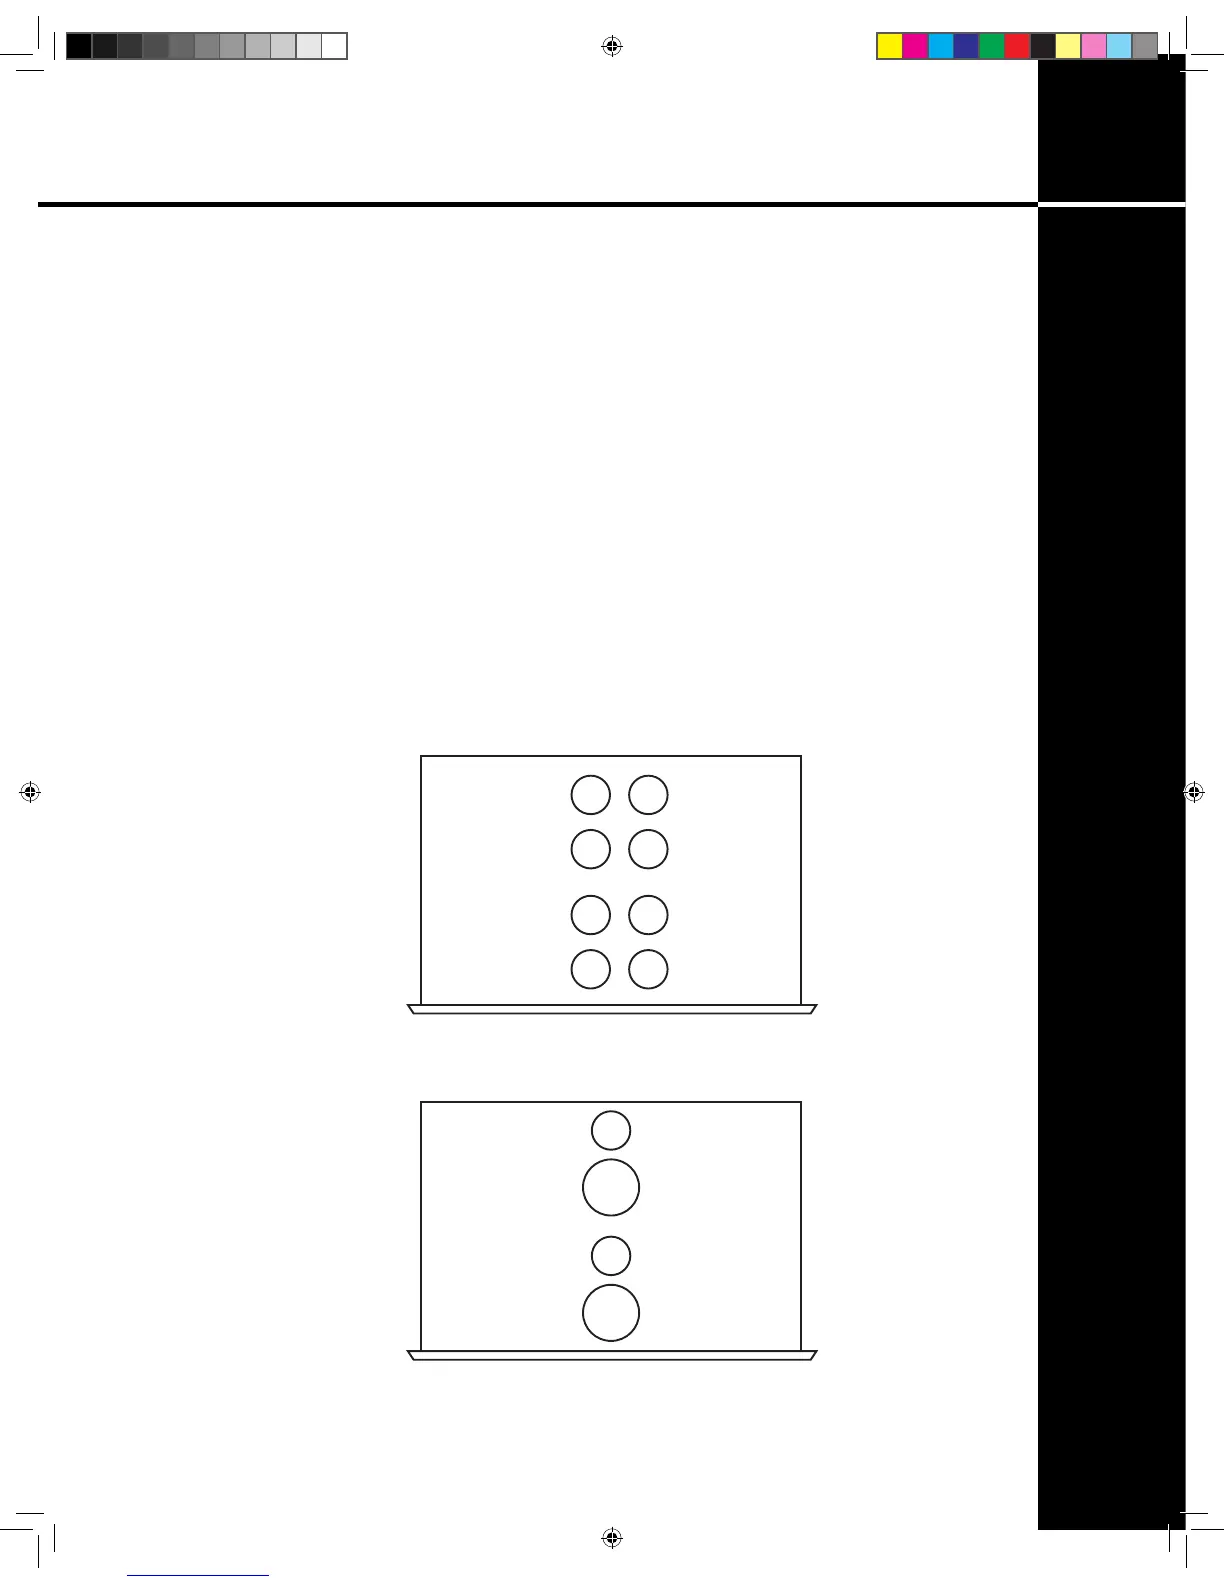
After removing the top cover and the vacuum tubes packed in protective
foam, see the accompanying illustrated sheet (g. 1 + 2) for instructions
on installing the tubes for your Reference 10 in their proper locations in the
power supply and audio chassis. Note that the numbers written on each
tube correspond to a ‘V’ number printed on the circuit board next to each
tube socket. Insert each tube rmly, carefully aligning the tube pins with the
corresponding socket holes.
V1V5
V7 V3
V2V6
V8 V4
TOP VIEW
AUDIO UNIT
g. 1
V9
TOP VIEW
POWER SUPPLY
UNIT
V10
V11
V12
g. 2
Ref 10.indd 7 4/17/13 1:21 PM