11
3. Place the expansion plugs into the drilled holes (plugs are
included in the kit).
4. Fasten the rear panel to the wall using the screws included
in the kit.
5. Replace the front panel.
NOTE: In case of wooden wall you don't have to use expansion plugs. Just drill
the 2.7 mm dia holes (instead of 6 mm) in screw the bolts directly into the
wood.
FRONT PANEL
REAR PANEL
Placing the front panel: NOTE
When replacing the front panel onto the rear panel pay attention to
the pin connection which transmits the control signals.
Pins
Pin socket
When replacing the front cover make sure that the pins are
inserted into the pin socket.
10
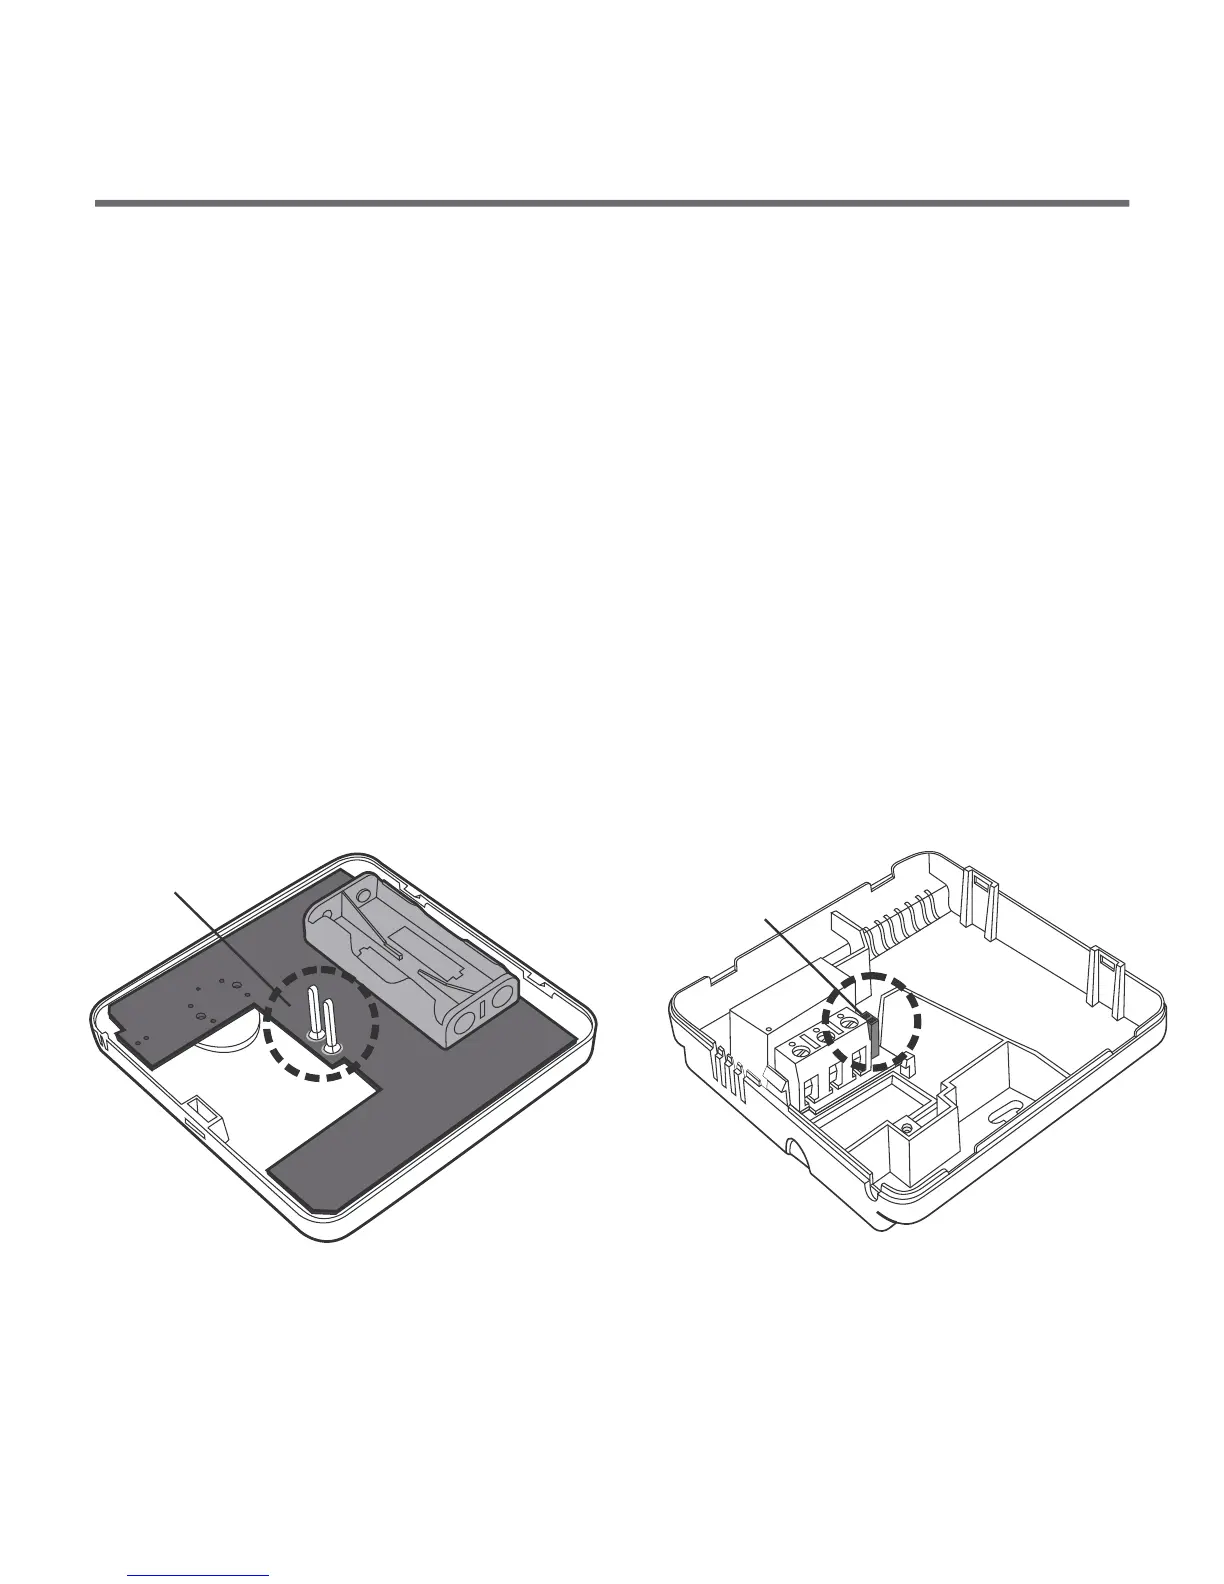
battery
compartment
2x AAA 1.5 V
Put two AAA 1.5V batteries into the
compartment, observing the polarity.
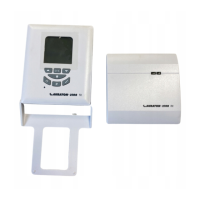
To fasten the AURATON 3003 controller to the wall::
1. Remove the controller front panel (as shown in the section
”Connecting the leads to AURATON 3003”).
2. Drill two 6mm dia holes in
the wall (set the holes spacing
using the controller rear panel).
Fastening the controller on the wall
NO COM
NC
opening
for the screw