- 9 -
candles and other open flames must be kept away from this product
at all times to prevent the spread of fire.
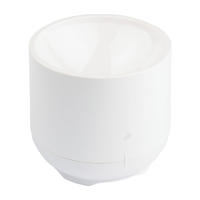
Securely placing or mounting the outdoor sensor
Place the sensor in a location where it is protected from the weather,
for example under an awning or carport. The sensor has an IPX4 rating
and is therefore protected from water splashes. Use the included
screws and anchors for wall mounting. Before mounting to a wall,
make sure that there are no gas, water or electricity lines at the drilling
location. Pay attention to the condition of the wall. The enclosed
mounting material is not suitable for all types of walls. The
manufacturer is not liable for any damage caused by improper
mounting. Protect sensitive surfaces before setup, otherwise scratches
may occur. Make sure that:
the sensor hangs or stands upright;
sufficient ventilation is always guaranteed (don’t place the device on
shelves or where curtains or furniture block the ventilation holes, and
ensure that there are at least 10 cm of space on all sides);
no direct sunlight reaches the device;
the device doesn’t stand near magnetic fields (i.e. speakers);
no foreign objects or dust penetrate the housing;
sensitive surfaces are protected before placement.
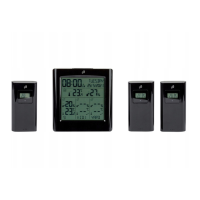
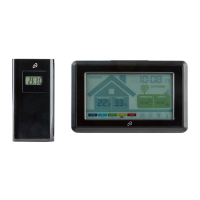
Setup
Remove the protective film from the radio controlled weather station
and the sensors. Open the battery compartments 41 of the
sensors 1-3. Set a different channel 1-3 40 on each outdoor
sensor and insert 2 of the included 1.5 V AAA LR03 batteries into each
compartment in the correct polarity.
The operating LED 38 will light up briefly and the temperature 35, the
humidity 36 and the selected channel 37 will appear. Close the
battery compartments 41.
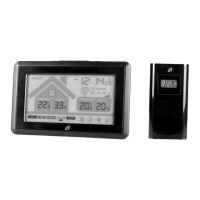
Open the battery compartment 27 of the radio-controlled
weather station and insert 3 of the included 1.5 V AAA LR03
batteries in the correct polarity. Close the battery compartment 27. A
short beep will sound. The temperature 21 and the humidity 11 will
appear. The radio tower symbol 6 will blink on the display and the
radio-controlled weather station will receive the DCF77 radio signal.
This process can take 3-10 minutes.
Set a different channel 1-3 40 on each outdoor sensor.
Insert batteries into the battery compartment 41 of the
sensors first!
Then insert batteries into the battery compartment 27 of
the radio-controlled weather station.