Note: When "Timer Setting" is ON,the camera does not work outside the set working
hours.
● Slide the switch to "TEST"position(The screen is on);
● Setting of "TimeSetting":Select "TimeSetting"→Press
"OK"→Select "ON"→Set the working time period.
Setting of "TimeLapse"
● Slide the switch to "TEST"position(The screen is on);
● Setting of "TimeLapse":Press "Menu" →Select
"TimeLapse" to set the shooting interval.
● The photos taken are compressed into video format, enter
"REPLAY" to view.
Note: When "TimeLapse" is ON,The camera can shot photos only. And the trigger
function fails.
Setting of "TimeSetting"
MENU
Back
OK
Select
Time Lapse
Shooting Interval
H : M : S
00 00 00
Notification:Motion
sensors deactivated
MENU
Back
OK
Select
Settings
Timer Setting
Hr : Min
Start: 00 00
Stop: 00 00
USB cable connection computer precautions
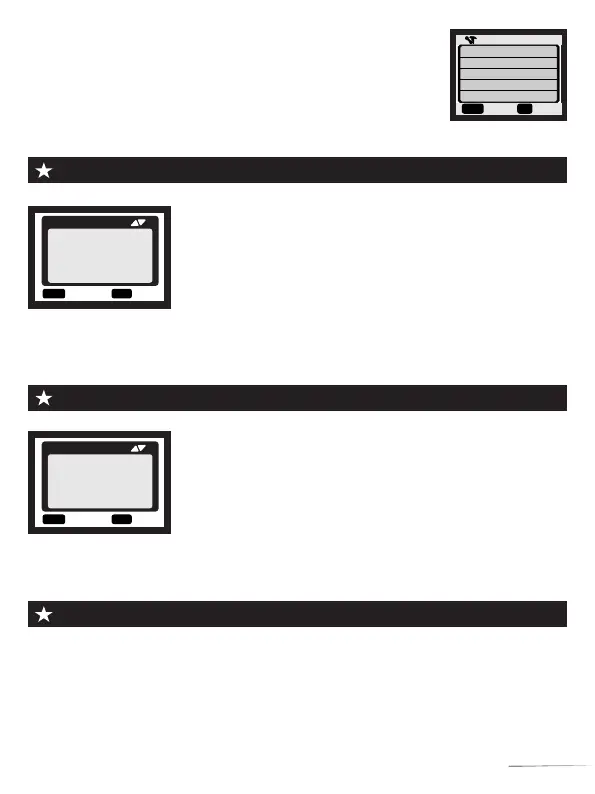
Step1: Slide the switch to“TEST”position(The screen is on);
Step2: Press“Menu”key to enter the setting interface;
Step3: Press ▲, ▼ to scroll through the setting options, and the
“OK” button to confirm the setting;
Step4: Press “MENU” key to exit.
Video Size 720P
MENU
Back
Select
Mode
PIR Level
PIR Interval
Capture Num
Video Length
OK
You can browse, copy, and delete the images and videos on your computer by
connecting the camera to your computer with an USB cable. When using the USB
connection, make sure that the switch is on TEST mode.
1.The memory card cannot be formatted via USB when connected to the computer.
2.Before connecting USB, please input the password if the camera is setting.
05
 Loading...