®
AVALLON.COM
©2022 Ferguson Enterprises, LLC V1.2-11202022
22
AVALLON.COM
®
23
©2022 Ferguson Enterprises, LLC V1.2-11202022
Deep Cleaning Steps
1. Turn the ice maker’s switch to “OFF” and allow the unit to finish the current ice making cycle and
harvest the ice from the evaporator. DO NOT forcefully remove the ice from the evaporator as this
may damage the unit.
2. Disconnect power to the unit and turn o the water supply at the shut-o valve.
3. Remove all ice inside the ice bin.
4. In a plastic or stainless steel container, mix 4 liters of water with the required concentration of
nickle-safe cleaner as specified in the manufacturer’s instructions (generally 150 ml or 5.1 oz).
5. Remove all the internal parts as specified in the previous section “Routine Cleaning of Interior
Parts.”
6. Place all parts in 1 liter of the nickle-safe cleaning solution and soak them for 10-20 minutes. The
spray bar with the water nozzles should also be removed and soaked at this time.
7. While the parts are soaking, clean the inside of the unit and ice bin with a soft sponge or nylon
brush and the cleaning solution. Clean all corners, the water reservoir, the evaporator, and the
inside of the door. Rinse with clean water.
8. After soaking, clean all parts with a soft sponge or nylon brush. Be sure to remove all mineral build-
up, especially on the water nozzles. Additional soaking may be required if build-up is excessive.
9. Replace all cleaned parts.
10. Pour the remaining 3 liters of cleaning solution into the water reservoir and plug in the power. Do
not turn on the water supply.
11. Set the switch to “WASH” to begin the automatic cleaning cycle.
12. After the automatic cleaning cycle is complete (approximately 25-30 minutes), set the switch to
“OFF.” If there is any cleaning solution remaining in the water reservoir, remove the drain plug to
drain it. Replace the drain plug when finished.
13. Pour 1 liter of clean water into the water reservoir and set the switch to “WASH” again. Run the unit
for 10 minutes to rinse the inside. Set the switch to “OFF.” The ice maker is now ready to sanitize.
Sanitizing Steps
1. After cleaning the ice maker, prepare 3 liters of disinfectant solution according to the
manufacturer’s instructions.
2. Wipe down the inside of the ice bin with a soft sponge soaked in the disinfectant solution.
3. Pour the 3 liters of disinfectant solution into the water reservoir and set the switch the “WASH.” This
will begin the automatic disinfecting cycle.
4. After the automatic disinfecting cycle is complete (approximately 25-30 minutes), set the switch
to “OFF.” If there is any solution remaining in the water reservoir, remove the drain plug to drain it.
Replace the drain plug when finished.
5. Pour 1 liter of clean water into the water reservoir and set the switch to “WASH” again. Run the unit
for 10 minutes to rinse the inside.
6. After the rinse cycle is complete set the switch to “OFF,’ drain any remaining water, and allow the
unit to air dry with the door open.
7. Once the unit is finished drying, turn on the water supply at the shut-o valve and set the switch to
“ICE” to return the ice maker to its normal production cycle.
8. Allow the unit to produce a batch of ice and discard the first batch. The ice maker is now ready for
use.
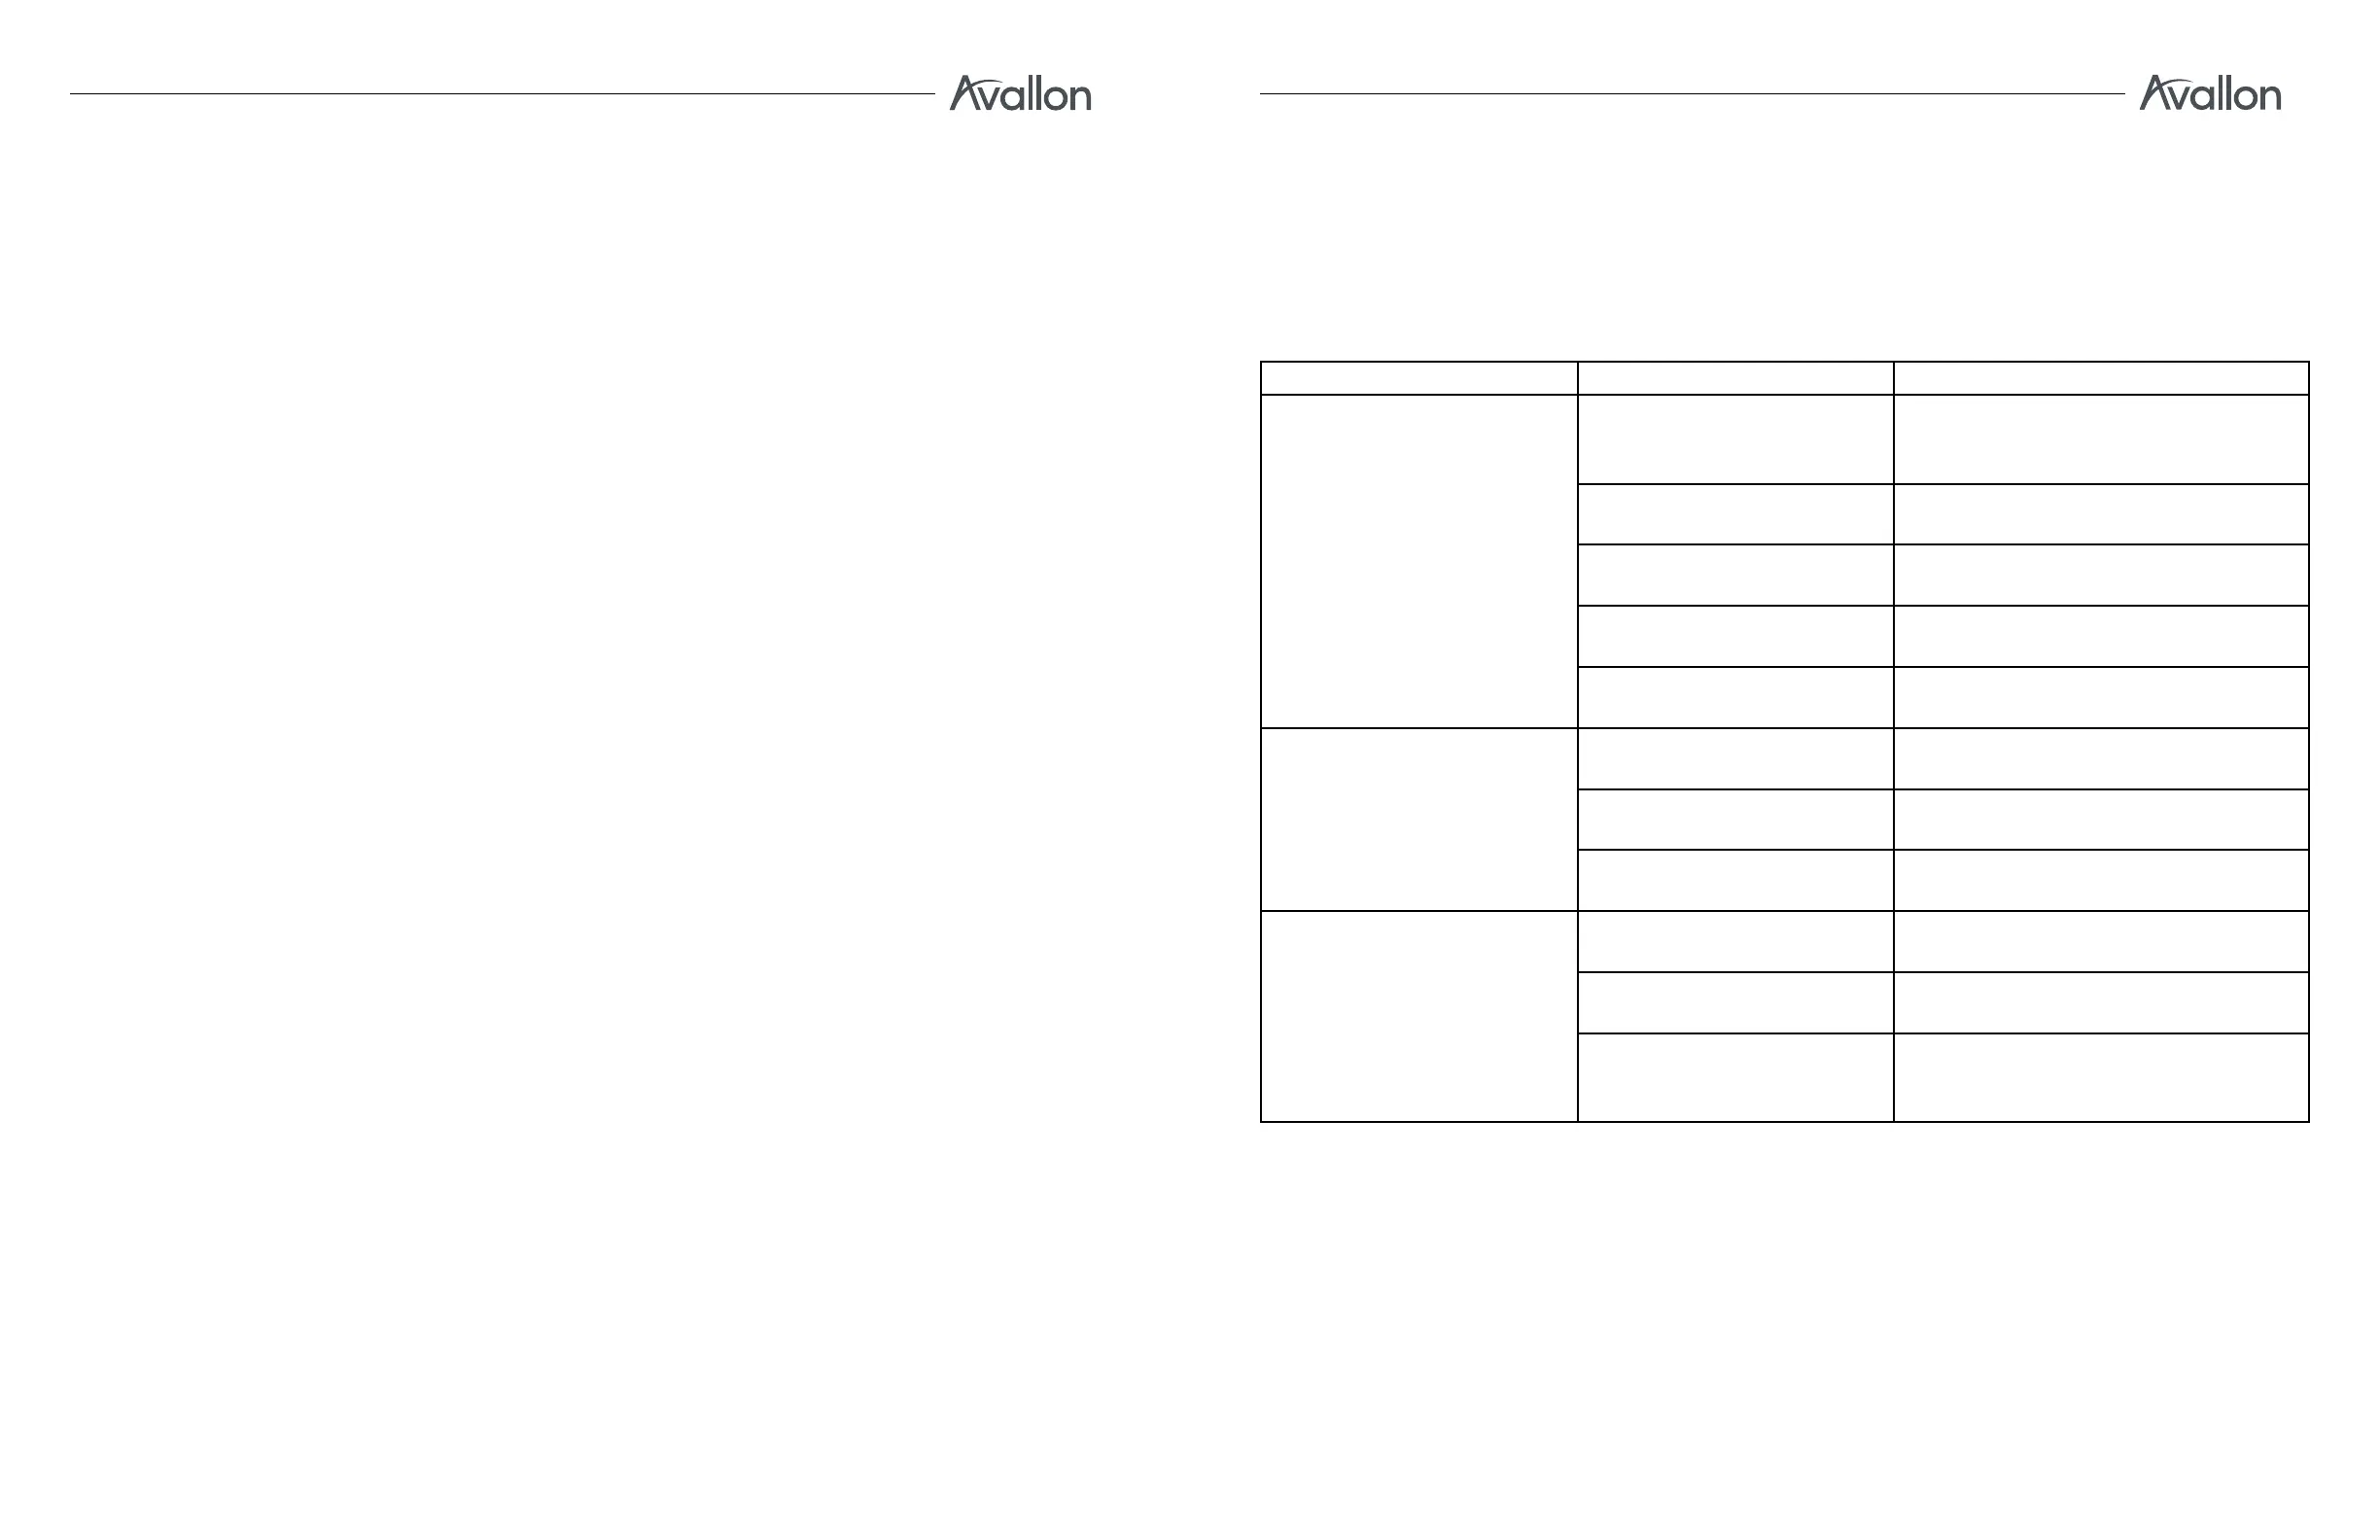
Troubleshooting
If the unit appears to be malfunctioning, read through the “Operation” section of this manual first. If the
problem persists, check the Troubleshooting Guide below and on the following page. The problem may
be something that can easily be solved or explained.
Before Calling for Help:
Symptoms Possible Causes Soluons
The ice maker turns on and o
frequently.
The room temperature is
higher than the recommended
ambient environment.
Run the ice maker at the appropriate
ambient temperature.
The door is being opened too
oen.
Minimize the number of mes the door is
opened.
The door is not completely
closed.
Make sure the door is completely closed.
The door gasket is not sealing
properly.
Make sure the door gasket is sealing
properly.
The ice maker does not have
the suggested venlaon.
Read and follow the “Installaon
Clearance Requirements” secon.
The ice maker does not turn
on.
There is a power failure. Ensure that the ice maker is plugged in
and the power outlet has power.
The ice maker is not plugged in. Plug the unit in to a power outlet that has
sucient amperage.
A house fuse has blown or the
circuit breaker is tripped.
Replace the broken fuse in your fuse box
or reset the breaker.
The ice maker will not reach
the desired temperature.
The ice maker is placed too
close to a heat source.
Keep the ice maker away from direct
sunlight or other heat sources.
The ice maker does not have
sucient venlaon.
Read and follow the “Installaon
Clearance Requirements” secon.
The door is opened too
frequently or for a long period
of me.
Close the door ghtly and do not open
the door too frequently or for a long
period of me.
 Loading...