®
AVALLON.COM
©2022 Ferguson Enterprises, LLC V1.2-11202022
12
AVALLON.COM
®
13
©2022 Ferguson Enterprises, LLC V1.2-11202022
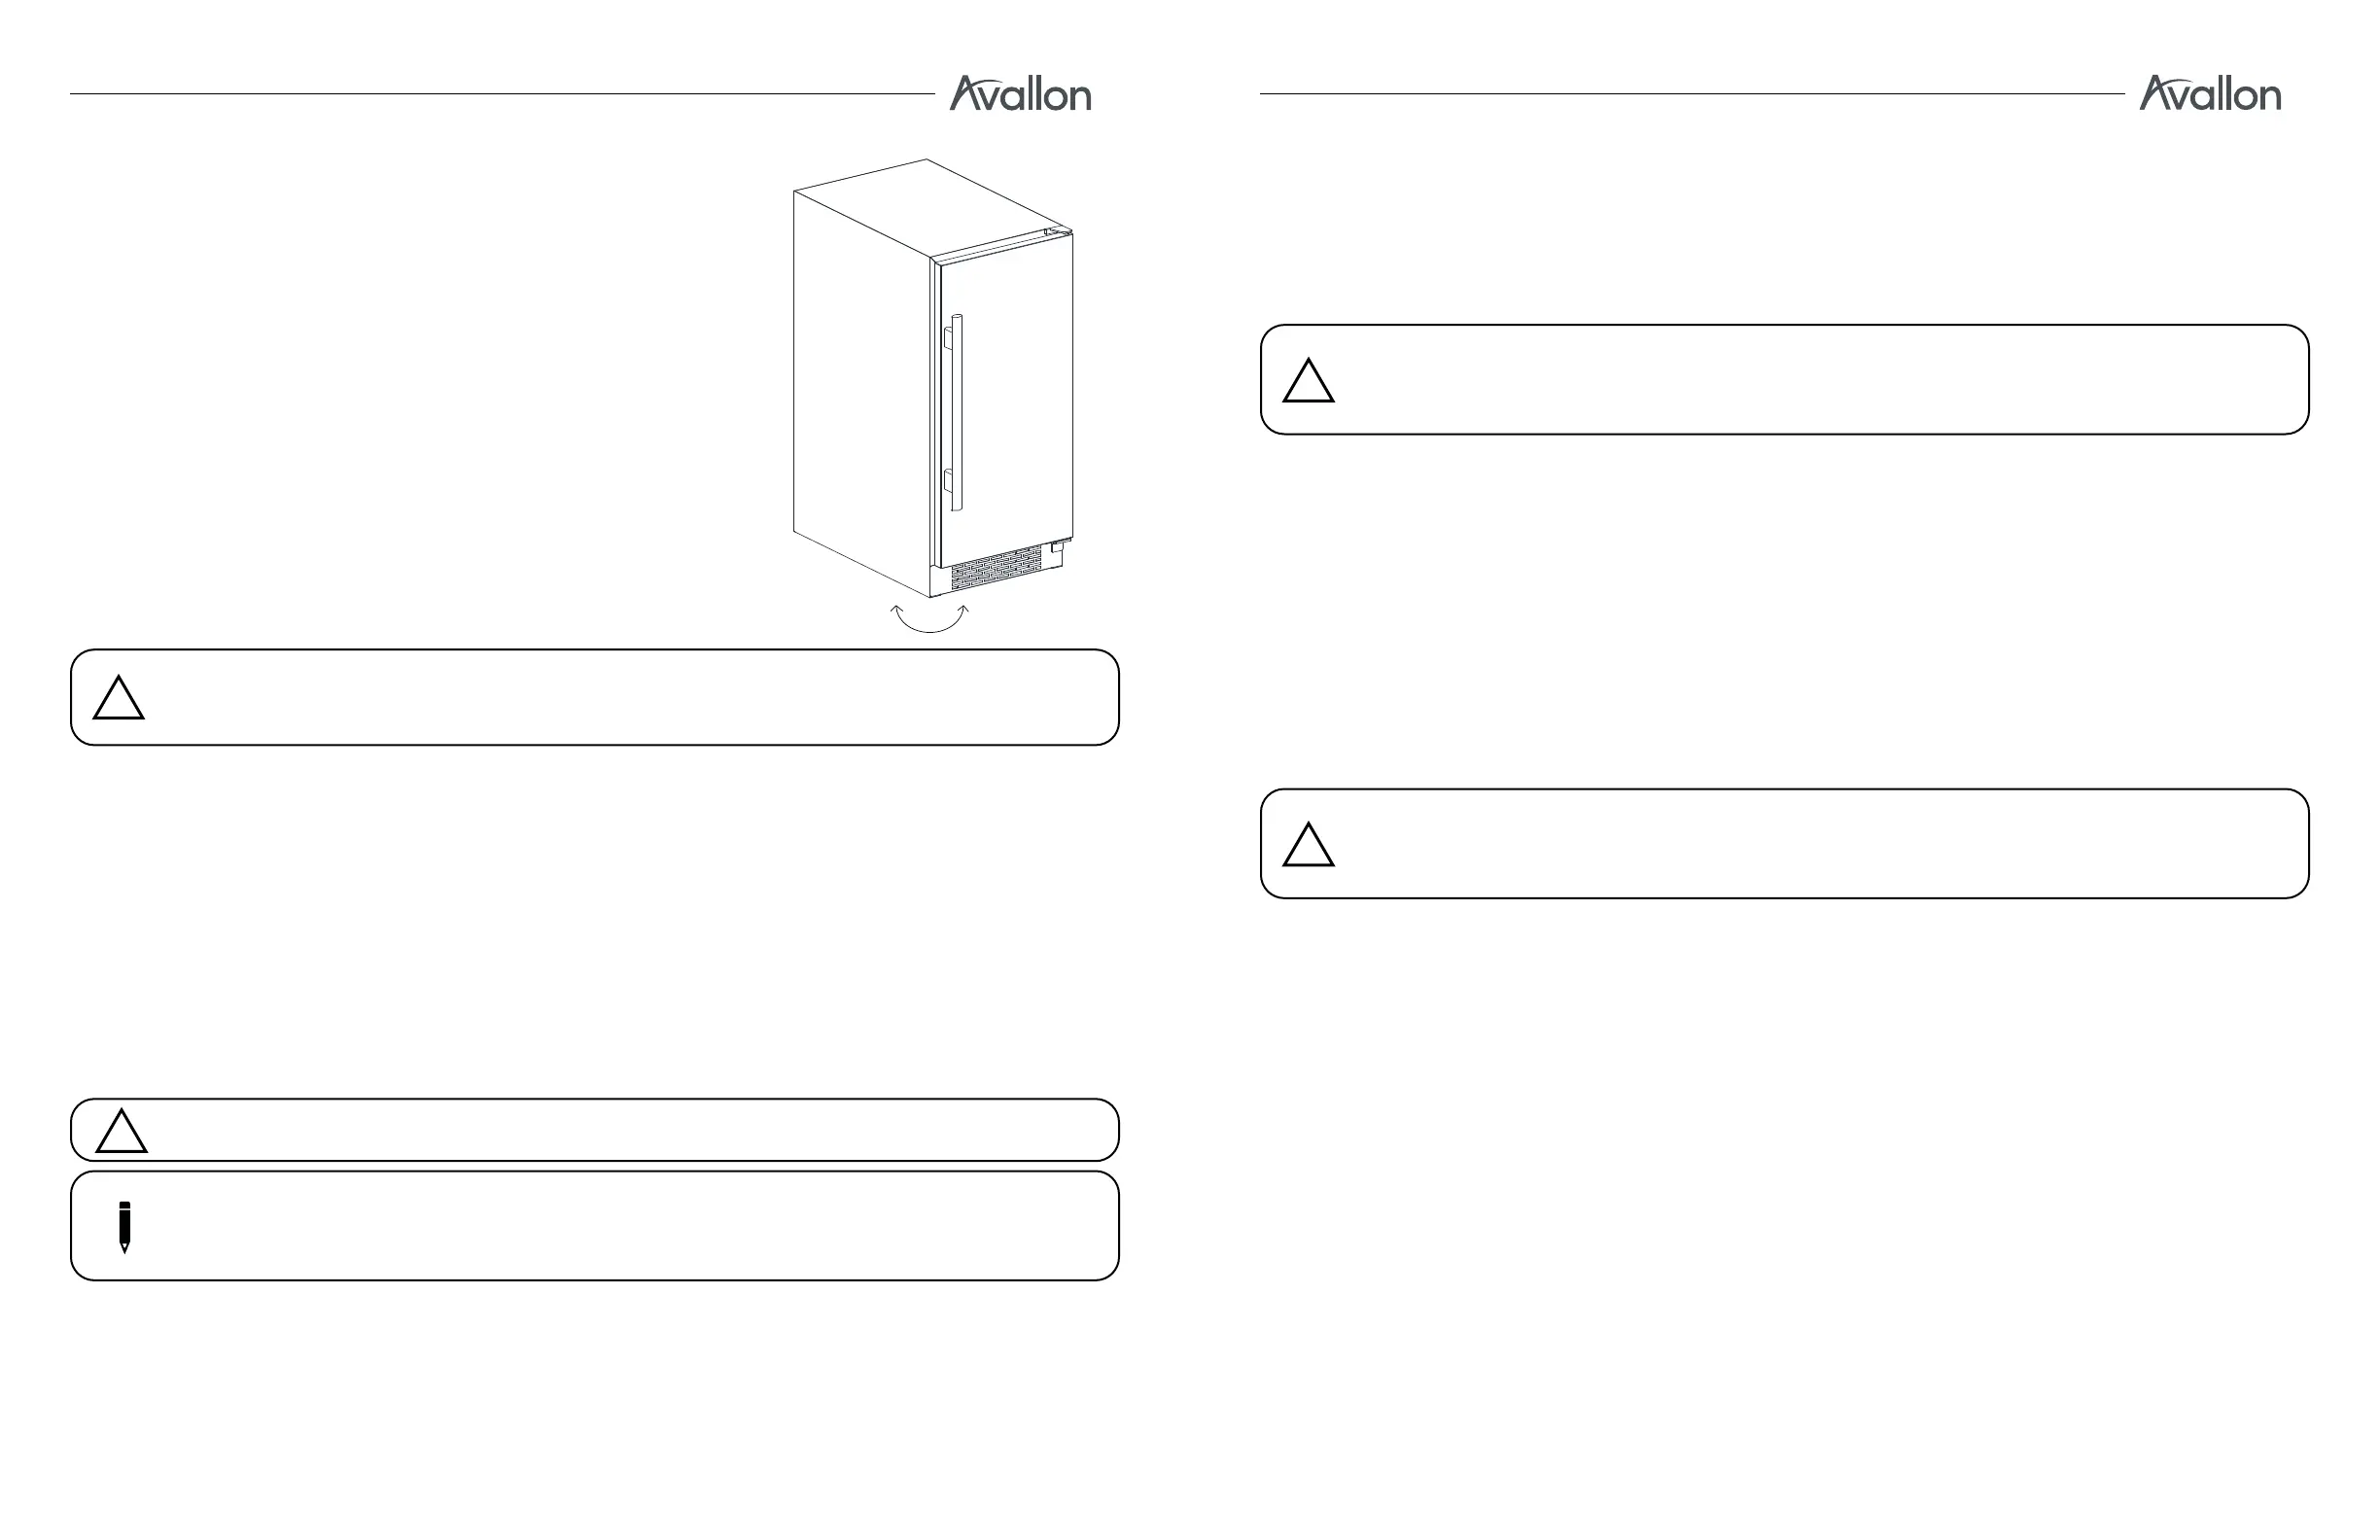
Leveling the Ice Maker
The ice maker should be installed on a firm and level surface that
will be able to support the entire weight of a fully loaded unit. It is
important for the ice maker to be leveled in order to work properly.
It can be raised or lowered by rotating the feet on the bottom of
the machine. If you find that the surface is not level, rotate the feet
until the ice maker becomes level. You may need to make several
adjustments to level it. We recommend using a carpenter’s level to
check the machine. Turn the leveling feet to the right to lower that
side of the ice maker. Turn the leveling feet to the left to raise that
side of the ice maker.
Important: Once you are ready to install the unit in a cabinet or directly on the floor, you
must adjust the feet to level the ice maker.
!
Installing the Door Handle
Caution: Do not over-tighten the screws as this may cause damage to the handle or door.
!
To install the door handle:
1. Open the door and carefully pull out the section of the door gasket that covers the hole where the
handle is to be installed.
2. Insert the shorter (M4*35mm) Phillips head screw through the UPPER hole on the inside of the door,
and the longer (M4*45mm) screw through the LOWER hole until the screws pass through to the
outside of the door.
3. Align the handle with the screws and tighten using a Phillips head screwdriver until the handle is
flush against the door frame.
4. Carefully press the door gasket back into its original position.
Down
Up
Note: Panel ready models allow for the installation of handles, which may be axed to the
panel overlay directly. Door handle installation may be dierent than the above instructions.
Please visit www.avallon.com for additional panel ready model information.
Connecting the Water Supply and Drain Lines
The water supply should be ready at the point of installation. The water supply pressure should be a
minimum of 20 psi with a static pressure of no more than 80 psi. A wall outlet directly behind the ice
maker will make installation easier. When you connect the water supply line and drain line, ensure they
are installed into the correct locations.
Important: All installations must be done in accordance with local plumbing code
requirements. Do not pinch, kink, or damage the water supply or drain lines during
installation. Check for leaks after connecting lines.
!
Connecting the Water Supply Line
1. Turn o the main water supply. Turn on the nearest faucet long enough to clear the line of water.
2. A shut-o valve must be installed between the ice maker and the main water supply.
3. Connect the water supply line to the COLD water piping using copper tubing with a 1/4”
compression fitting to the unit or 1/4” reinforced PVC tubing.
4. Install the included water line adapter to the back of the unit. Wrap the threads of the adapter with
Teflon tape to ensure a proper seal.
5. Connect the water supply line to the adapter. Tighten the connection to the unit firmly by hand, then
tighten one-half turn with an open-ended wrench.
6. Turn on the main water supply and open the shut-o valve. Check for leaks at all connection points.
Repair any leaks.
Connecting the Drain Line
There are two options for drain operation: One that drains by gravity and one that utilizes an internal
drain pump. Follow the instructions below for your model’s configuration.
Gravity Draining (AIMG151GPRI, AIMG151GSSI)
1. Locate the floor drain near the ice maker. Your drain line must be long enough to reach the floor
drain and must slope downward 1/4” for every foot of line. An air gap is required between the drain
line and the floor drain. A standard P-trap in the floor drain piping is typically recommended.
2. Install the included drain adapter to the back of the unit. Wrap the threads with Teflon tape to
ensure a proper seal.
3. Connect the drain hose to the installed drain adapter, then insert the other end of the drain line into
the floor drain.
4. Pour 2-4 quarts of water into the ice bin to check for proper drainage.
Pump Draining (AIMG151PPRI, AIMG151PSSI, AIMG151PSSO)
1. The drain pump can pump water up to 4 feet vertically and 20 feet horizontally. Your drain location
must be within these distances. Consult a licensed plumber for proper installation.
2. Install the included drain adapter to the back of the unit. Wrap the threads with Teflon tape to
ensure a proper seal.
Note: It is strongly advised to always use a water filter with your ice maker. A water filter
can remove taste and odors as well as particles. Where water is very hard, softened water
may result in white, mushy cubes that stick together. Deionized water is not recommended.
!
 Loading...