Installation preparation
Before you begin
Ensure the area where you install and use the 4000 Series switch meets the following
environmental requirements:
• Ambient temperature between 32° and 106° F (0° and 50° C)
• Relative humidity between 10% and 90% noncondensing
• No nearby heat sources such as hot air vents or direct sunlight
• No nearby sources of severe electromagnetic noise
• No excessive dust
• Adequate power source within six feet; one 15-Amp circuit required for each power supply
• At least 2 inches (5.08 cm) on all sides of the switch unit for ventilation
• Adequate space at the front and rear of the switch for access to cables
If you are installing a single Avaya Ethernet Routing Switch on a table or shelf, ensure the
surface can support at least 15 to 20 pounds (7 to 9 kilograms).
Installing the switch in an equipment rack
Required tool: Phillips screwdriver for attaching brackets to the switch.
Rack requirements:
• A space of 2.8 inches for each switch in an EIA or IEC standard 19 inch (48.2 centimeter)
equipment rack.
• The rack must be bolted to the floor and braced, if necessary.
• The rack must be grounded to the same grounding electrode used by the power service
in the area. The ground path must be permanent and must not exceed 1 ohm of resistance
from the rack to the grounding electrode.
The following figures provide instruction for installing the switch in a rack.
Note:
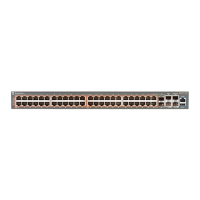
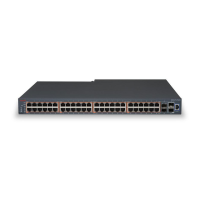
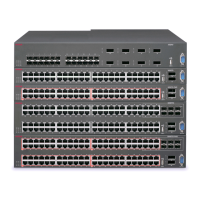
Avaya ERS 4000 Series hardware can vary in size and shape. Your switch might appear
different than the following example figures.
Installation preparation
4 November 2013

 Loading...


