Do you have a question about the Avigilon H4A-BO1-IR and is the answer not in the manual?
Details FCC rules and Canadian ICES-003 compliance for the digital apparatus.
Guidelines for product disposal and recycling according to local laws.
Copyright, trademarks, patents, and licensing information.
States limitations on document accuracy and liability for product use.
Illustrates and explains points for camera installation on the mounting bracket.
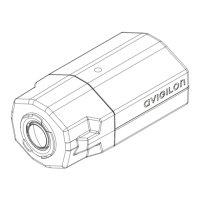
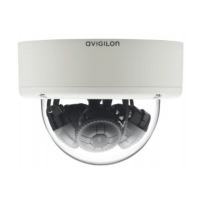
Identifies and describes components on the rear of the camera, including ports and connectors.
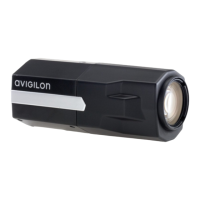
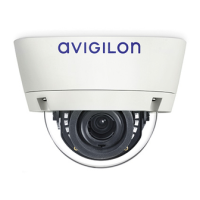
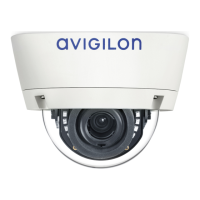
Details the front-facing components such as IR illuminators and the configuration panel cover.
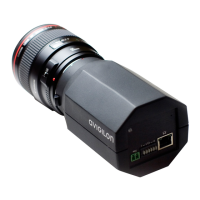
Explains the SD card slot, Link LED, Connection Status LED, and Micro USB port.
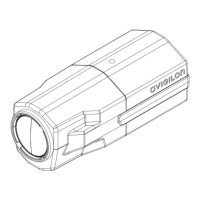
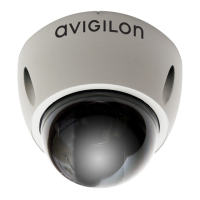
Describes the sun shroud, mount arms, and adjustment screws visible from the side.
Lists items included in the camera package, like the camera and mounting template.
Precautions for installing the camera in environments with salt to prevent corrosion.
Introduces the sequence of steps required for camera installation.
Recommendations for mounting and aiming cameras for optimal video analytics performance.
Steps to prepare the camera and mounting surface before installation.
Instructions for removing and reinstalling the sun shroud on the camera.
Guidance on connecting power, network, and external device cables to the camera.
Procedure for securing the camera to the mounting bracket after cable connections.
Steps for unscrewing and removing the panel cover to access the configuration port.
How to use the optional USB Wifi adapter for mobile access.
How the camera obtains an IP address and methods to change it.
Methods to view the camera's live video stream.
How to aim the camera using live stream feedback and adjustment screws.
Instructions for inserting an SD card and enabling onboard storage.
How to adjust zoom and focus settings using the web interface or software.
Methods for configuring the camera after installation.
Lists available user guides and resources for further assistance and details.
| Model | H4A-BO1-IR |
|---|---|
| Type | IP Camera |
| Environmental Rating | IP66 |
| Frame Rate | 30 fps |
| Wide Dynamic Range | Yes |
| Sensor Type | CMOS |
| Image Sensor | CMOS |
| Power over Ethernet | Yes |
| Power Supply | 12 VDC |
| Operating Temperature | -40°C to 50°C (-40°F to 122°F) |
| Video Compression | H.264 |
| Maximum Frame Rate | 30 fps |