Installation
Camera Package Contents
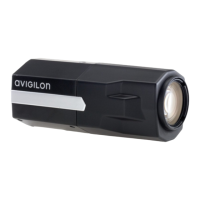
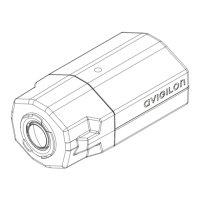
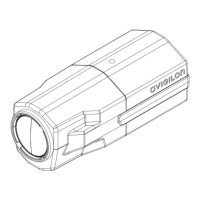
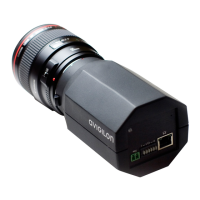
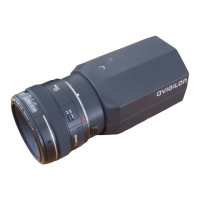
l Avigilon H4 HD Bullet Camera
l Mounting template sticker
l 4 screws and anchors for solid walls
Precautions for Installing Near Salt Water
Salt environments are hard on camera paint and external appearances but the camera's functionality will not be
affected if the cameras are installed as described in this guide.
Follow these precautions to avoid camera issues when installing in a salt heavy environment:
l Use mounting accessories offered by Avigilon. All Avigilon accessories are tested to work with Avigilon
cameras in the rated environments.
l If you use a third-party accessory, you must ensure that the material is compatible with the finish of the
camera housing or galvanic corrosion may occur.
l Never pair steel mounting accessories with aluminum camera enclosures. Steel corrodes aluminum when
salt is introduced. The corrosion is an electrochemical reaction and will cause the corrosion to spread
across the entire camera body.
l Always insulate any camera surface that is in contact with another metal or conductive material. It is
recommended that you always isolate the mounting screws from the mounting surface and camera
housing with rubber or plastic shoulder washers.
Installation Steps
Complete the following steps to install the camera:
Mounting and Aiming Video Analytics Cameras 7
Preparing the Camera for Mounting 7
(Optional) Removing the Sun Shroud 8
Reinstalling the Sun Shroud 8
Connecting Cables 9
Mounting the Camera 9
Removing the Configuration Panel Cover 10
(Optional) Using the USB Wifi Adapter 11
Assigning an IP Address 11
Installation 6

 Loading...