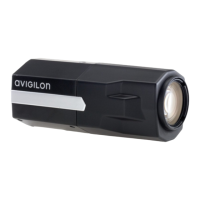
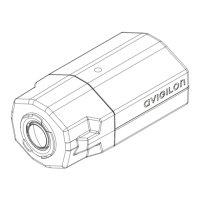
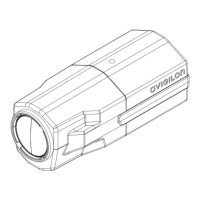
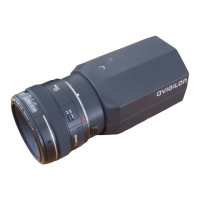
Connecting Cables
Before connecting any cables, ensure that the cable connections are properly protected from moisture and
corrosion.
Enclose the cables in a watertight junction box such as the HD Bullet junction box (H4A-BO-JBOX1) to prevent
moisture from corroding the cable connections.
1. If there are external input or output devices that need to be connected to the camera (for example: door
contacts, relays, etc.), connect the devices to the camera's digital I/O connector cables. For more
information see Connecting to Power and External Devices on page 14.
2. If an external microphone and/or speakers need to be connected to the camera, connect the devices to
the camera's audio I/O cables. For more information, see Connecting to Power and External Devices on
page 14.
3. Connect power using one of the following methods:
o
Power over Ethernet (PoE) Class 3 — If PoE is available, the camera LEDs will turn on.
o
External Power — Connect an external 12 V DC or 24 V AC power source through the brown and
blue auxiliary power cables.
Important: Be careful not to connect power to the audio input cable, doing so will permanently
damage the camera. Both the audio input cable and auxiliary power cable are brown. To
distinguish the auxiliary power cable, it is labeled AUX PWR and has a thicker gauge.
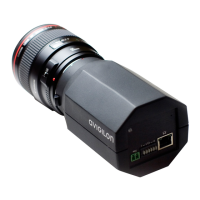
4. Connect a network cable to the Ethernet Port (RJ-45 connector).
The Link LED will turn on once a network link has been established.
5. Check that the Connection Status LED indicates the correct state. For more information, see LED
Indicators on page 16.
Mounting the Camera
Once all the cable connections have been made, secure the camera to the mounting bracket.
9 Connecting Cables

 Loading...