Fehler! Formatvorlage nicht definiert.. Fehler! Formatvorlage nicht definiert. - Page 121
AZUREM2.DOC 18.03.1999 12:40
CHAPTER FOUR
4. Using shapes
This chapter contains: Selecting a shape; changing the size and speed of a
shape; spreading a shape across multiple fixtures; editing shapes which
are running; fan mode.
The Azure, in common with other Avolites consoles, has a shape
generator. This allows you to quickly create exciting light shows using lots
of movement and changes, with the minimum of programming.
A shape is simply a sequence of values which can be applied to any
attribute of a fixture. A “circle” shape, for example, applied to the pan and
tilt attributes, would cause the fixture to move its beam around in a
circular pattern. You can set the centre point of the circle, the size of the
circle and the speed of the circle movement.
You could apply circle values to the colour mix attributes of a fixture and
create some interesting ever-changing colours. In addition to circles there
are a large number of other shapes available in the Azure. The shapes are
defined for a particular attribute and the VGA display tells you which
attribute they control.
When you use a shape with more than one fixture, you can choose to
either apply the shape identically to all the fixtures, or offset them so that
the shape runs along the fixtures creating “wave” or “ballyhoo” type
effects. This is called the spread of the shape.
4.1 Selecting a shape
Selecting a shape is very similar to selecting a value
from a palette. When you choose a shape, it will be
applied to all selected fixtures.
1> Select the fixtures the shape is to be applied
to.
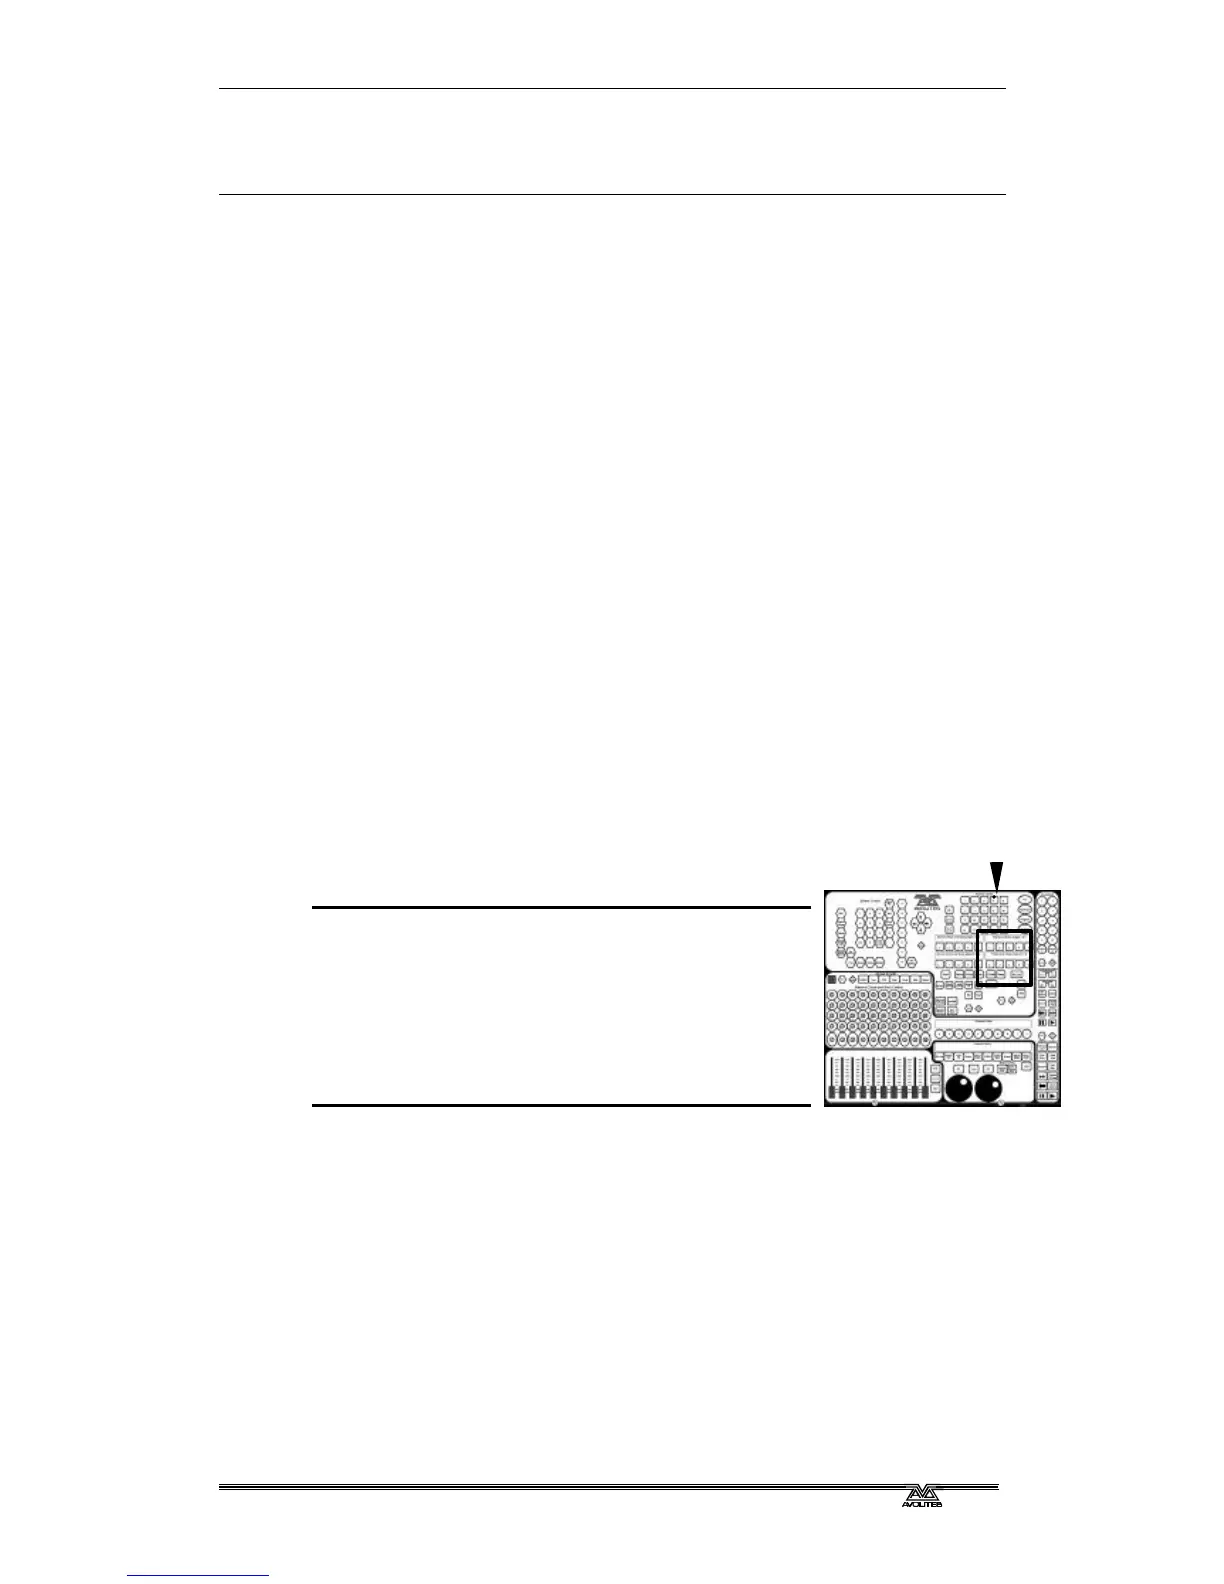
2> Press Shape and select a page of shapes. The
VGA display shows you the contents of the
page. Pages 5-10 contain the pre-
programmed shapes.
3> Press a select button to apply a shape to the
fixtures.
The shape will start based on the current setting of the attribute.
?? You can change the base value of the shape (e.g. the centre of the
circle) by changing the attributes using the wheels in the usual way.
You can reduce the Size to zero (see next section) to help you see
what the base value actually is.
?? You can run more than one shape at a time by repeating the above
procedure. You can run several shapes on one fixture, but only if they
work on different attributes (e.g. you can have a pan/tilt shape and a
colour shape, but not two pan/tilt shapes.)
?? Press the On Screen button below the Shape button to display the
Shape Output screen and show you what shapes are running.
?? If you apply the same shape to two different groups of fixtures, the
Shape pages



 To Next Page