Please make sure that the wall or ceiling is strong enough to withstand 3 times the weight of
the camera. Please install the camera under dry environment.
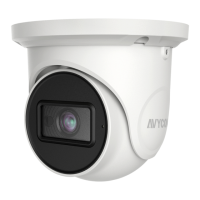
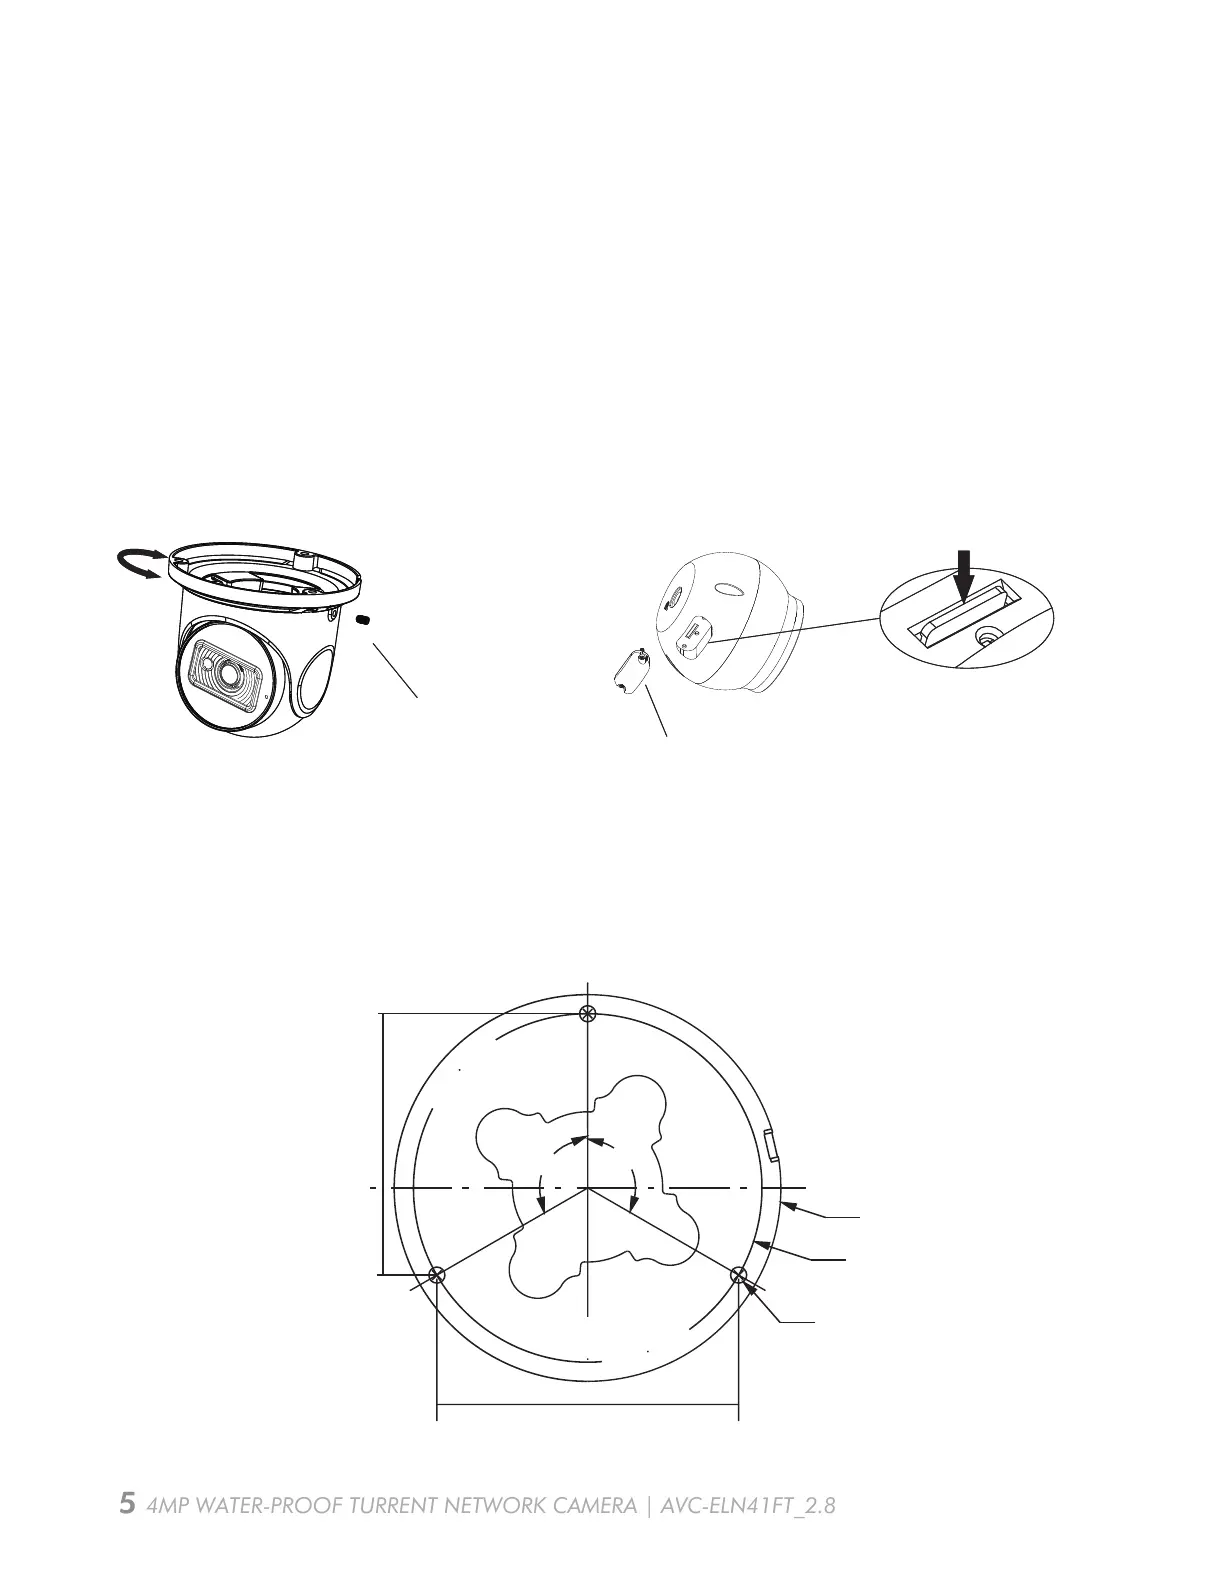
Step 1: Loosen the fixed screw to disassemble the camera. Then remove the cover of the
dome and then insert a micro SD card. After that, install the cover back. . After that, install the
cover back to the dome and fix it firmly with the screws.(please install the cover back in the
same way you disassemble, in case the sealing performance is affected.)
Step 2: Attach the drill template to the place where you want to fix the camera. Then drill the
screw holes and the cable hole in the wall according to the drill template.
Camera Installation
AVC-ELN41FT_2.8
4MP WATER-PROOF TURRENT NETWORK CAMERA | AVC-ELN41FT_2.8
Fixed Screw
Cover
Insert a micro SD card
∅108
∅97.5
84.4mm
∅4.5
48.7mm
120°
120°
24.4mm
Fixed Screw
Cover
Insert a micro SD card
Then install back the dome to the camera with the fixed screws.