AXIS 215 PTZ Installation Guide Page 9
ENGLISH
ENGLISH
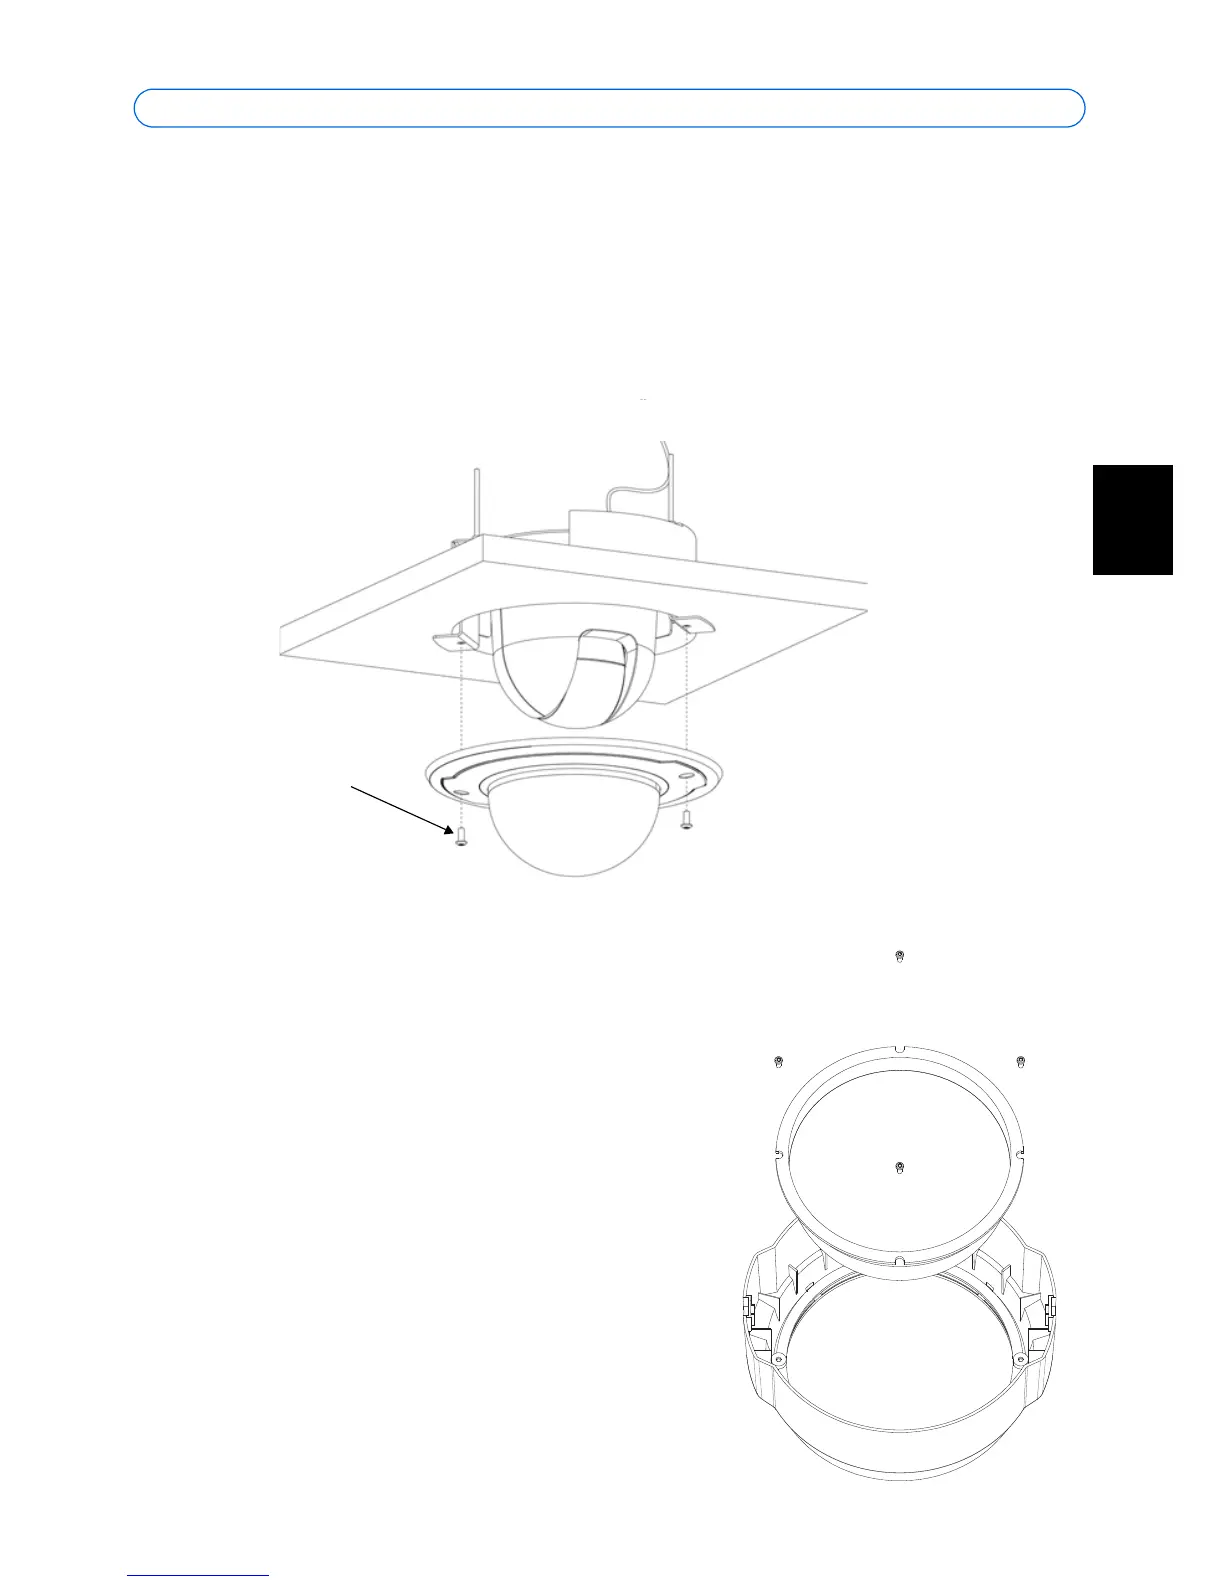
12. Gently tighten the screws so that the ceiling tile is held between the inner and outer
brackets. Check that none of the cabling is trapped by the brackets.
Note: When power is applied, check that the indicator LEDs indicate the correct condi-
tions. See the table on page 16 for further details.
13. Using the supplied screwdriver, attach the smaller dome cover, using the 2 M4x10
resitorx screws.
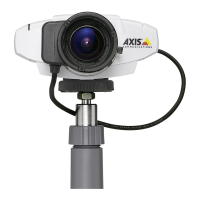
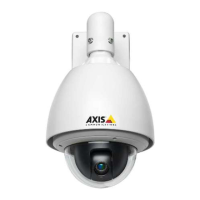
Replacing the dome glass
The dome cover can be fitted with the clear or the
smoked plastic glass. To switch covers, use a torque T6
screwdriver to remove the 4 fastening screws on the
inside of the dome, as shown here.
You are advised to take care when handling the plastic
glass, to avoid scratching it. The wearing of cotton
gloves is recommended.